Most everyone who is expecting a baby gets some sort of ‘nesting’ feeling, a desire to make their home a better place for their future children.
But, as people with a DIY slant, we have a… peculiar method of nesting. In effect, we have entirely demolished the bathroom in our house, in the expectation that we will get it put back together in time for baby to arrive.
As an aside, we have a similarly peculiar optimism in regard to time lines.
Before
This room likely started as a bedroom in the original house plans; a bathroom would not normally be square (~9’x9′) with all fixtures pressed up against one wall.
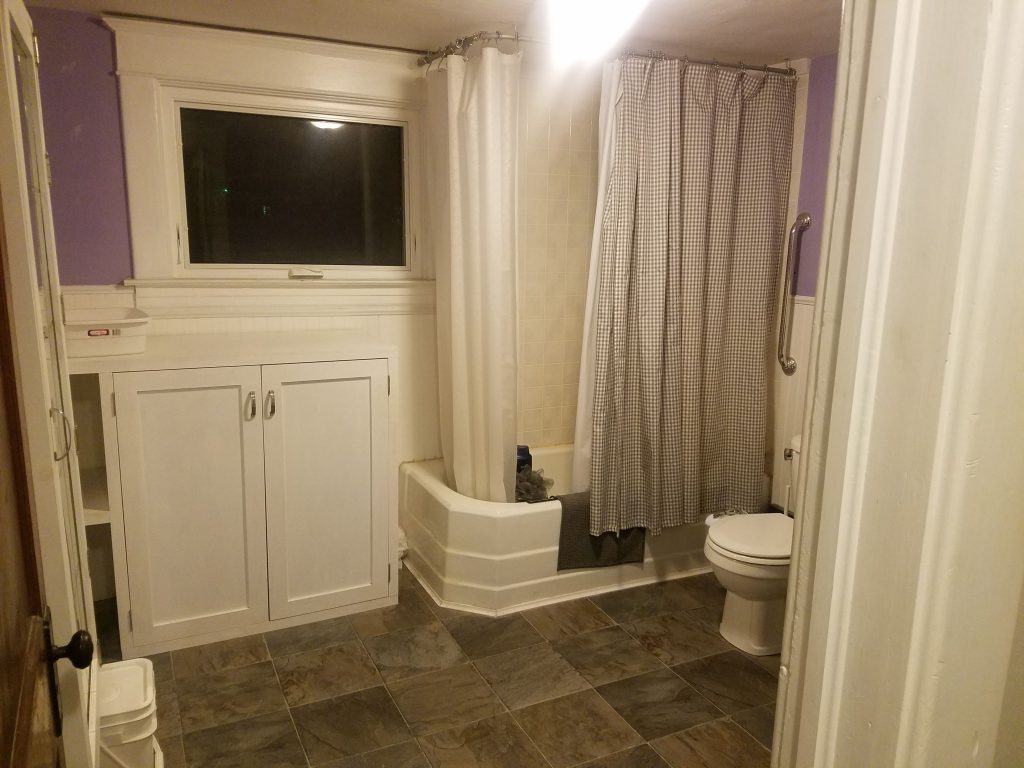
Over time, we were able to homogenize the floor (it used to be only partially covered), add some very useful cabinets, and increase the size of our sink just about as much as we could without re-plumbing.
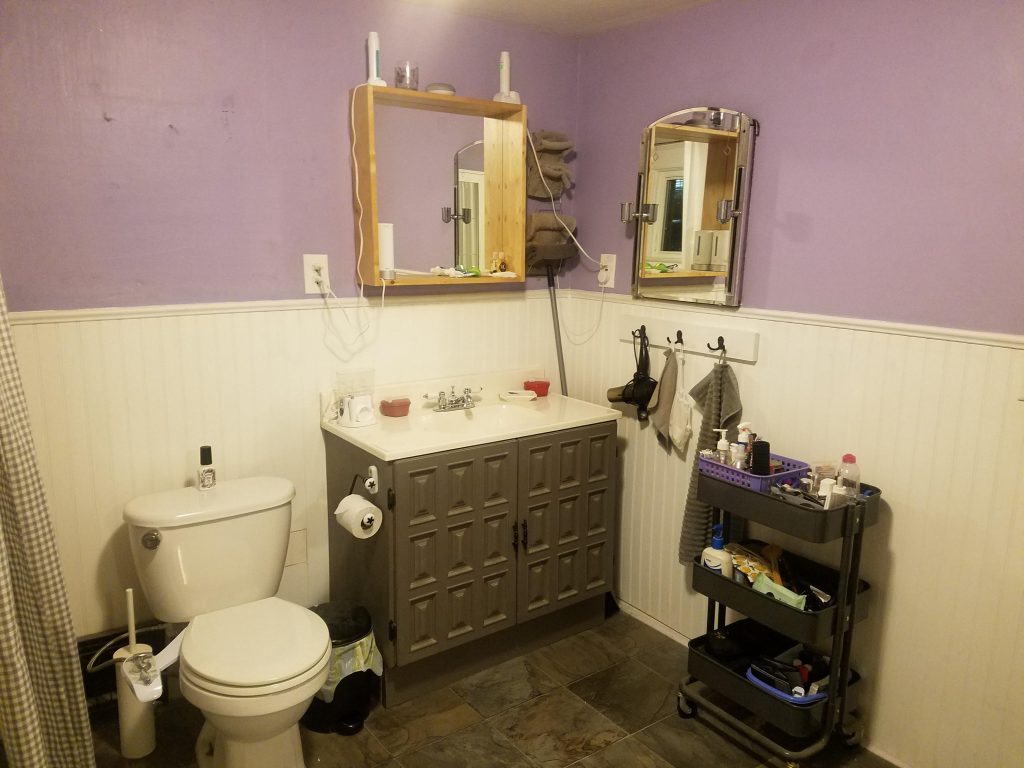
And, though it has served us faithfully, crowding into one corner to brush our teeth has gotten boring. It’s time to make better use of our space. And get rid of a few annoying items that were starting to drive us crazy.
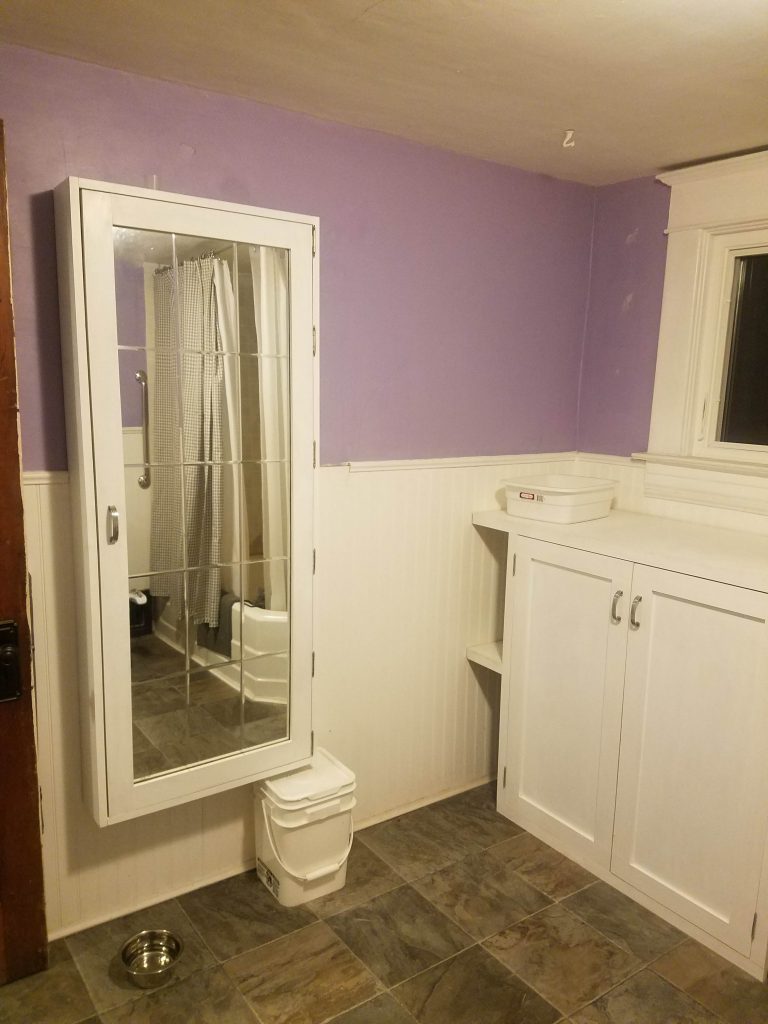
The Plan
We first made a list of all of the things we wanted to keep in our bathroom. Of course, we need a toilet. The cat litterboxes also need a home, and we need an area to serve as a linen closet as well.
Then, we get to shoot the moon and add in the things we would like to have.
- Double sinks, or one loooong sink?
- Glass-walled shower or tub? Glass-walled shower and tub??
- Jacuzzi tub? Too far.
- Wall and flooring materials? Tile, stone, vinyl?
- More lighting? Where and how?
We made a couple different sketches for ideal layouts, and finally ended up with a clipboard with a few different reference angles.
Next, we match up the things we want to add with what is available in our area and budget. We don’t want to go full custom with our bathroom; we’re far too frugal for that. So we adjust our plans and dimensions based on the fixtures we can find, and what we are comfortable with using.
We ended up being able to sneak in the slipper tub we found in the hoard (which, regrettably, has no claw feet) alongside a modest shower with a glass enclosure, thanks to a variety of pre-formed shower base sizes. Add some waterproof vinyl tile, designed for shower wall installations, and our first wall is rolling.
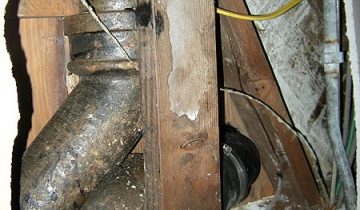
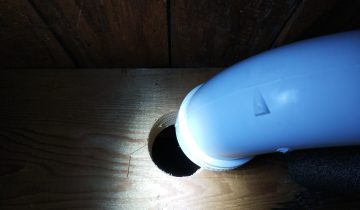
Our heat vent and toilet locations cannot change much because of the nature of our drain and joist situations (more on that later). But, the sinks will wrap around to the next wall, and turn into two separate sinks, with separate vanities. Add a few more plugs, a second medicine cabinet, and a few wall sconces so you can see what you’re doing.
Finally, on the remaining wall, we will set up a built-in cabinet to house our cats’ litter boxes, and the litter box regalia (buckets, spare litter, scoops, etc), and we will have additional storage above (with suitable smell blockers) for toiletries and spare linens.
The Demo
I told you we were on a time crunch! And not only that, but being pregnant also means you aren’t supposed to do much heavy lifting or straining. So we divide up the work into light-duty and heavy-duty, and get to work.
The only fixture in the bathroom we are planning to keep is the toilet, so everything else gets to go. Including the original cast iron tub. We free the upper lip of the tub by removing wallboard, and disconnect the tub drain and overflow.
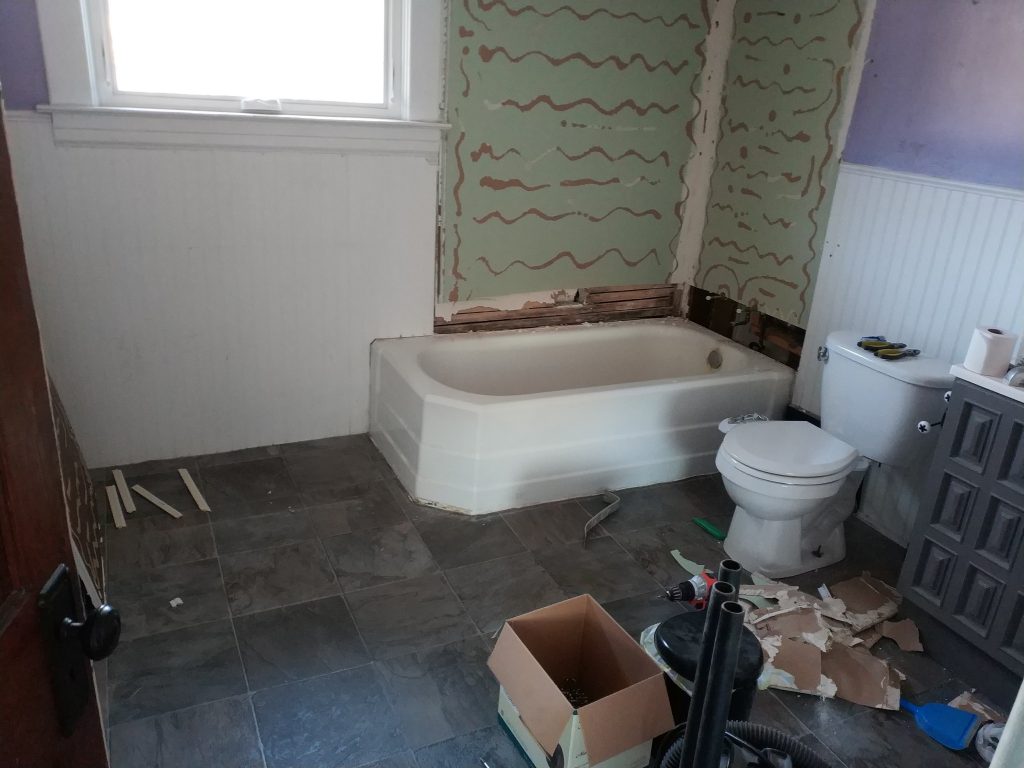
You’d be right, it’s not that light. I thought that there was a flange running all the way around the top of the tub with wallboard ahead of it holding it in. But, this was not the case. No, the fact that it wouldn’t budge when I was yanking on it was solely due to the fact that it is immensely heavy.
I called in a few friends to give me a hand. We had two options. Get the tub down the stairs safely, or destroy the tub trying.
Luckily, we were able to free it using some very long crowbars, though that was only a portion of the battle. We carefully got the tub out of the room, down the stairs, and out the front door with little to no detriment to the house. And by our estimations, the tub is somewhere between 400 and 500 lbs.
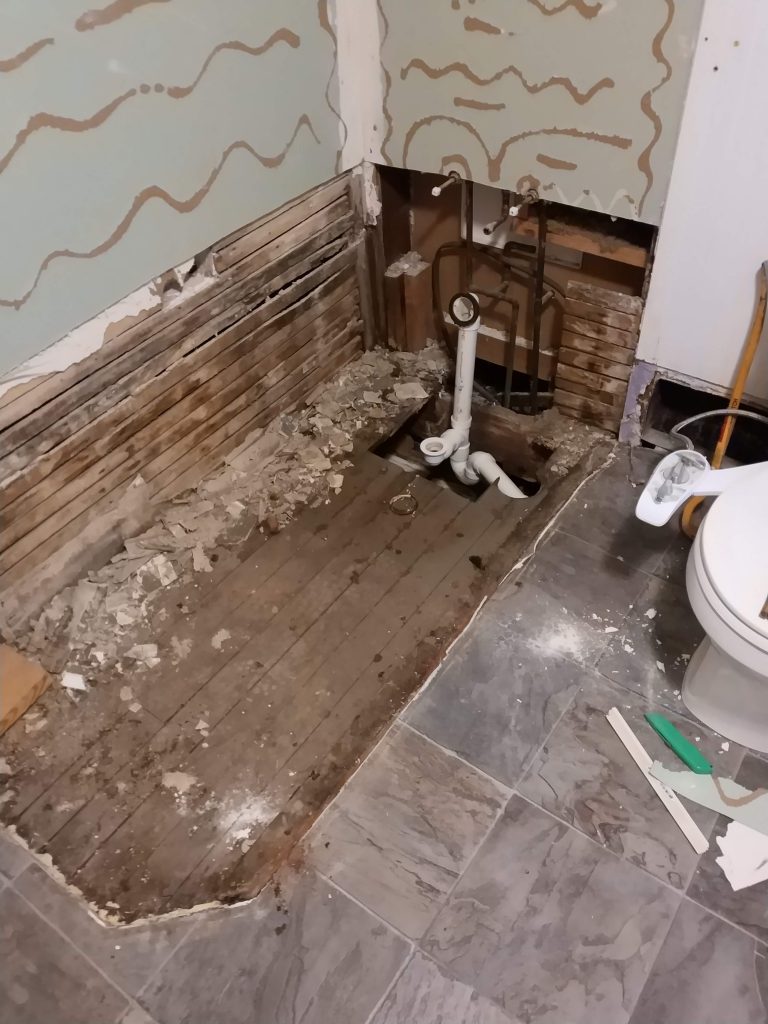
Where did it end up you ask?
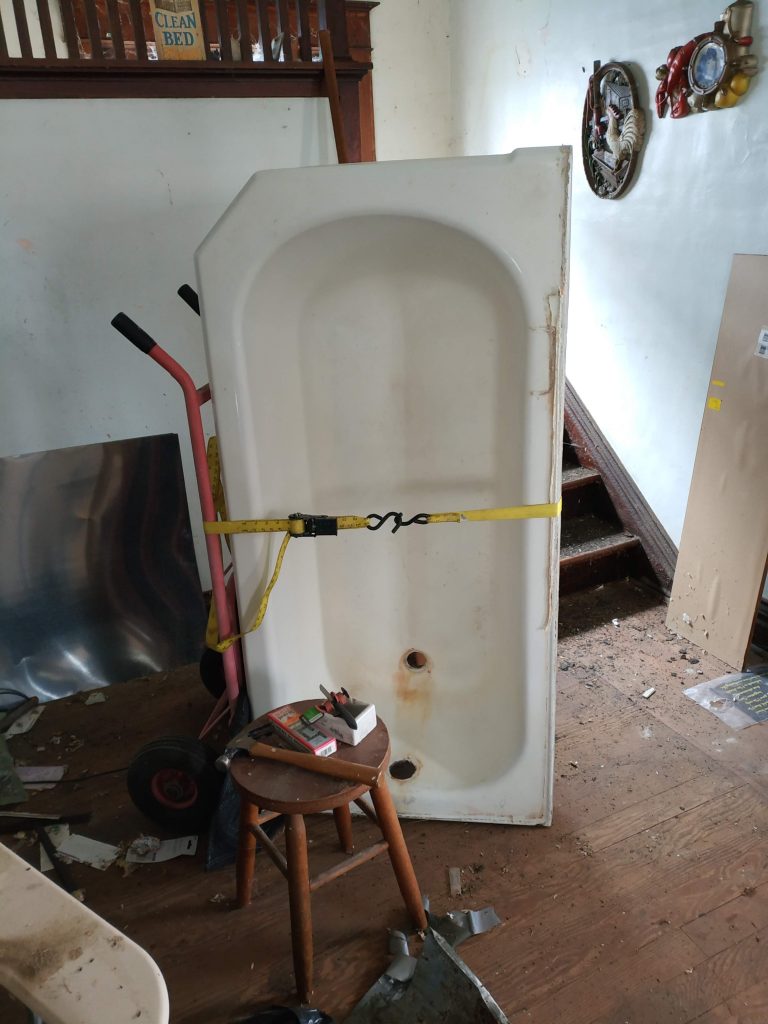
Why, the hoard of course! We are already stealing the tub from this bathroom, why not replace it with something we already have? As long as it fits somewhere, that is. That remains to be seen.
And lemme tell you, this tub is thick.
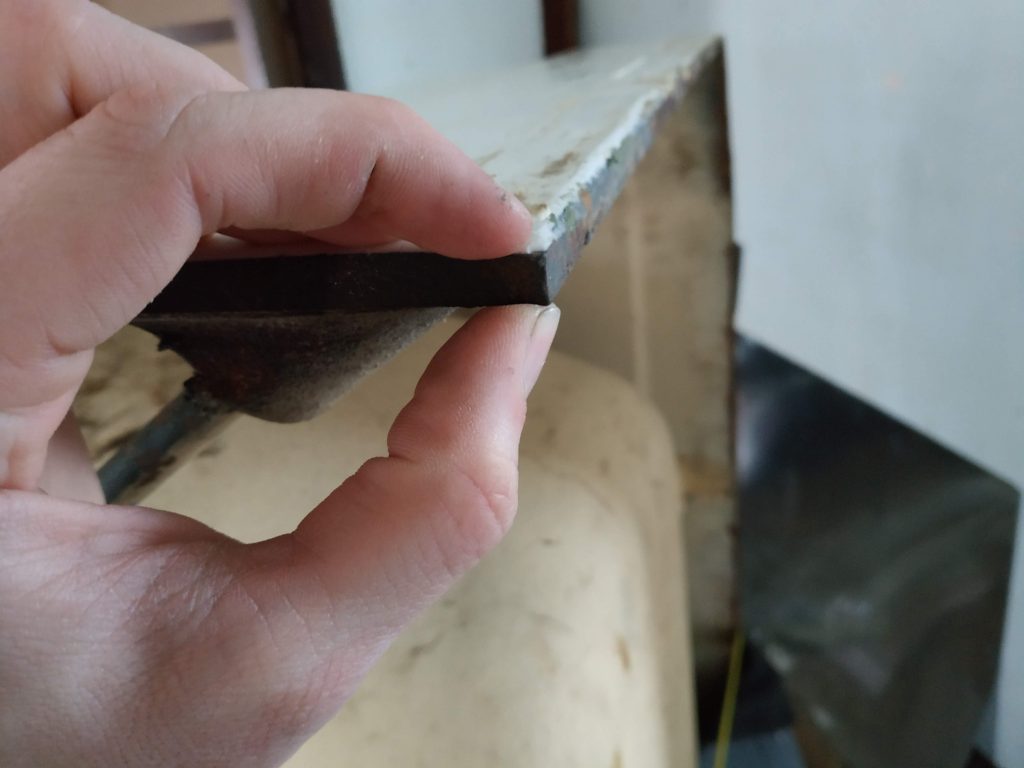
I did a little detective work after the fact and found that 3/8″ cast iron weighs a little over 15 pounds per square foot, and assuming this is the same thickness throughout, that puts this guy right around 500 lbs like we guessed!
What’s Left
After taking out the bathroom sink (also likely hoard-bound), we have a nice blank slate for our plumbing to begin.
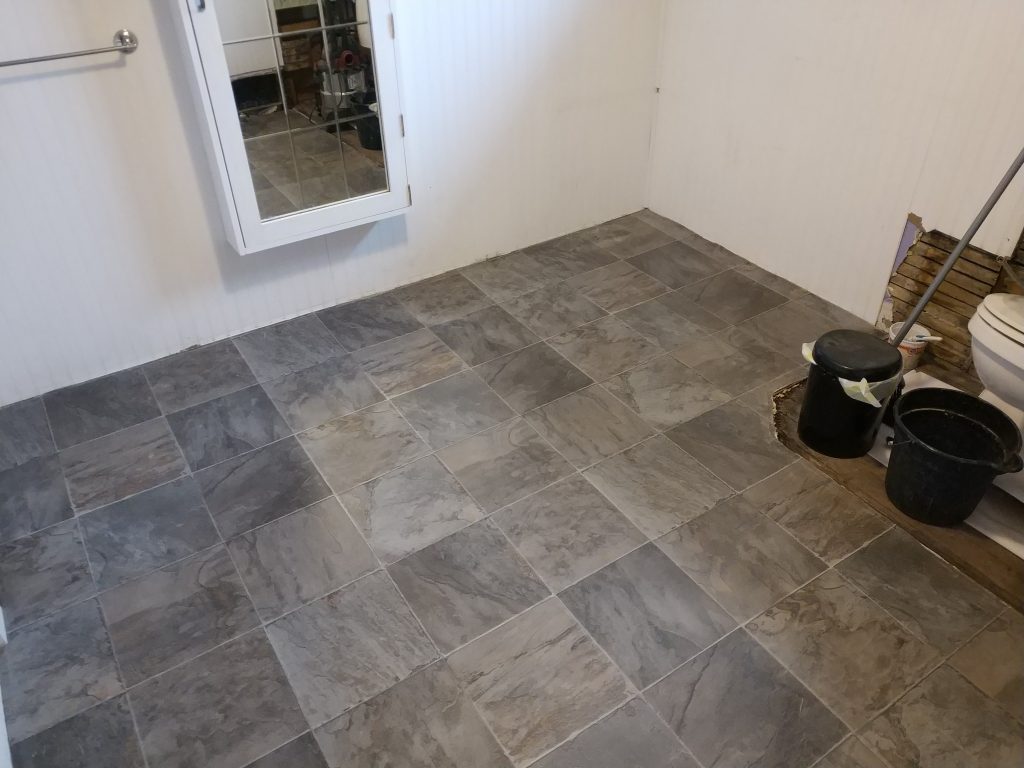
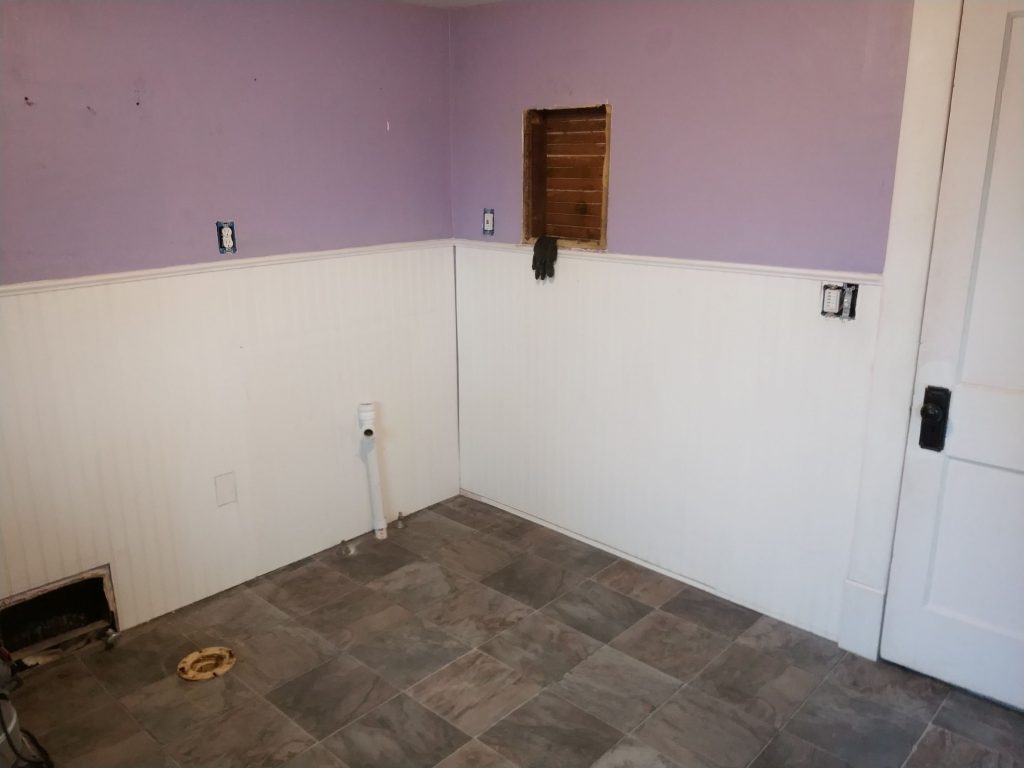
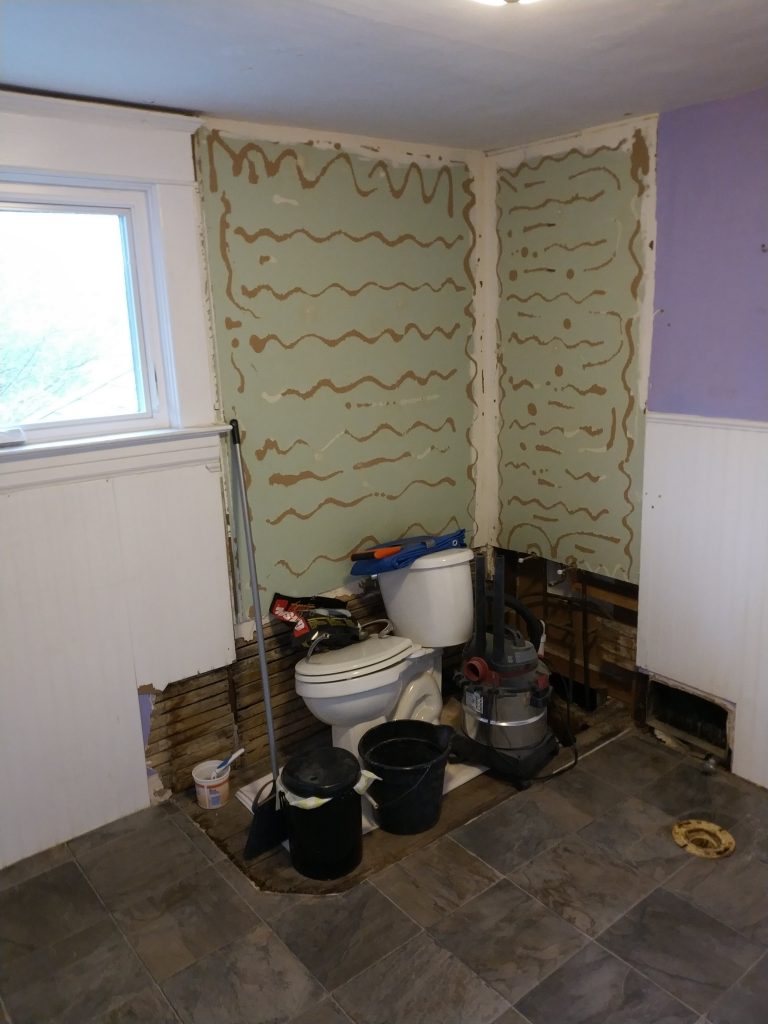
The next task on our list is measuring out exact locations for all of the passages for water lines and drain lines to come up through the floor. We can then size up the lines, connectors, and pipes we need to route to those locations.
The good luck continues; the kitchen below has a drop ceiling, added in by a previous owner after a water leak caused plaster issues. We can leverage this to easily hide the holes we use to add plumbing.
And that I believe is where we will end the story for today. Our remaining bathroom punchlist looks as follows:
- Route drains and supply lines
- Add shutoffs and test for leaks
- Additional construction for vanity wall, including wiring
- Install shower pan
- Add flooring
- Install toilet and sinks (so we can start using the bathroom again)
- Place bathtub
- Build built-in cabinet and add baseboards
- Install shower drywall and waterproof wallboard
- Install glass shower surround
- Add shower and tub fixtures
At this point, I can’t take a shower at home until we reach the final step, so we press on!
