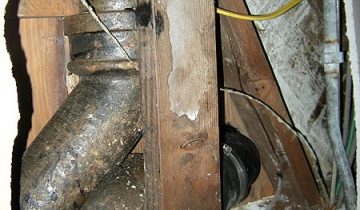
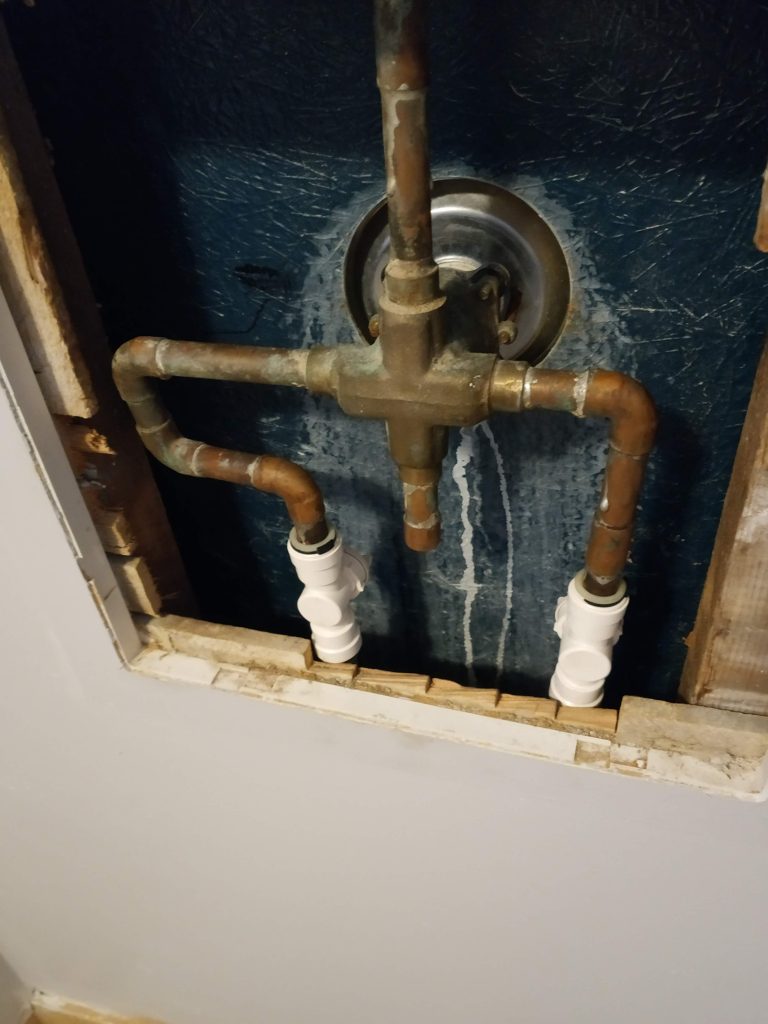
There’s a bit of an issue with this shower cartridge.
OK, there’s a few issues. But the key one is, I can’t work on this shower because there are no shutoffs.
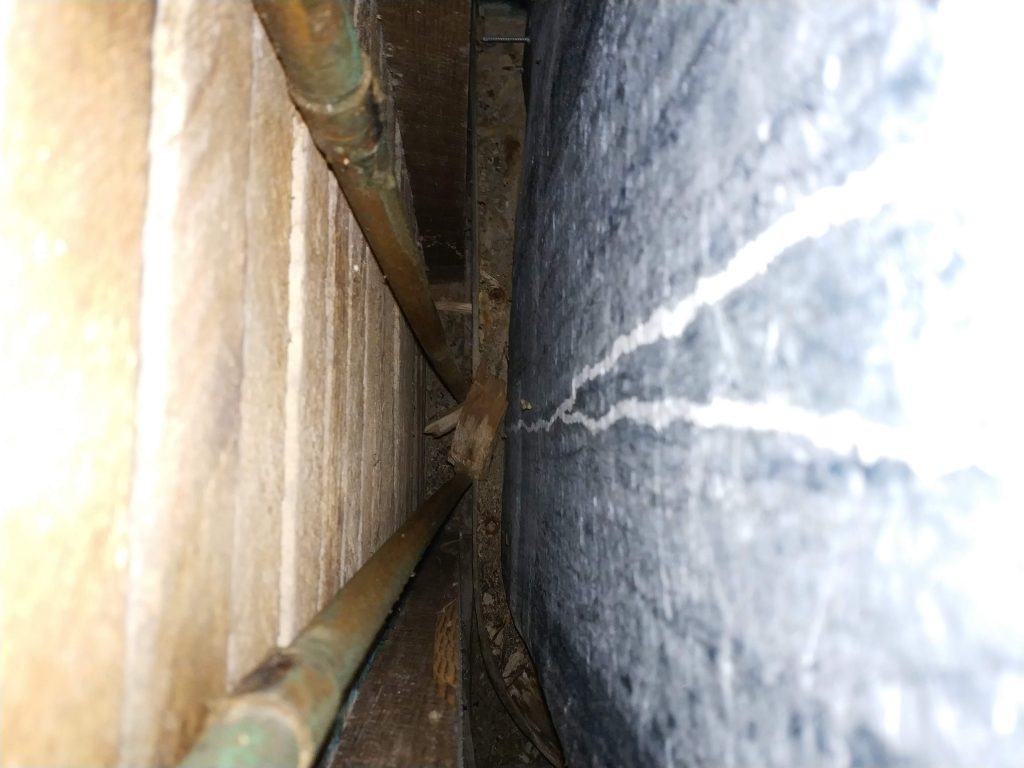
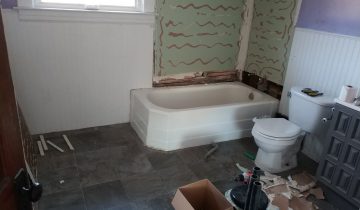
This upstairs bathroom was plumbed up with the water shut off, and in order for parts to be changed, the entire house has to be turned off again. Not super convenient, especially if the repair takes a while!
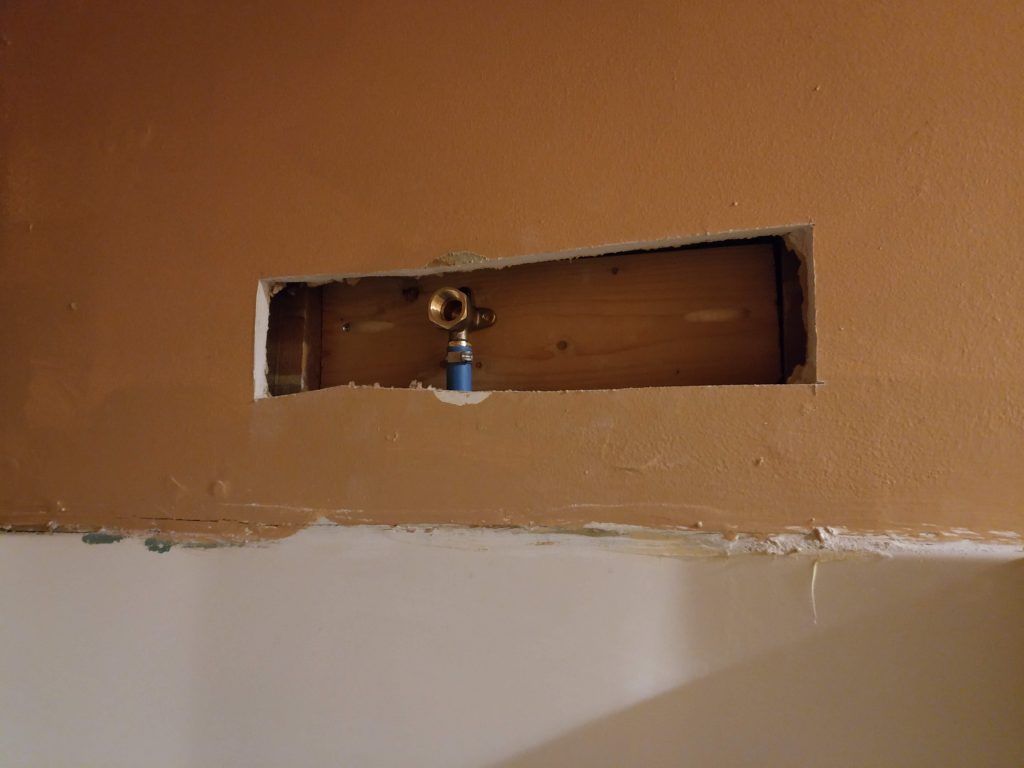
So, since this a copper pipe, we would normally get some sweat (solder) brass quarter-turn ball valve shutoffs, like this one:
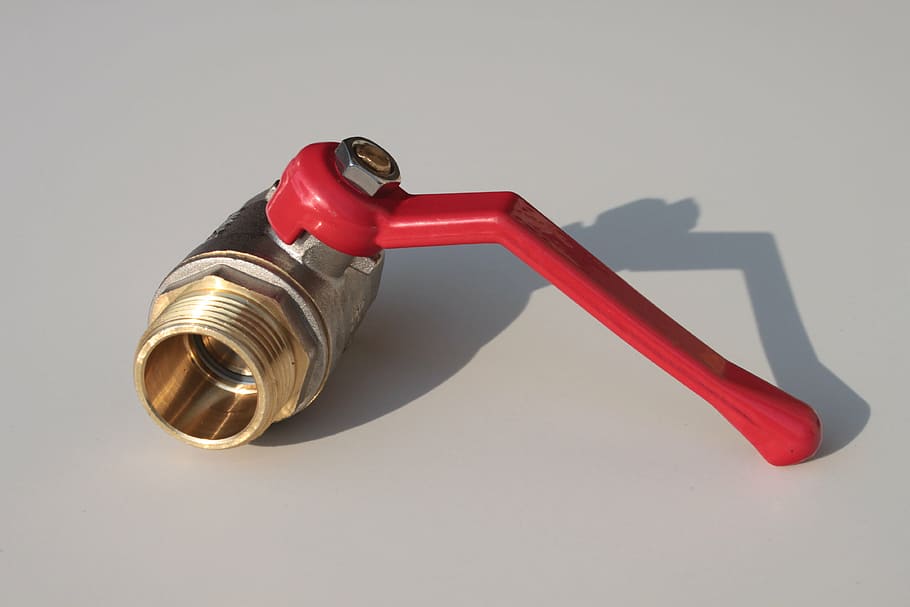
For a house, this is plenty sufficient. There are other types of valves, like multi-turn valves (sort of like the type you hook a garden hose to), or gate valves, which have a little portcullis that drops down on the inside to make a stronger seal for high pressures.
But in our situation, there’s not a lot of room in the wall, and I also won’t have a ton of time to mess with soldering a connection on a wet pipe. A copper pipe has to be completely dry in order to sweat to it. Even water a few feet down the pipe can cool it enough to prevent heating to sufficient temps.
A simpler solution
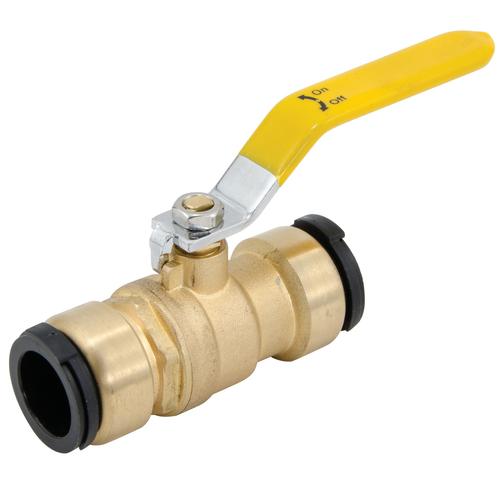
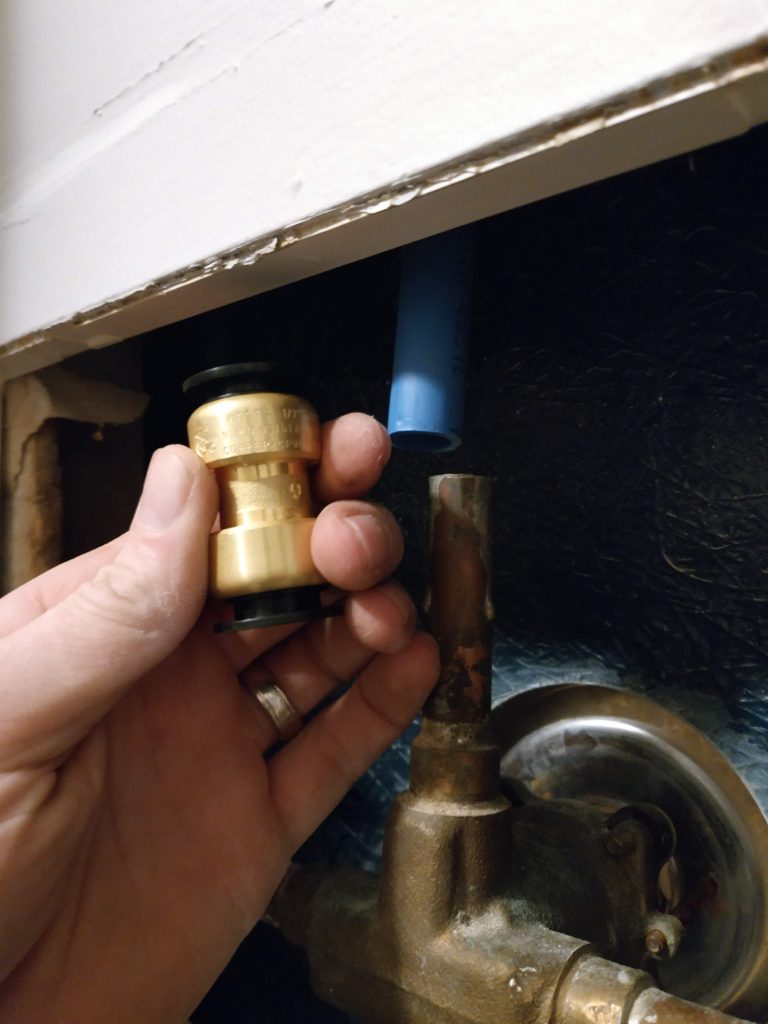
So, instead of using a soldered connection, I’ll use a quick-connect fitting, which is also known as a ‘shark bite’. Sharkbite is a brand name, like kleenex, but everyone knows it as kleenex instead of facial tissue, right? Our shutoff above would instead look like this:
Historically, you would make a solid connection with teflon tape or dope for a threaded connection, or with solder for a copper connection, or by crimping a pex tube, or with glue for PVC or CPVC.
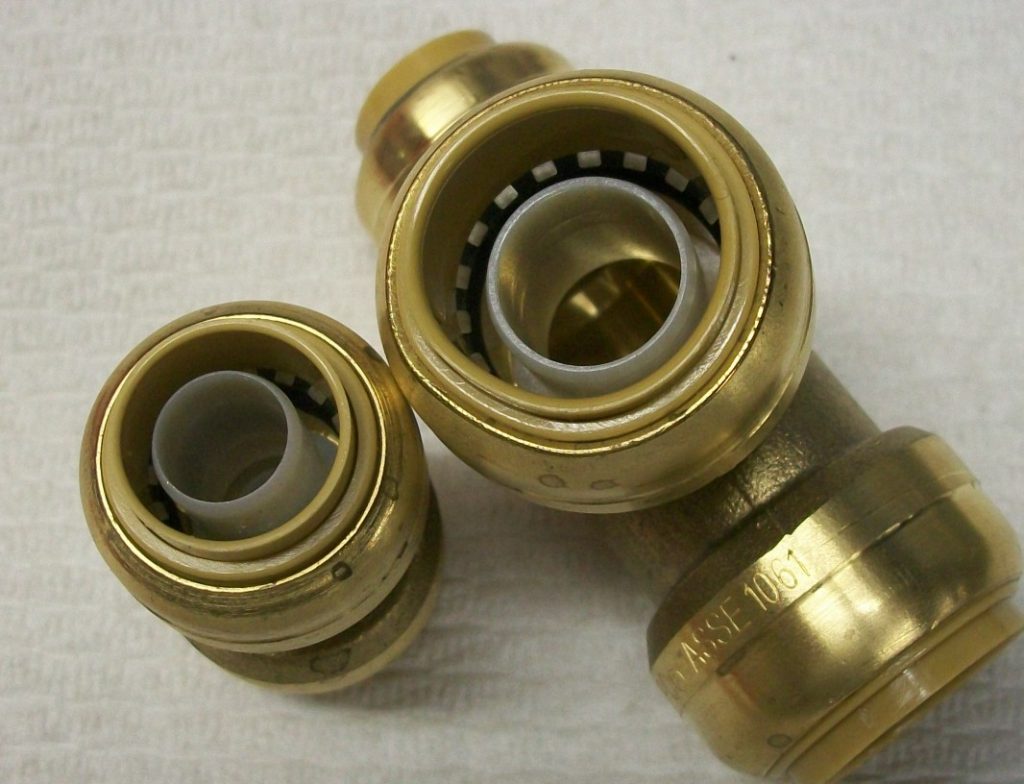
Instead, a quick-connect fitting has an o-ring and one-way teeth on the inside. The gasket makes a solid seal with either copper, pex, or CPVC supply lines, and the metal teeth keep the pipe from backing out. These connectors come in inexpensive plastic and durable brass from several companies. And, both materials are rated for in-wall installation. That basically means you don’t have to worry about them leaking.
And, the best part is that you can go between any of the rated tubing types on either end, so if you are transitioning from copper to pex, a quick connect will connect them!
Because it has an o-ring, you do need to take a little care with adding the connection, but you can be done with a fitting in SECONDS with NO TOOLS, compared to a few minutes (on a good day) with a lot of specialty or dangerous tools (read: propane torch) for sweating a pipe.
Installing a quick-connect
It happened so fast, I’m already done, and the water is back on.
Yes, snarky caption AJ, that was an intended side effect. I’ll do the next one a little slower.
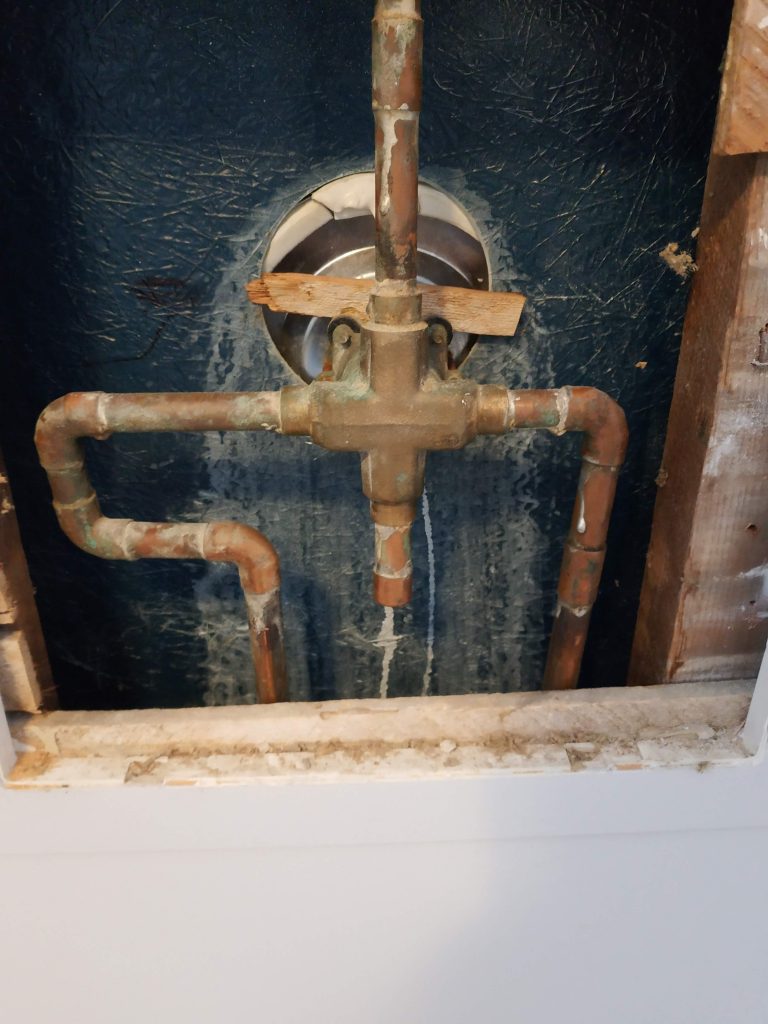
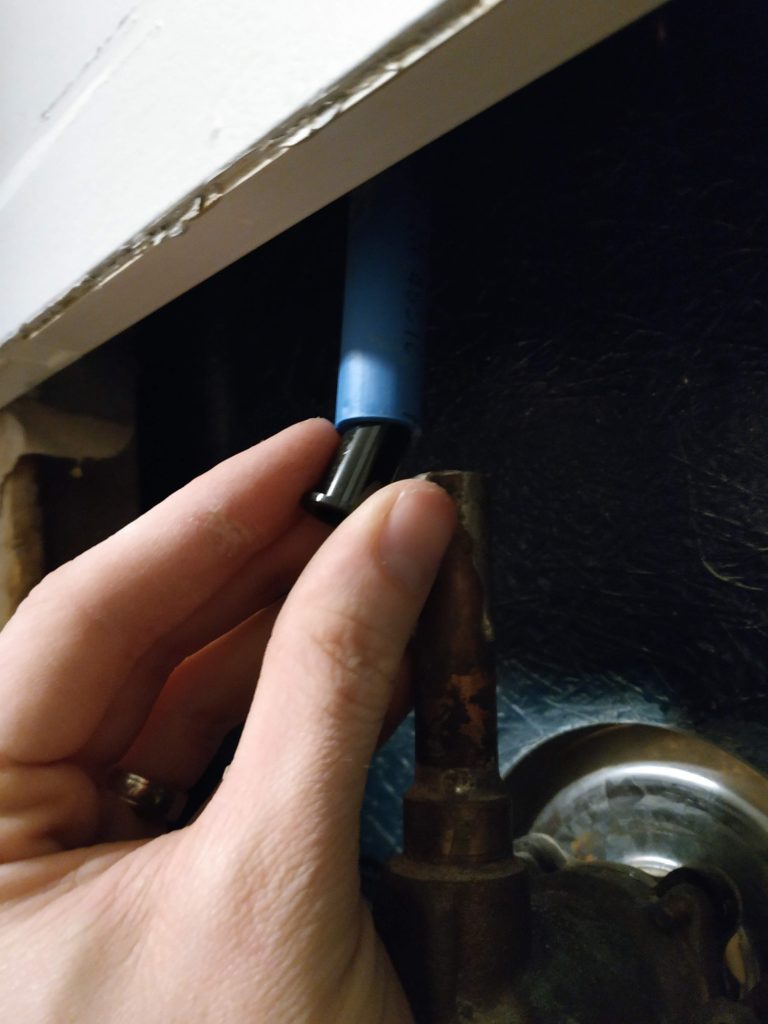
Because the shower head connector was not actually secured to anything, I also need to connect the upper tube. I removed the old one, and added a drop-tear elbow (basically an elbow with screw tabs) at the correct height. This was connected with a crimp ring to a piece of pex tubing, which is easier to route than a copper pipe in this narrow opening.
When I cut out the old tube, I made sure that I cut it square, and that there was a good 3/4″ of clear tube with no connectors. There was a straight coupler nearby which I cut off. The quick-connect won’t fit over other fittings like elbows.
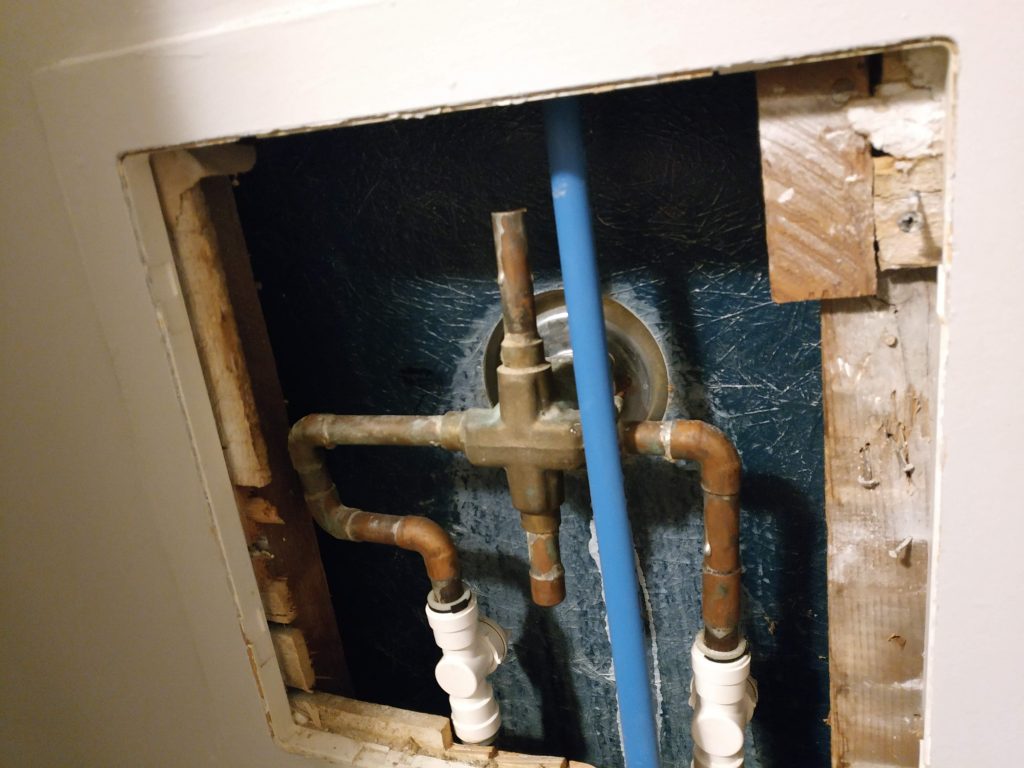
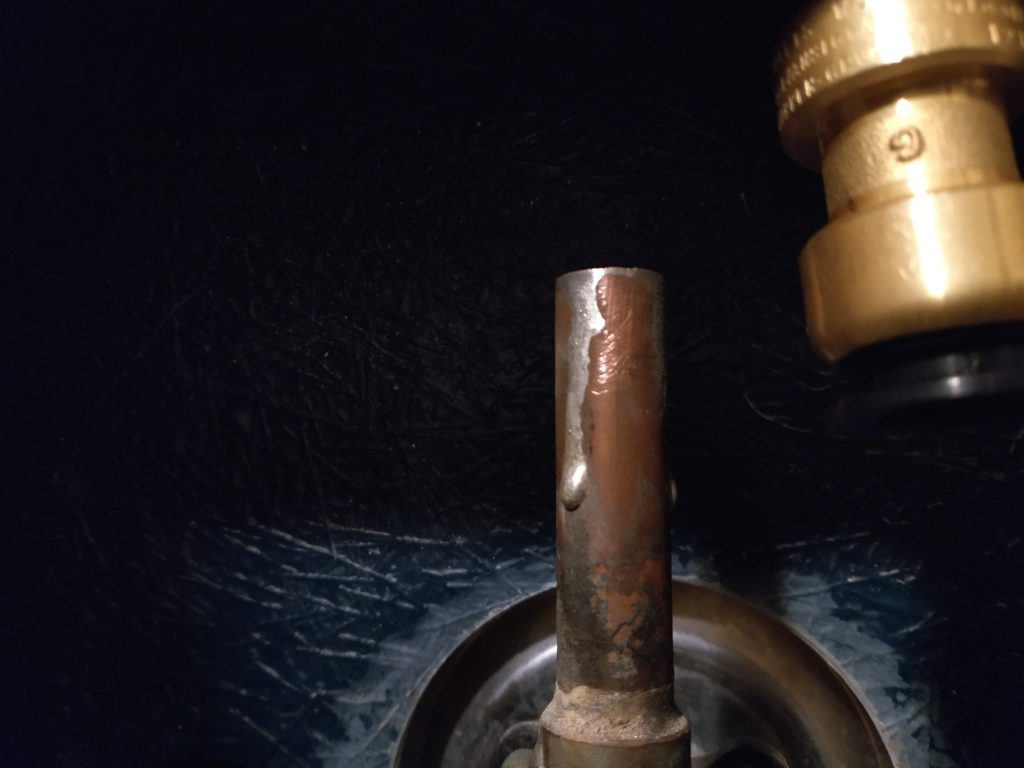
Also after cutting the old tube, which I did with a hacksaw because of the low clearance, I sanded the sides of the pipe to remove any extra solder drips. I then sanded the cut end of the pipe, so there were no burrs that might cut the o-ring in the connector.
There is about 1/8″ gap needed between the pipes for the shoulder inside my straight connector, so I trim the pex to the right length. It cuts very easily with a box cutter.
Inserting the connector
Here’s our straight connector.
I picked brass here because it was about the same price as the plastic connector. But, I used plastic for the shutoffs, because the cost difference was pretty high: about $9 for a plastic valve versus $17 for brass.
The connector has plastic “buttons” on either end, which when pushed in, allow the pipe to be removed if necessary. Therefore, it comes with plastic clips to keep them from being depressed accidentally.
The package also came with two pex liners, which are short tubes that go inside a pex connection. This keeps the pex sturdy and leak-free inside the connector. I’ll need both rings, and one pex liner. Some quick connect fittings, like the interior view up above, don’t need these extra liners, because they are built into the body of the fitting already.
Once the liner was inside the pex, I just pushed the connector over it until it seated. Again, there’s about 3/4″ of travel in this specific connector, so if you are unsure, you can put a line on the tube to mark how far you need to push it on.
Completing the mission
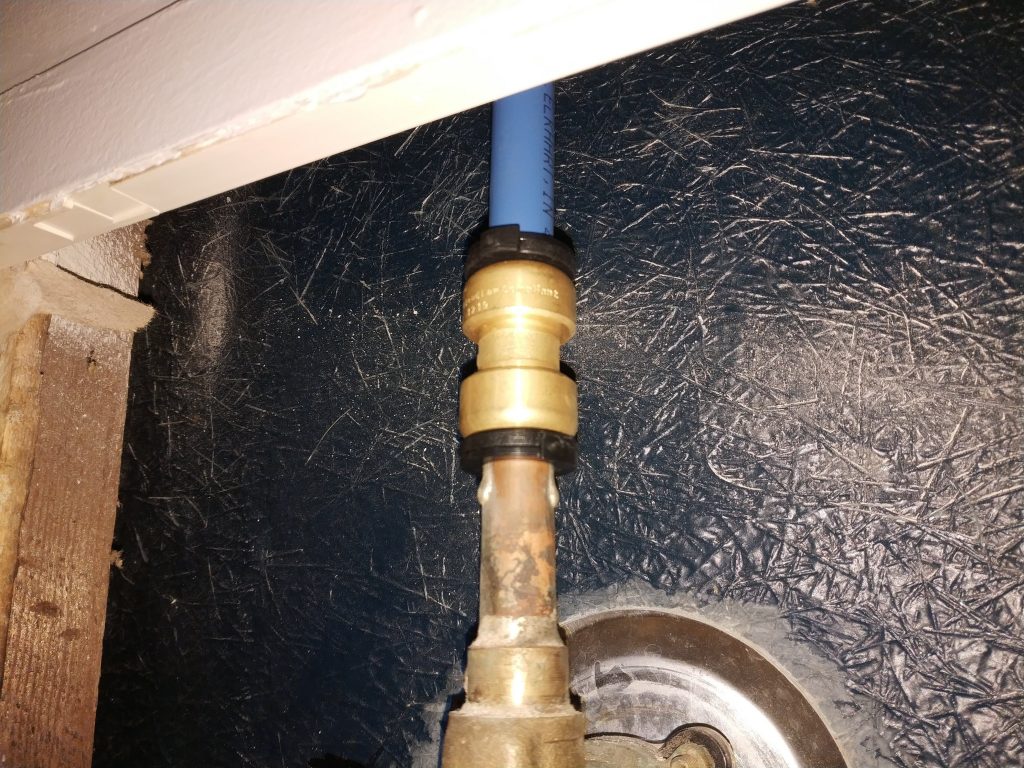
Now we just add the connector to the copper side. Copper is already rigid, so it needs no liner.
If these were two copper pipes, flexing the upper tube out of the way enough to make the connection would be too difficult, so the manufacturer also makes a ‘repair’ fitting, which is much longer (about 4 inches). The pipes would be cut further apart, the connector slipped farther onto one pipe, and then the pipes realigned before moving the connector back down to meet the other pipe.
But, my upper tube is pex, which is very forgiving and flexible. I was able to slip this final end onto the copper no problem.
Once the connectors are seated, I add the included clips between the plastic “buttons” and the body to prevent the pipes from backing off.
This connection is just as strong and waterproof as any other connection, even more so if your skill at making those other connection types is low! Of course, quick connect fittings are quite expensive compared to other options, so I wouldn’t use them in a whole house, but for a quick permanent or temporary repair, they can’t be beat.