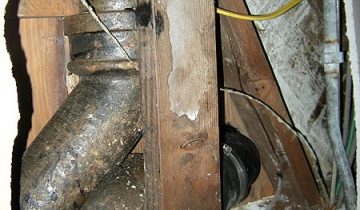
Was AJ able to get the pieces of laminate underneath the trim for the kitchen doorway? Are they securely connected to the rest of the floor? And, what other horrors lie undiscovered from the previous installer?
And now… the thrilling conclusion to: Installing Vinyl Laminate Flooring!
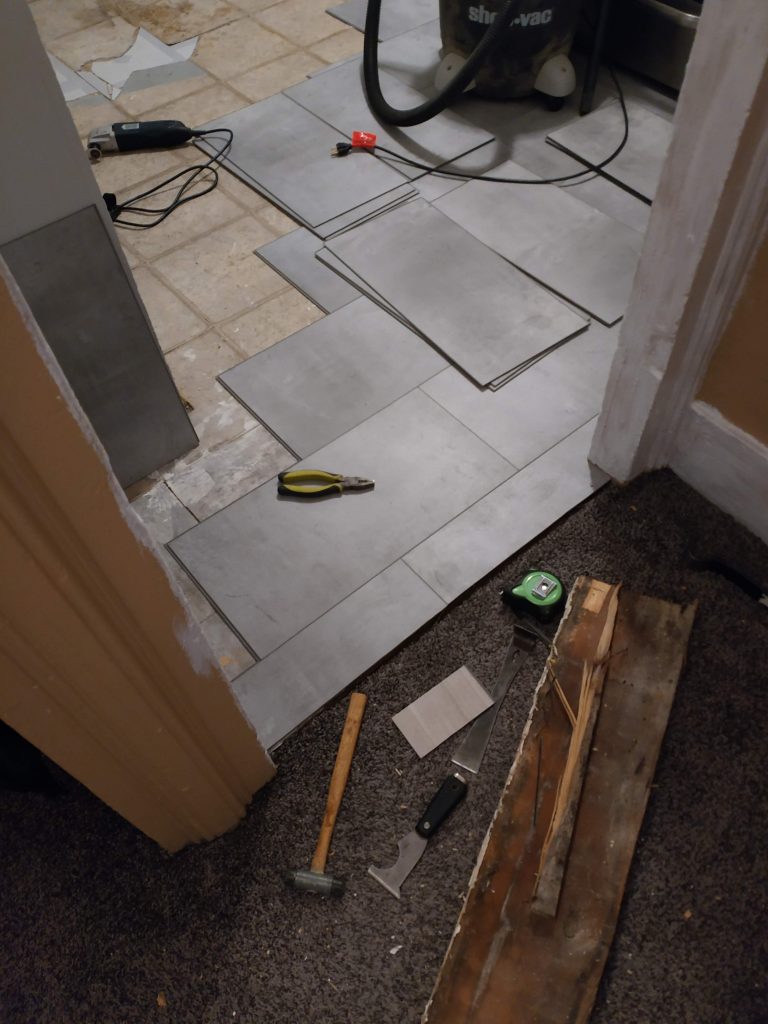
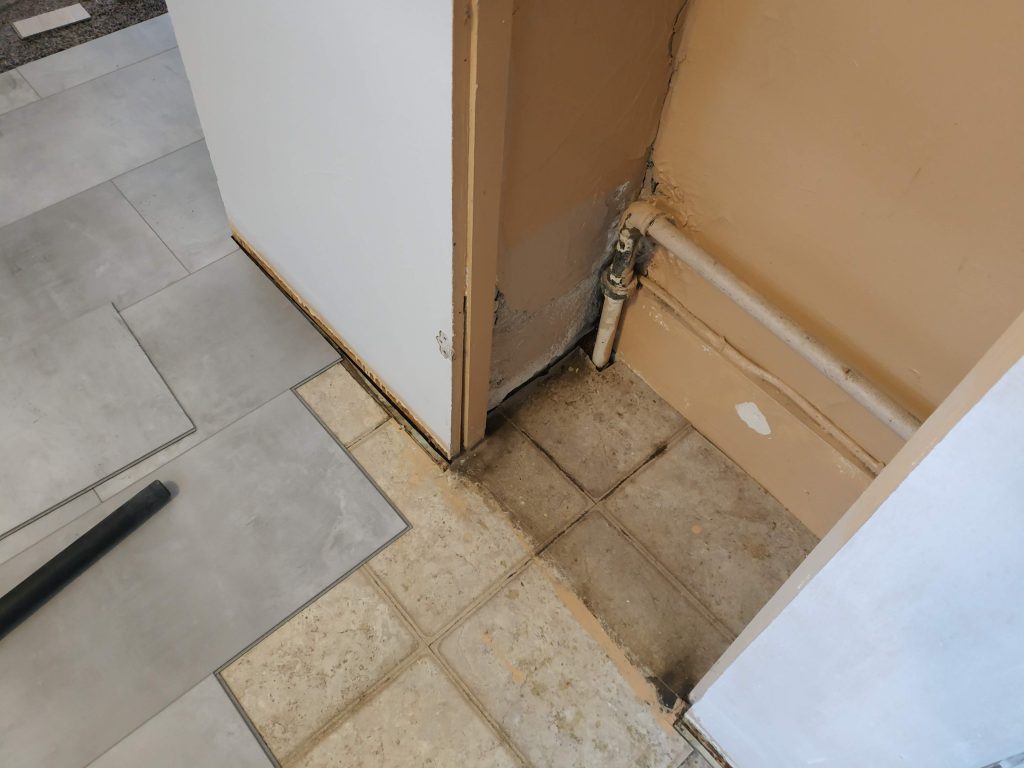
Assess the situation
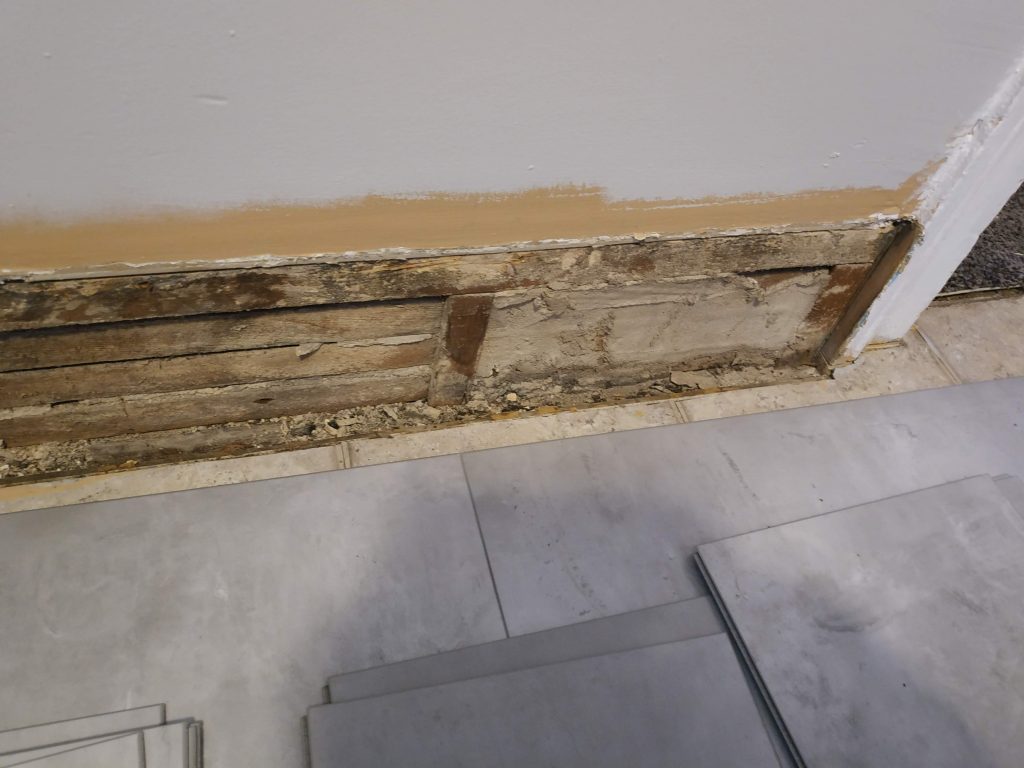
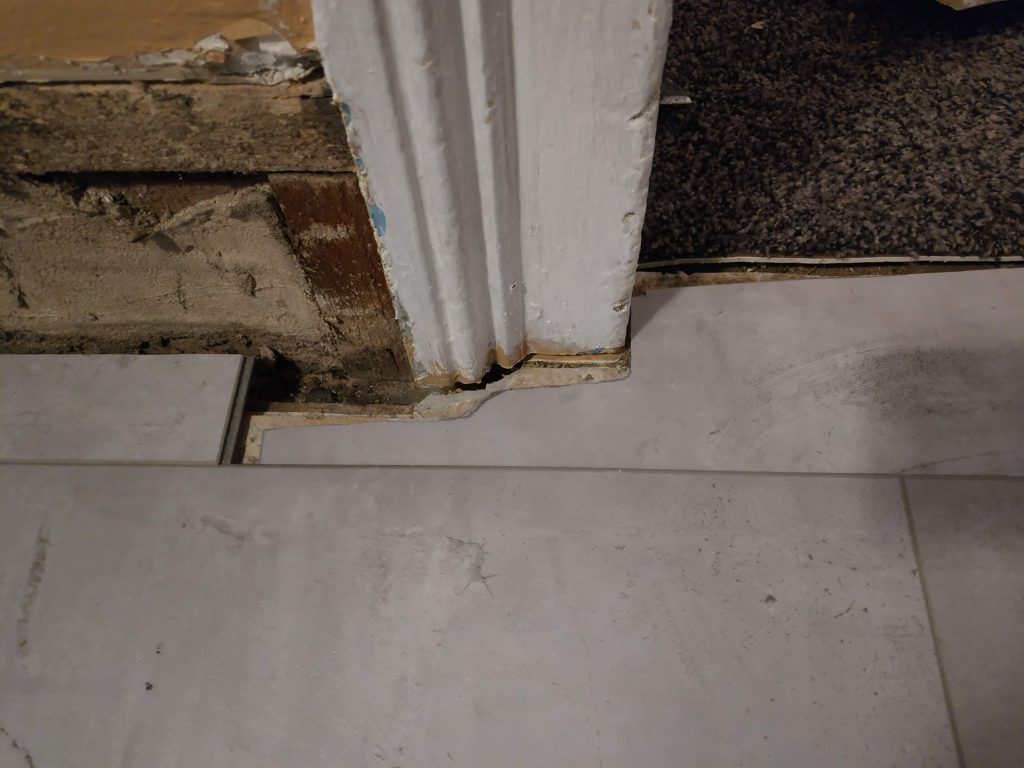
This thin gap will be exposed after we apply baseboard, about an inch and a half worth. This needs to get filled in.
And NOT with caulk.
I measured up to the wall and gave myself an expansion joint of about 1/4″, though up to 1/2″ would be fine, since we are putting a baseboard here 3/4″ thick, to match the rest of the space. This measurement ended up at 2 1/4″. I then measure that up from the bottom of a full piece to get a cut line.
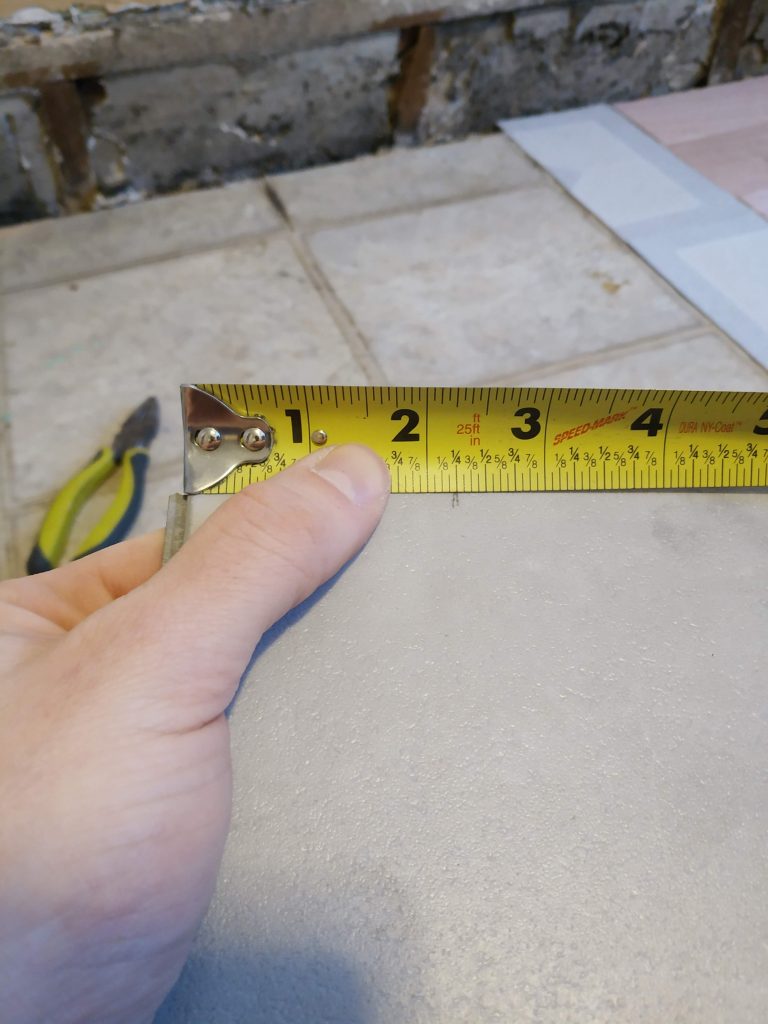
I scored and snapped this piece, and then worked on the length.
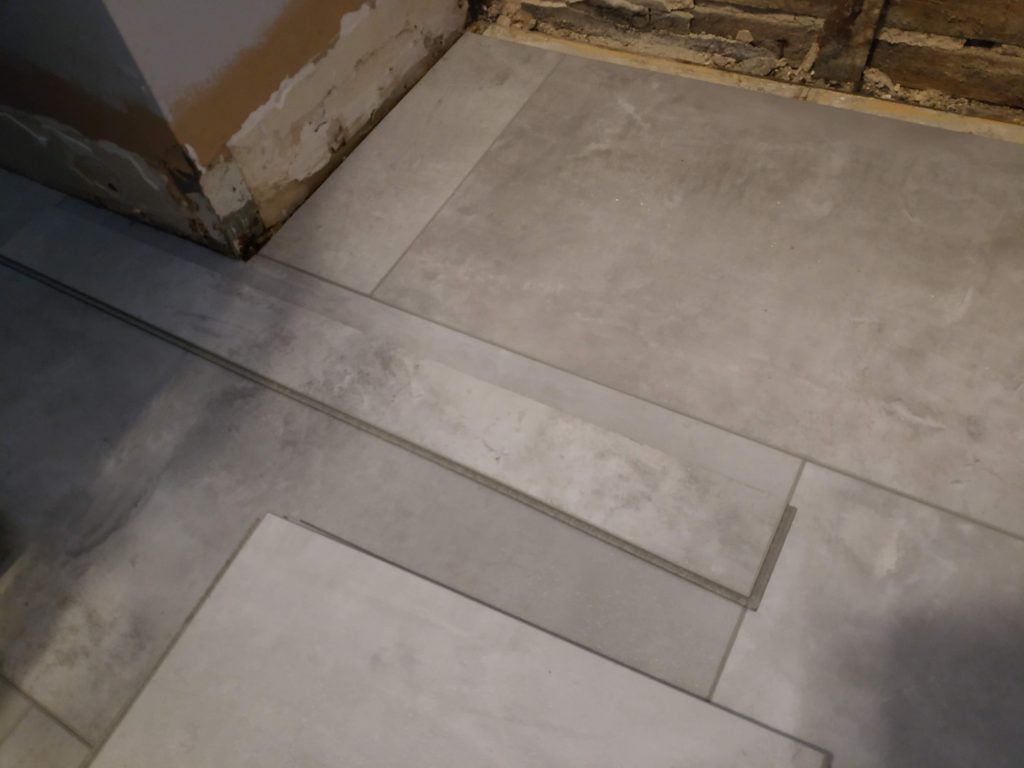
I lined up this segment with the full piece below where it would go, which has a matching edge plane. I then matched the remaining length of the row above, which abuts the same wall. Two pieces like this went in just fine.
Now the tricky part…
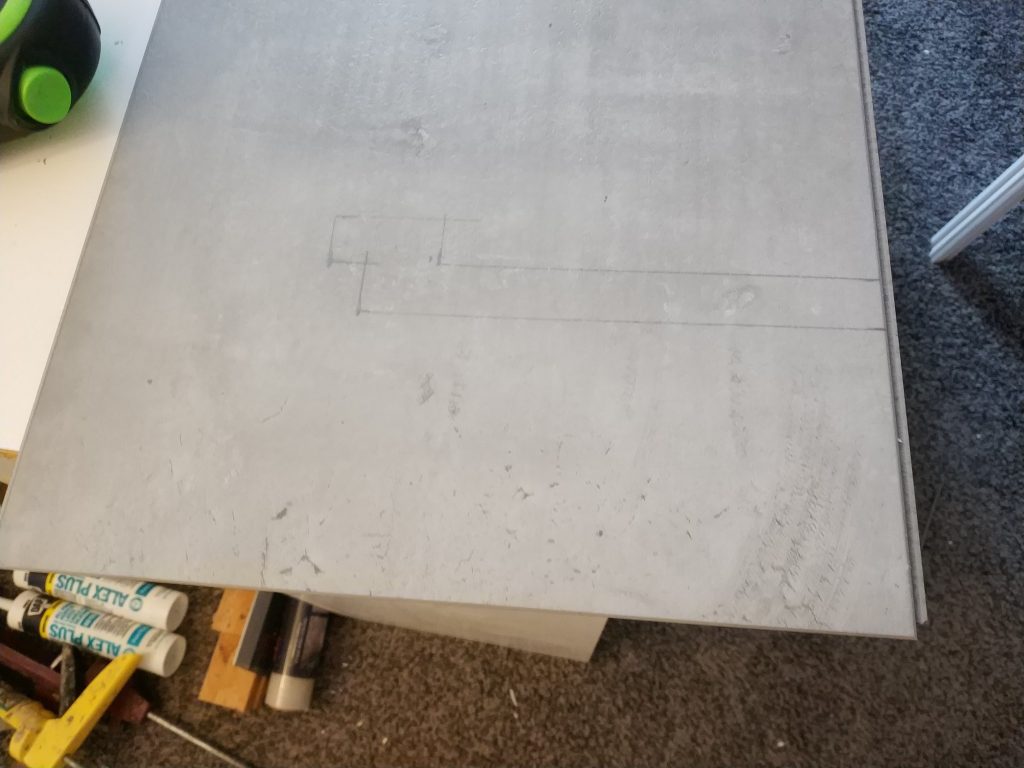
The next piece in the doorway will be about 5″ at its longest point. I cut a piece at 5″, then, and laid the cut portion along the existing piece’s seam, as you’ll see in the next few pictures. We’re going to transcribe (or “scribe”) the shape of the wall onto this piece.
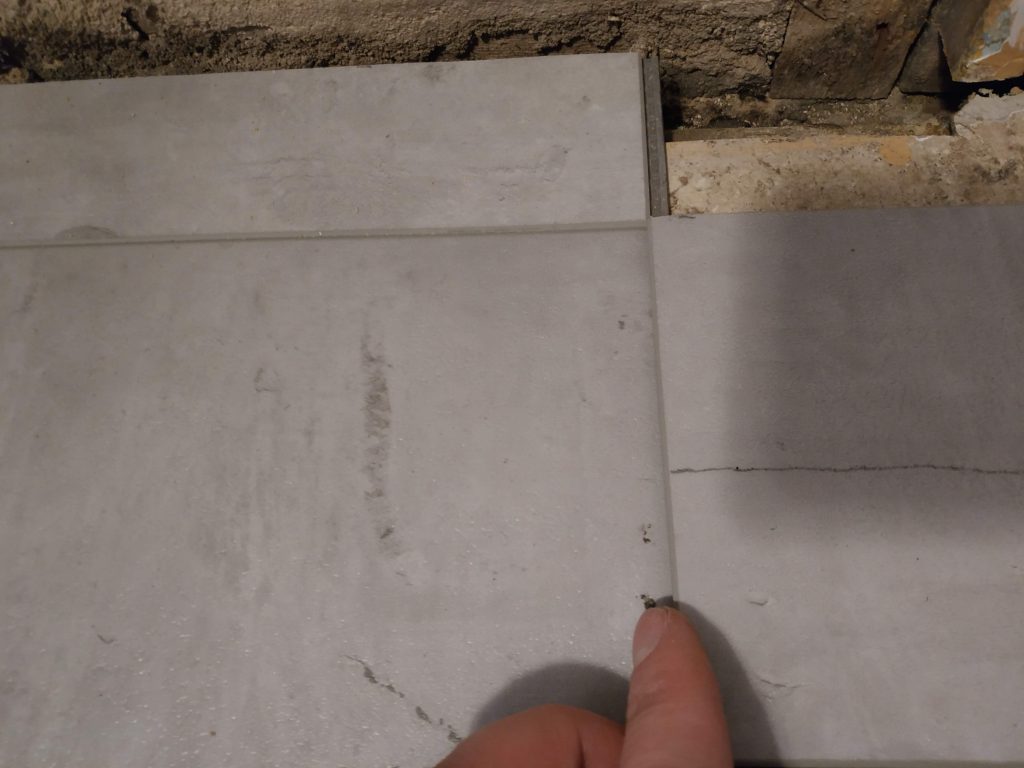
With the piece lined up with the long seam, I know that it will need to shift away from me 5″. So, I want to find anything in my way, and figure out what it will look like when shifted towards me 5″. Basically, I’ll move my tape measure along the wall, and note the 5″ mark as I go along.
I started with a line for the wall, leaving the same expansion gap as before.
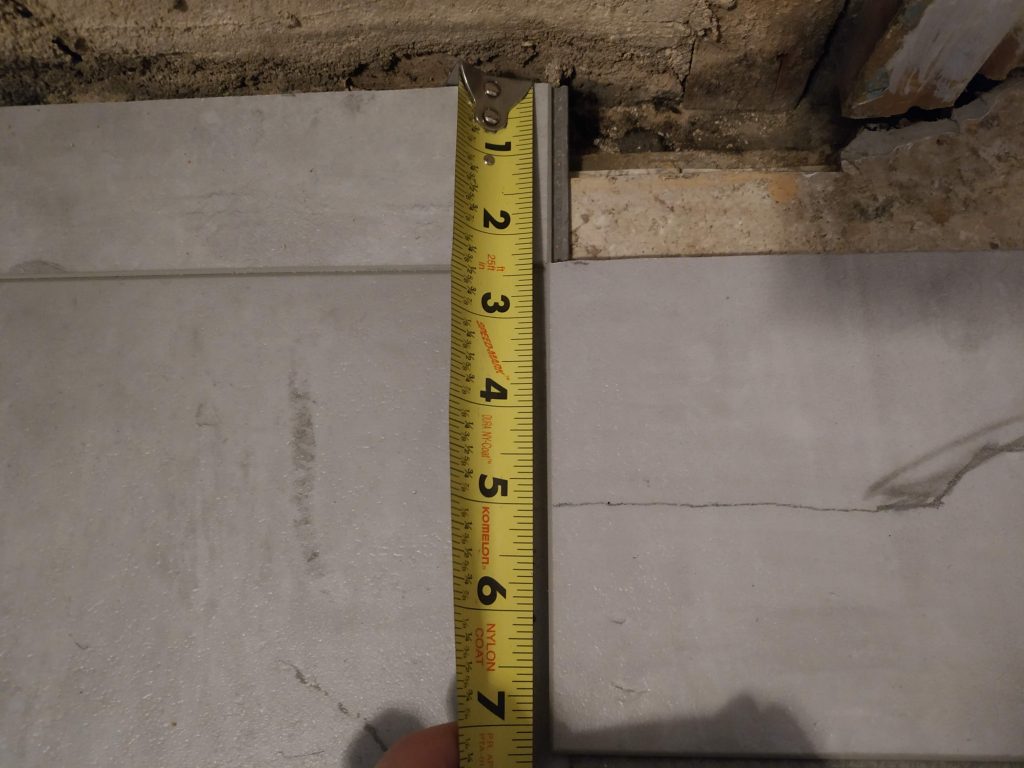
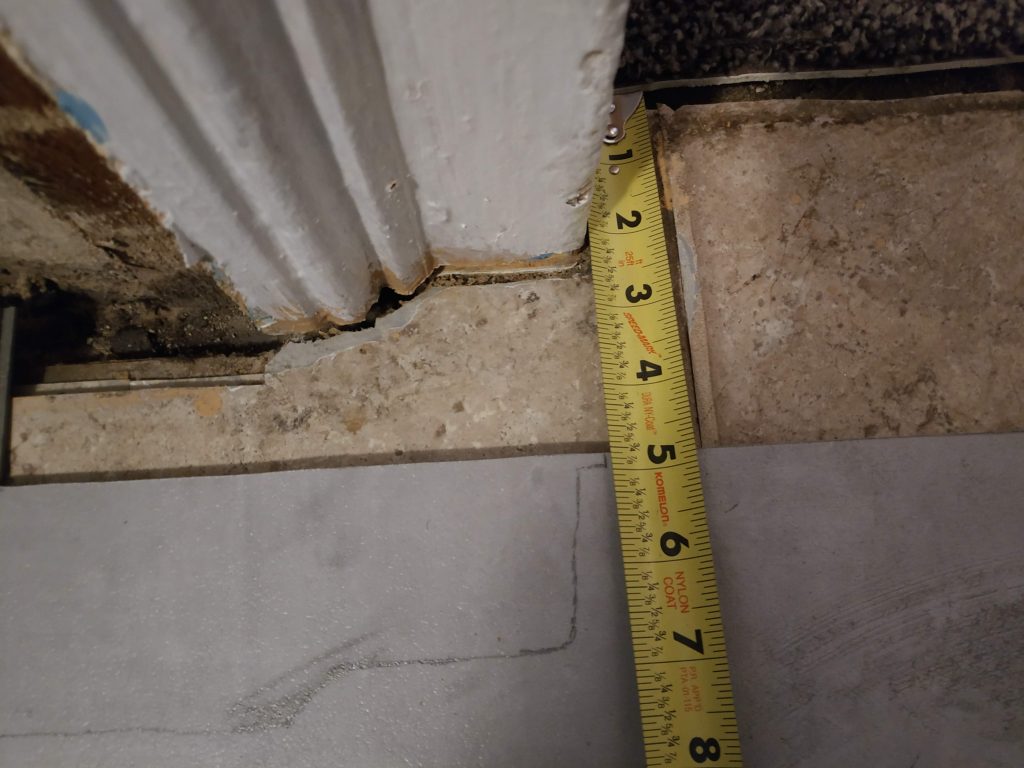
Now we need to get underneath the door trim. I’ve undercut this to a depth of at least 3/4″, so I’ll put about 1/2″ of tile in there. This gives me a measurement of 4 1/2″ at the trim details.

We can always trim a bit more later if this doesn’t quite fit. Next, the doorway itself, which should be 5″ on the money.
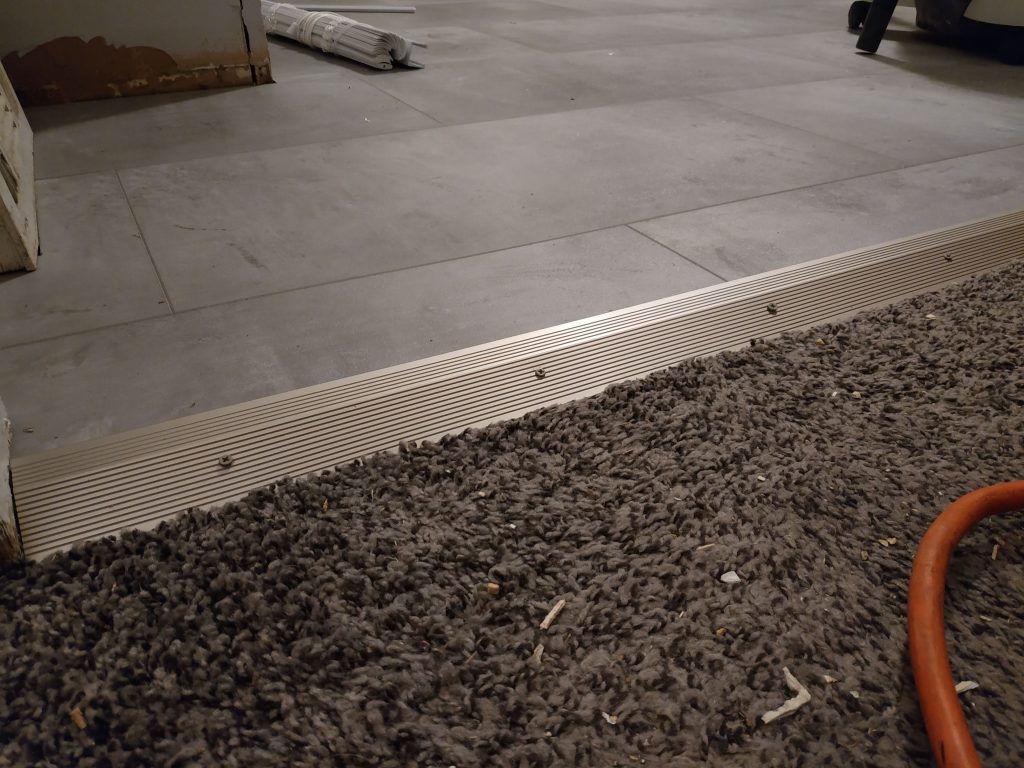
Close enough. We will have a threshold here holding down the edge of the new flooring.
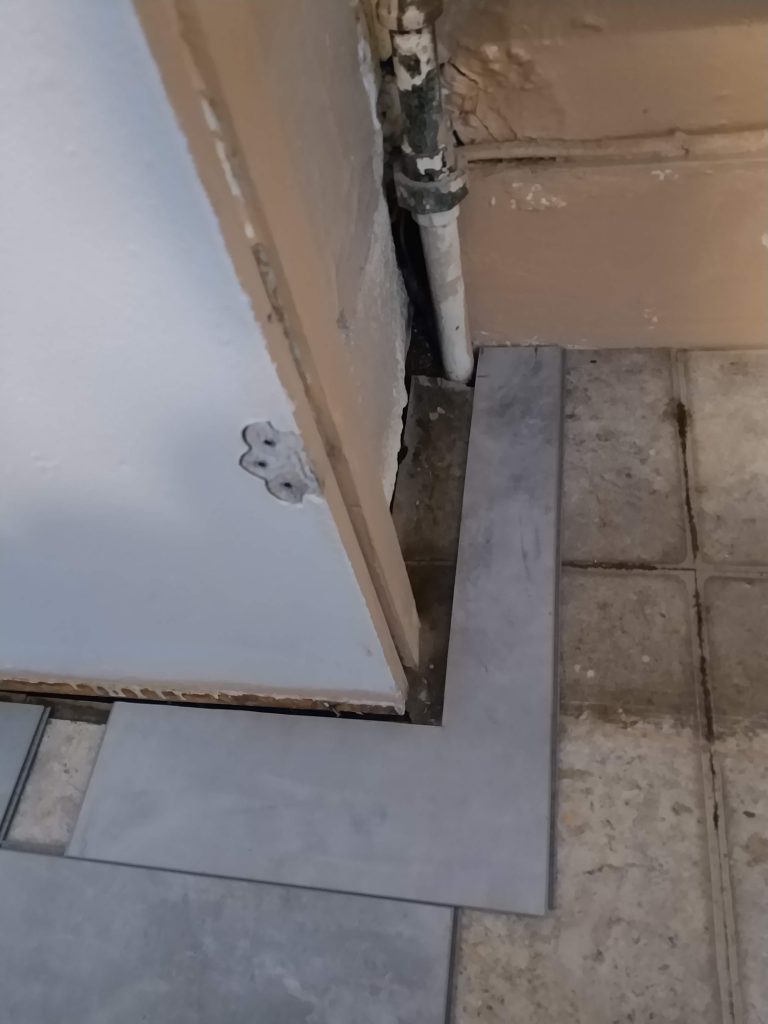
Let’s finesse
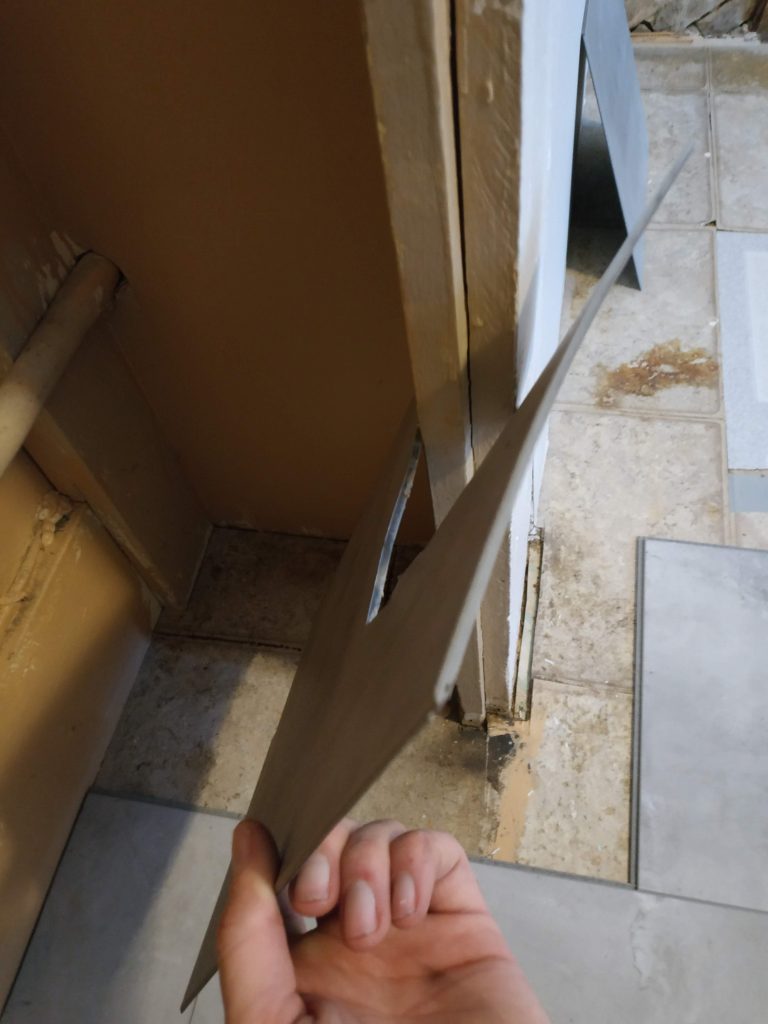
I cut this piece with a handsaw and the matte knife up to my line, and then tucked it under the existing pieces for a test fit.
Well, it did look good, but it didn’t fit. I had to shave a bit under the door frame. I went a little bit at a time to get a good fit.
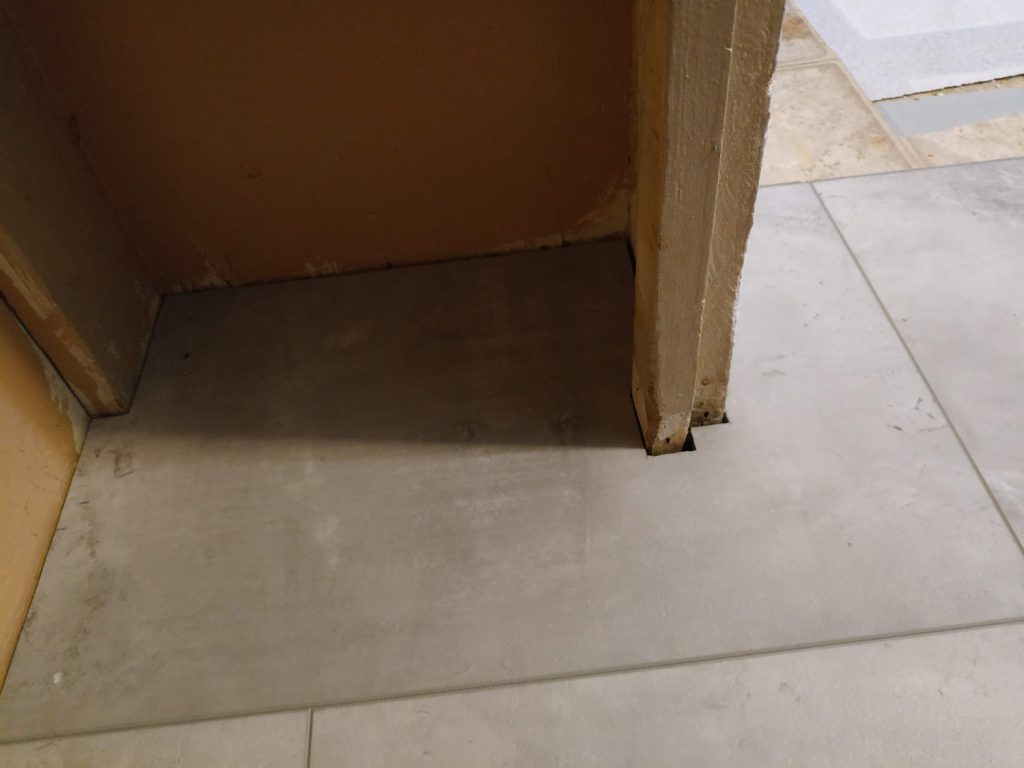
Once the piece slid into position properly, I forced it into its proper Z-axis location relative to each piece. The instructions don’t say to pound in the long edges; they are supposed to meet at a ~60 degree angle and then flatten out. I can’t really do that here because of the door frame. This was my big mistake.
So, once I got the piece about where it was supposed to go, I applied pressure from the top down along the seam, and then firmly tapped the new piece from the doorway into the existing row.
Luckily, the seam took, and the pieces mated. Once they were together, I was able to budge the piece to the left a bit, to meet up perfectly with the next cut piece in line, and pounded that seam home.
But, when moving pieces left to right, be sure to use a BLOCK, and pound on the TOP SURFACE OF THE TILE instead of the tab.
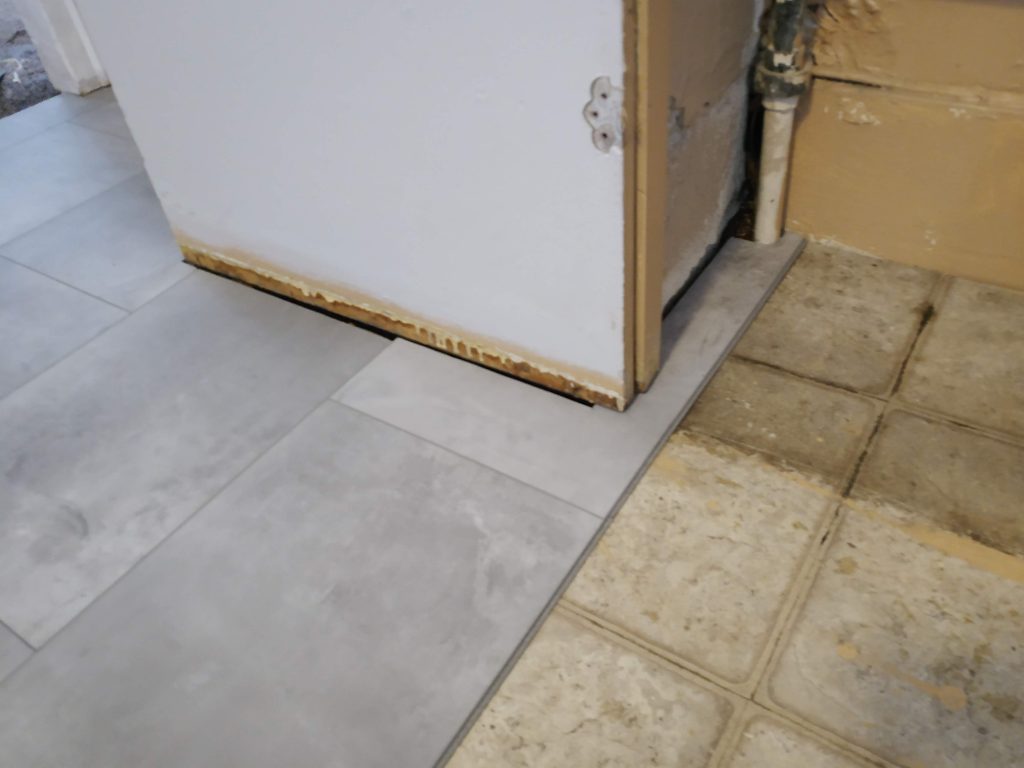
I broke off the connecting tab, right in the middle of the doorway. Second big mistake. Not ideal, but this is a narrower piece, and it will have a threshold keeping it down, so I’m cool with this.
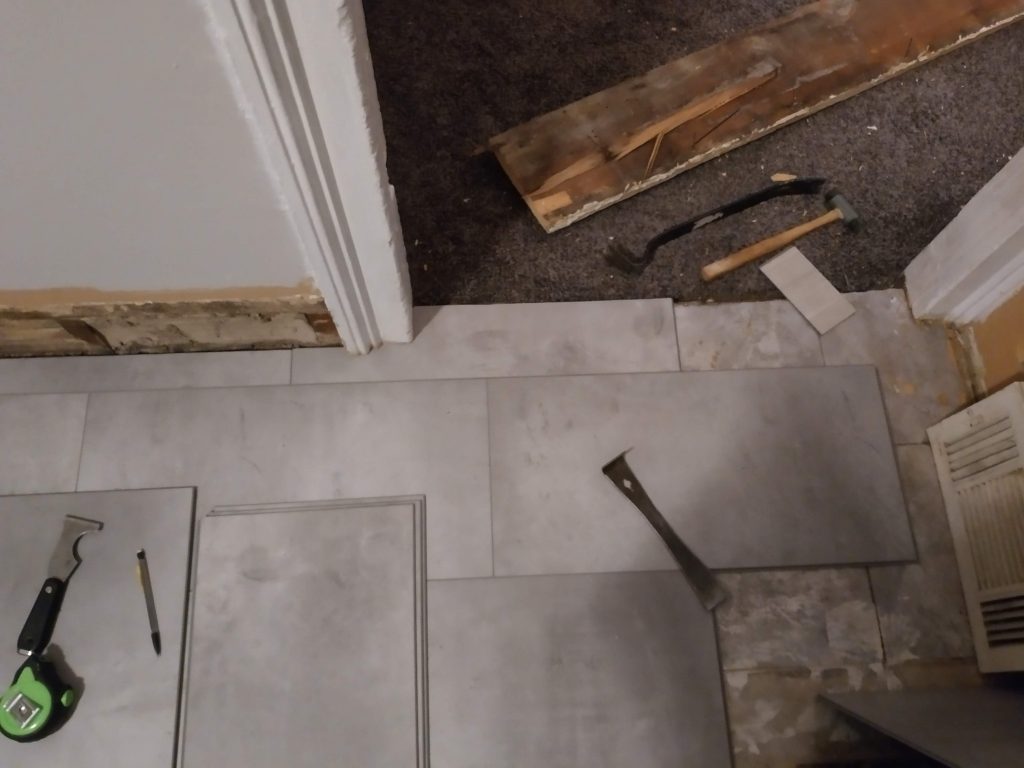
The right side of the door went just about the same way, and I am finally able to continue cuts down the “right” side of the room!
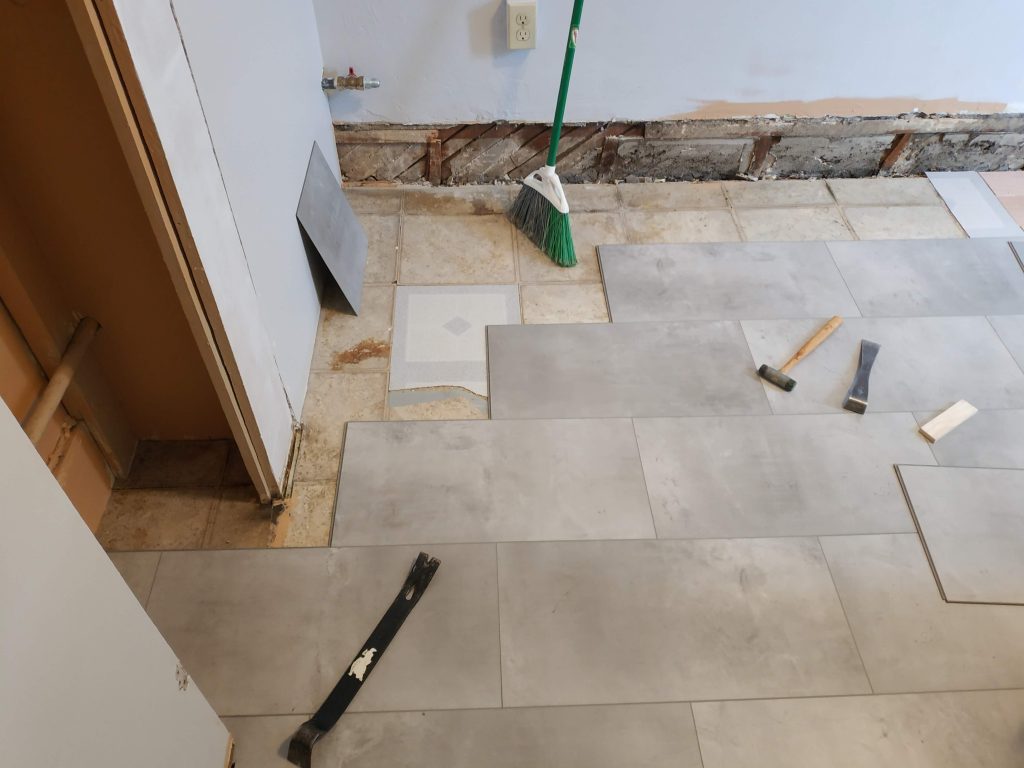
Cutting for the wall
We pick back up on the part where I am doing things correctly again 🙂
Let’s start by taking off the heat vent by the door; I’d like to put flooring under here, but not block the heat from coming ou…
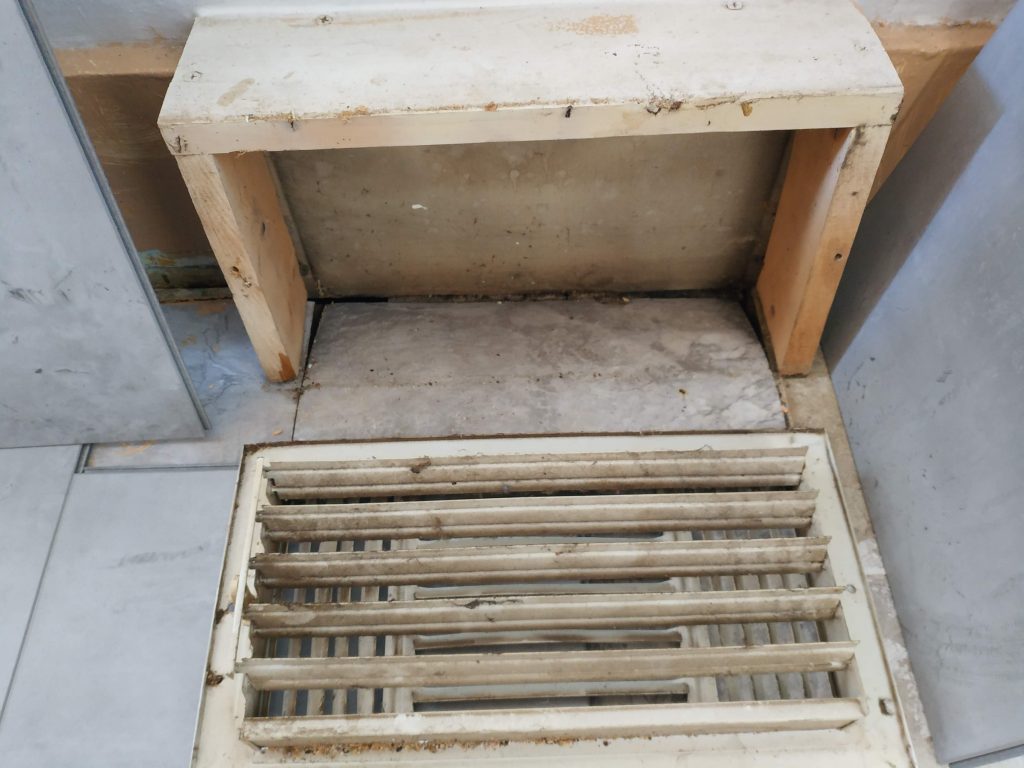
…uh…
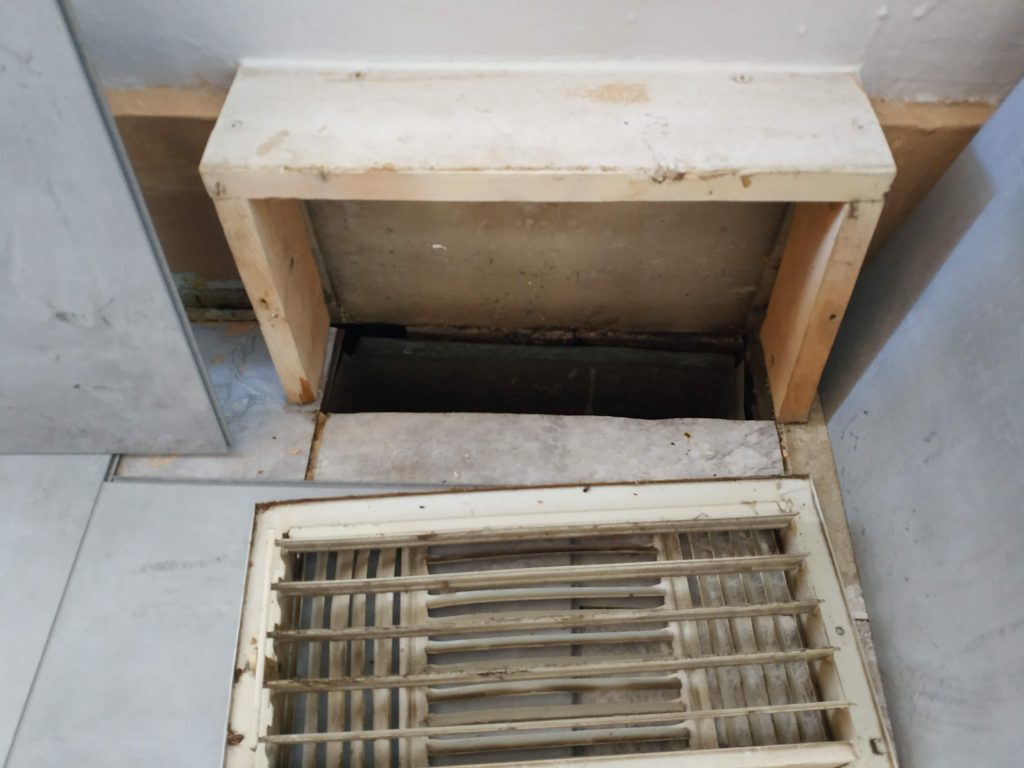
The installer before the previous installer just straight up floored over the heat vent. That explains why it was so chilly in this room.
After cutting that flooring to the proper size, I took off the wood surround, and measured for my next few pieces, going right up to the duct opening. I cut these with the hand saw and box cutter, and now it looks pretty good!
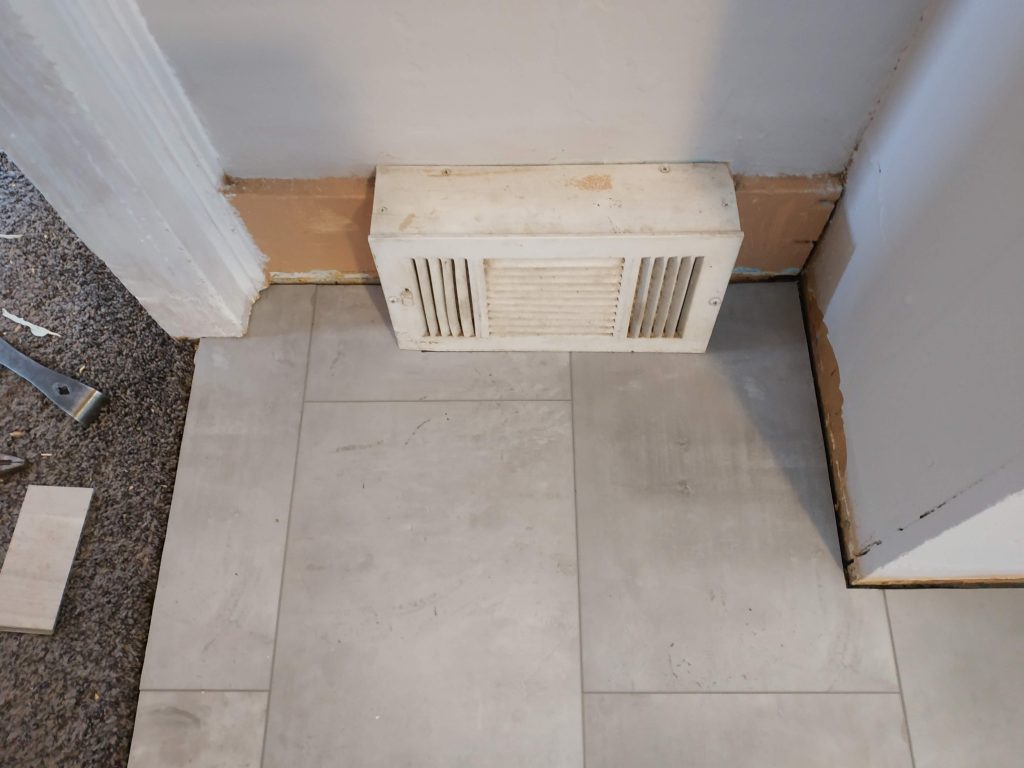
I’ll probably end up remaking this surround, since the floor is a hair higher, and because its made from split ends of wood.
With the doorway under my belt, cutting the rest of the room should be no problem.
Except…
The broom cupboard
I need to put flooring inside this small broom closet, which was built to help disguise the chimney. It also conveniently (but not for me) houses the gas connection for the stove (but not the shutoff).
The wood face is actually already off of the floor a little bit, so we can put flooring underneath. And, cutting around this pipe was no problem.
After marking for the pipe, I marked a nice curve to follow the gas pipe, and snapped it in place. This was the easy piece.
The other side of this cabinet is…. weird.
There is a cavity inside that goes in behind the stop for the door (which has been taken off for painting). I would really like to cover as much of the floor inside the cabinet as I can, so I got creative. I first carefully measured the transition points, and connected these together to make an outline of the cuts I need to make.
Because of the shape inside the cabinet, I had to get inventive when testing the fit.
It was particularly annoying when the fit didn’t work, and I had to pry it back off. But, after a dozen or so tries, it fit quite well!
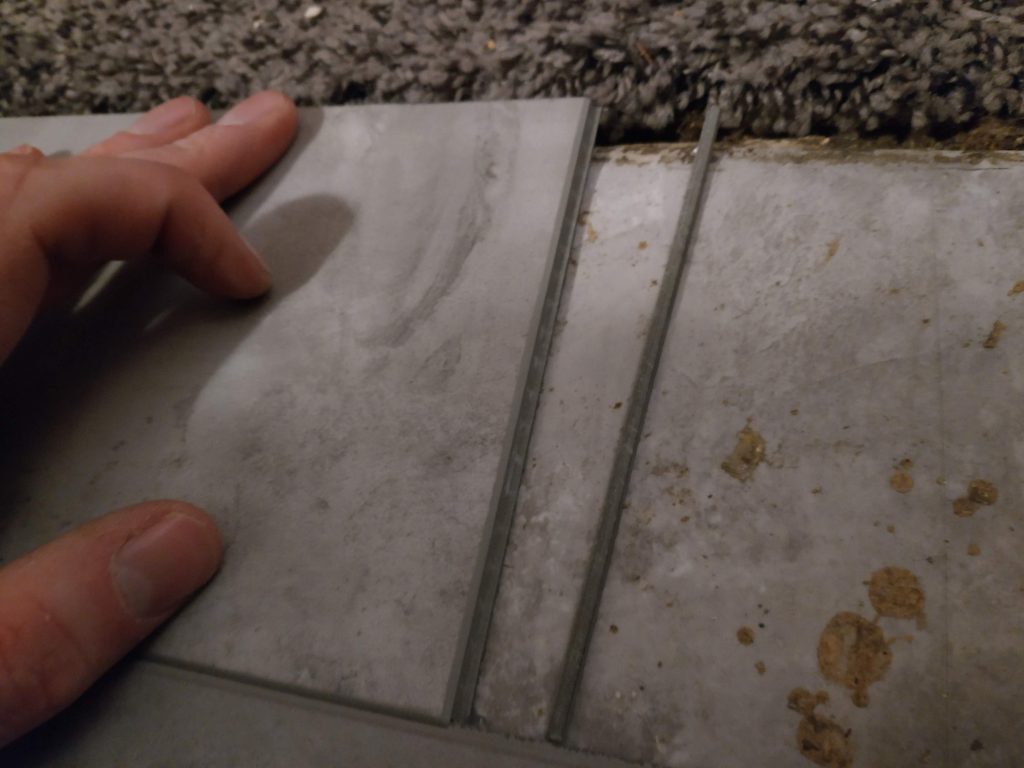
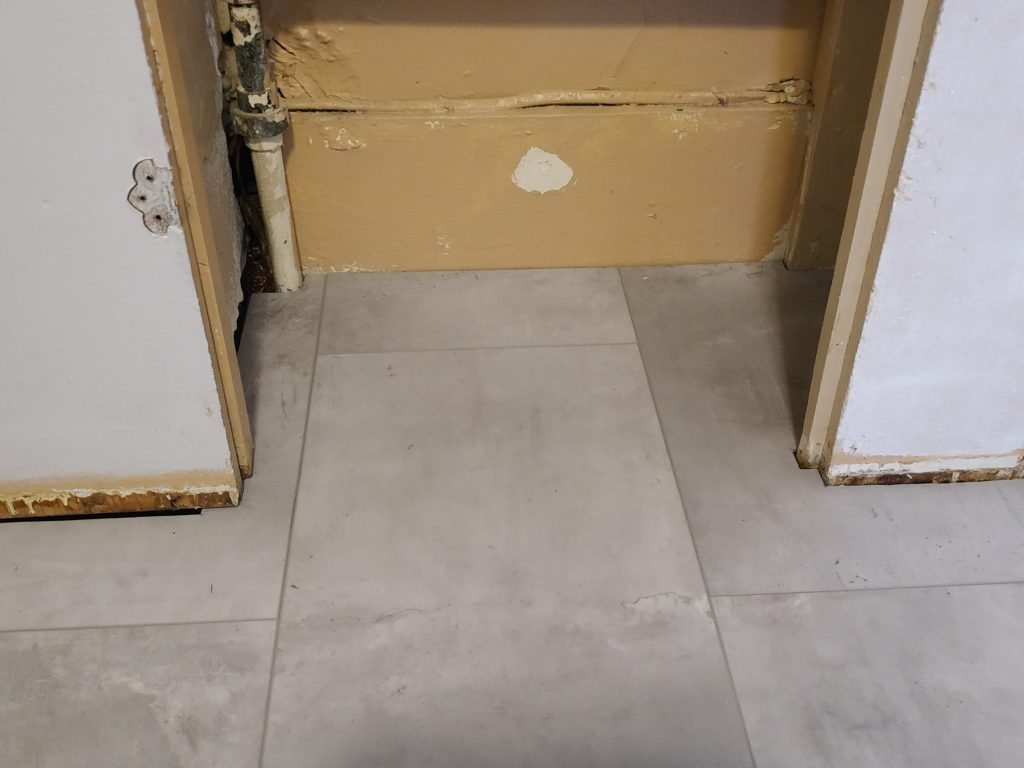
And hey, peep the difference an undercut makes! I wasn’t able to undercut the right side because of nails, but the left side did have an undercut. See how much cleaner it looks?
Race to the finish
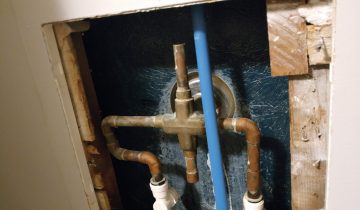
Since we are now accomplished in making simple cuts at walls, complex cuts at corners and details, and can get around pipes, there are no other surprises in the rest of the installation, even under the sink, with the supply and drain pipes.
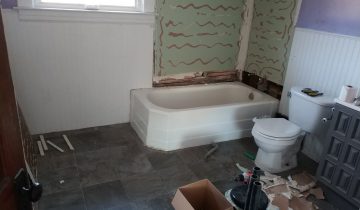
We couldn’t help ourselves, and once the floor was finished, we put the appliances and most of the cabinets where they needed to go.
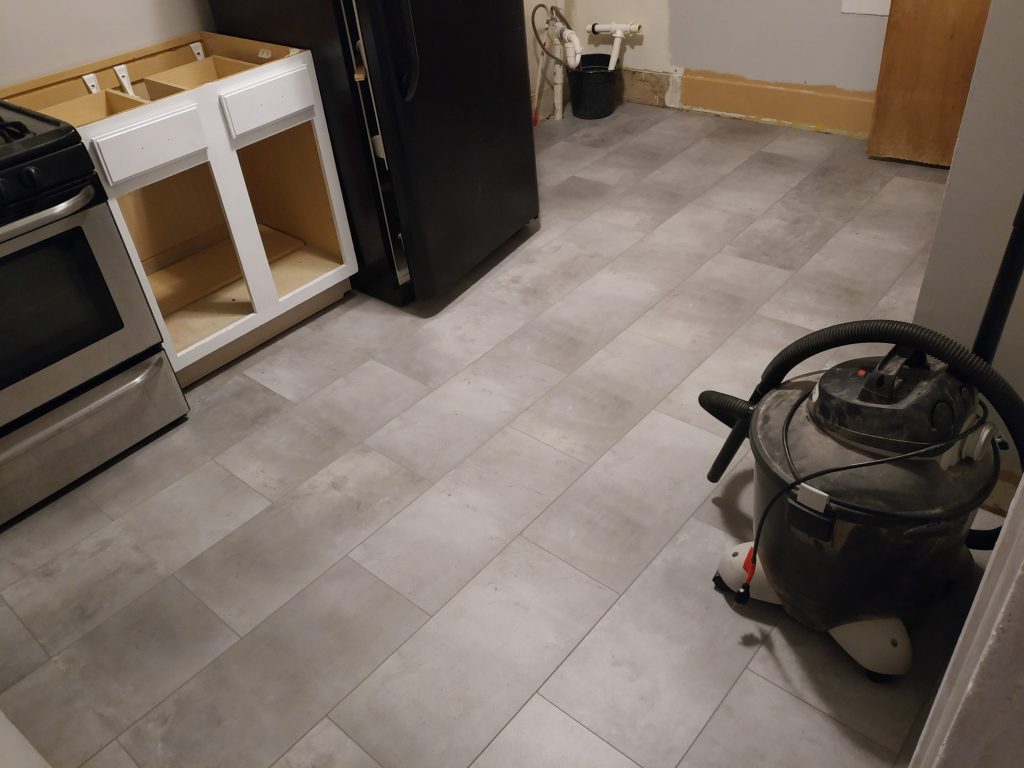
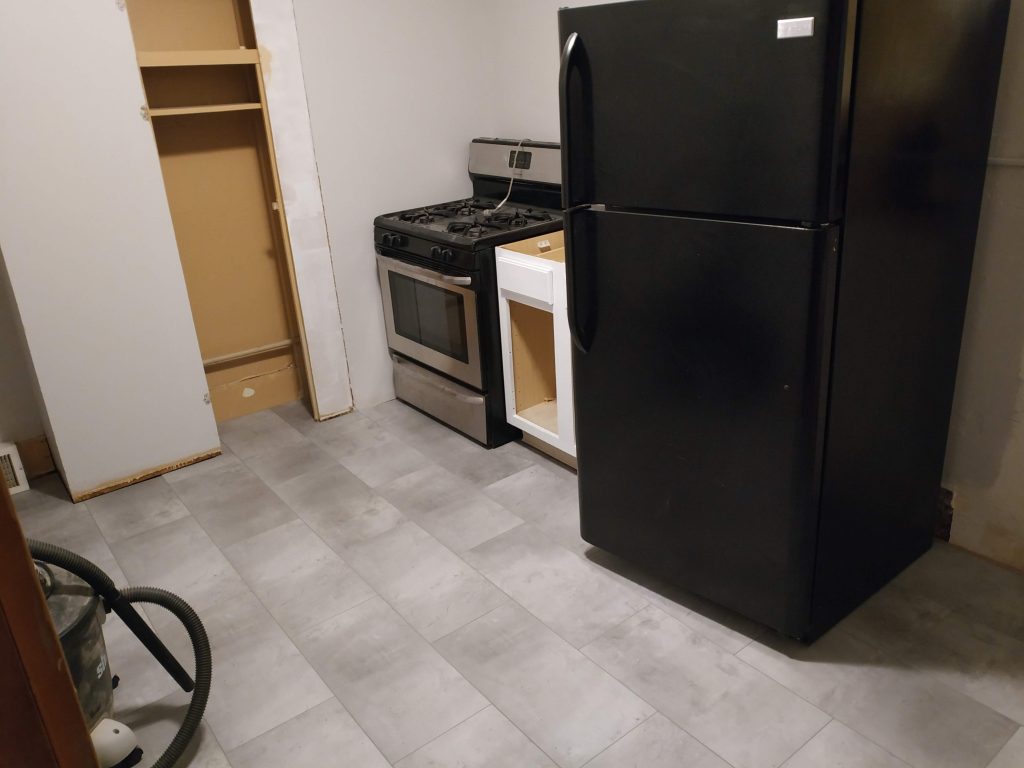
And with the addition of the threshold, we are done!
This floor is not only waterproof, it also has a lifetime residential warranty, which would apply in residences like apartments. Even though this is a ‘commercial’ property. So hopefully, we won’t have to do this again!
I definitely recommend this floating click-together waterproof vinyl tile over other options in the same or lower price ranges. It’s forgiving over uneven surfaces, won’t peel up at the seams, is completely waterproof, doesn’t require messy glues or self-adhesives to stick down, and can be installed with not much more than a matte knife and a saw.