Hey all!
We are in the throes of spiffing up one of our rental properties to prepare for it’s impending… well, rental! And, while it has passed its rental inspection and is basically habitable, its…
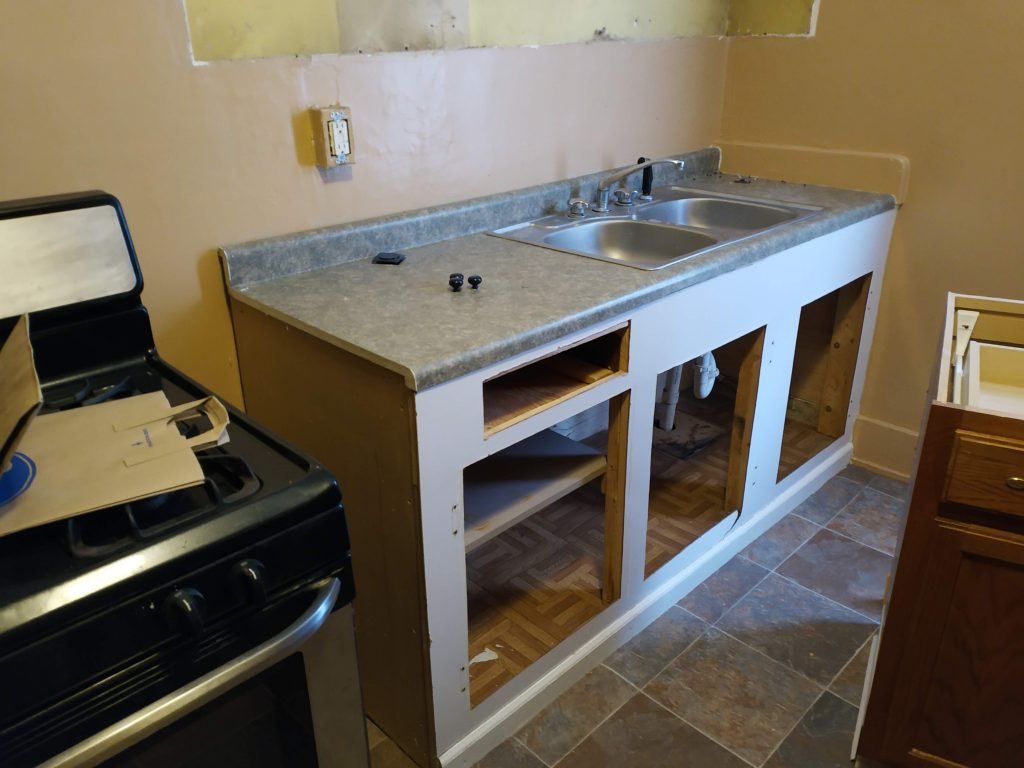
…ugly. I mean yeah I took out the drawer and doors on this cabinet, but with good reason. None of them matched. One was just a sheet of plywood.
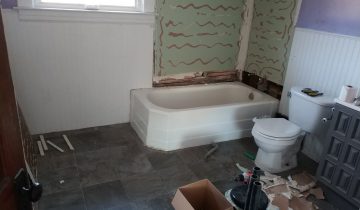
Particularly we will be focusing on the kitchen for this post. The floorplan wasn’t particularly aesthetic, but after closing off a barren cubby to square it up, it’s going to end up pretty nice. One of the spiffs we will add is replacing the current flooring.
Mistakes were made
The previous flooring installers made a few common errors during their install, which only takes a little time before and after the installation, but which makes a whole lot of difference in the finished product.
Firstly, they used sheet vinyl flooring. This is a rather cheap way to cover a floor, because it doesn’t need to be glued down, its waterproof (unless it gets cut or torn), and it cuts easily for installation (and at all other times too; see previous point). When you take care of sheet vinyl, it can last, but warranties are only in the 5-10 year range max, even for typical usage. And renters, well you can’t be sure that they will be as nice to the floor as you might.
Waterproof click-together vinyl plank flooring is the next step up, and only costs another 50 cents or so per square foot (and up). And, many manufacturers have a lifetime residential warranty. It’s super durable and hard, and it will be what we replace the sheet vinyl with.
Secondly, sheet vinyl was rolled out over the top of at least four other floor coverings. Four! None of these floor coverings were leveled very well or cleaned up before installation of the next layer, which translates through the sheet vinyl very obviously. There were a lot of waves and lumps which I couldn’t really catch on camera. We’ll need to clean these up as well as we can.
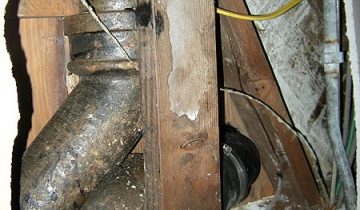
Third, the base trim around the room was not removed prior to installation. This means they had to add extra moulding, reducing the square footage of the kitchen, and making a less-clean finished look, particularly at the doorways. The cabinets were also not removed, and therefore they cannot be moved or changed without redoing the floor, since there is no floor under there!
Finally, for some reason, they ran the flooring RIGHT under the carpet in the hallway. How or why, I do not know, but its all nailed down so I’m just gonna cut that flush mmkay?
(There may be some bonus mistakes that we will find out about later, keep reading to find out!)
Clearing out the room
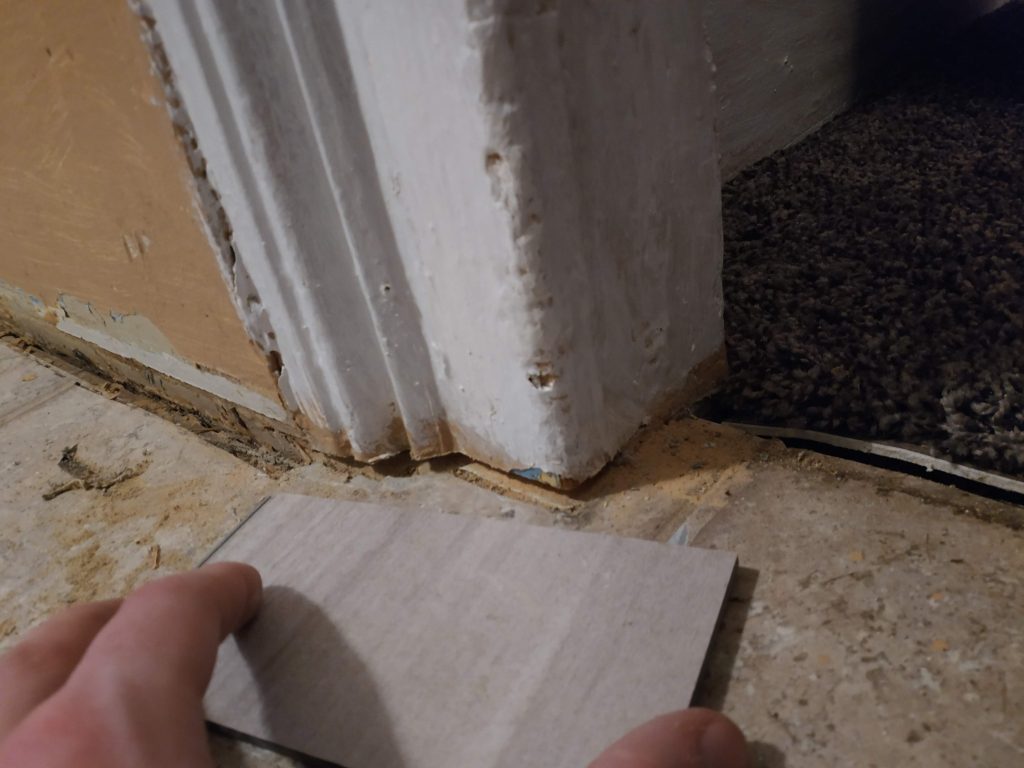
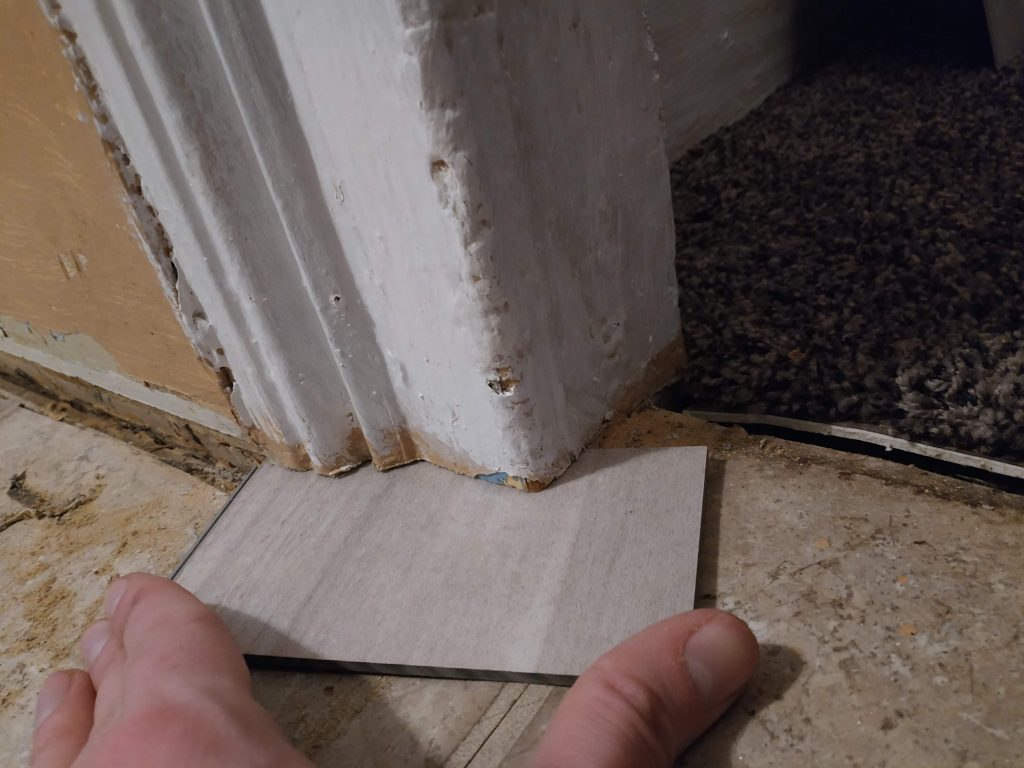
To avoid mistake number three, we will remove the cabinet, the toe moulding, the base boards, and undercut the remaining door trim.
Undercutting will allow flooring to slip right underneath the trim, so that we can care slightly less about finicky cuts, and have no gobs of caulk covering those sins.
I undercut with an oscillating multitool, using a sample scrap of flooring as a spacer. It took so little time, I didn’t even have time to capture it on film. You might want to use a Wood/Metal blade instead of just a plain Wood blade, in case you run into nails. If you do cut a nail, just add a nail right above the one you cut, horizontally into the wall.
Leveling
After removing the kitchen cabs, we found a good reason for not heading all the way down to the wood.
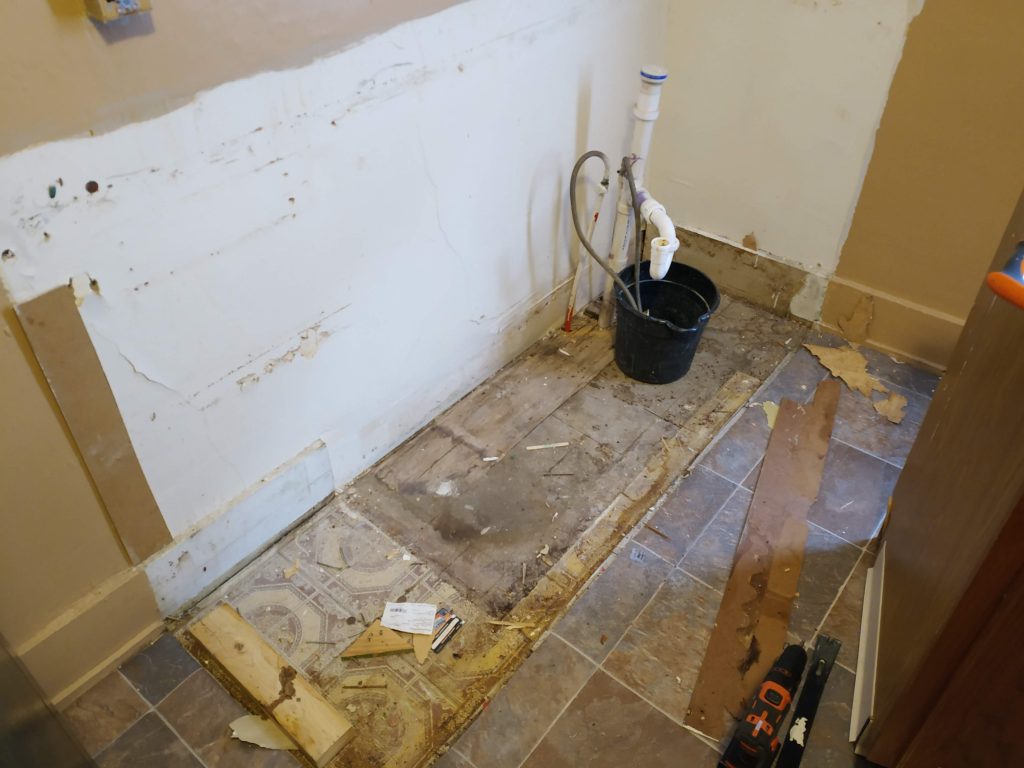
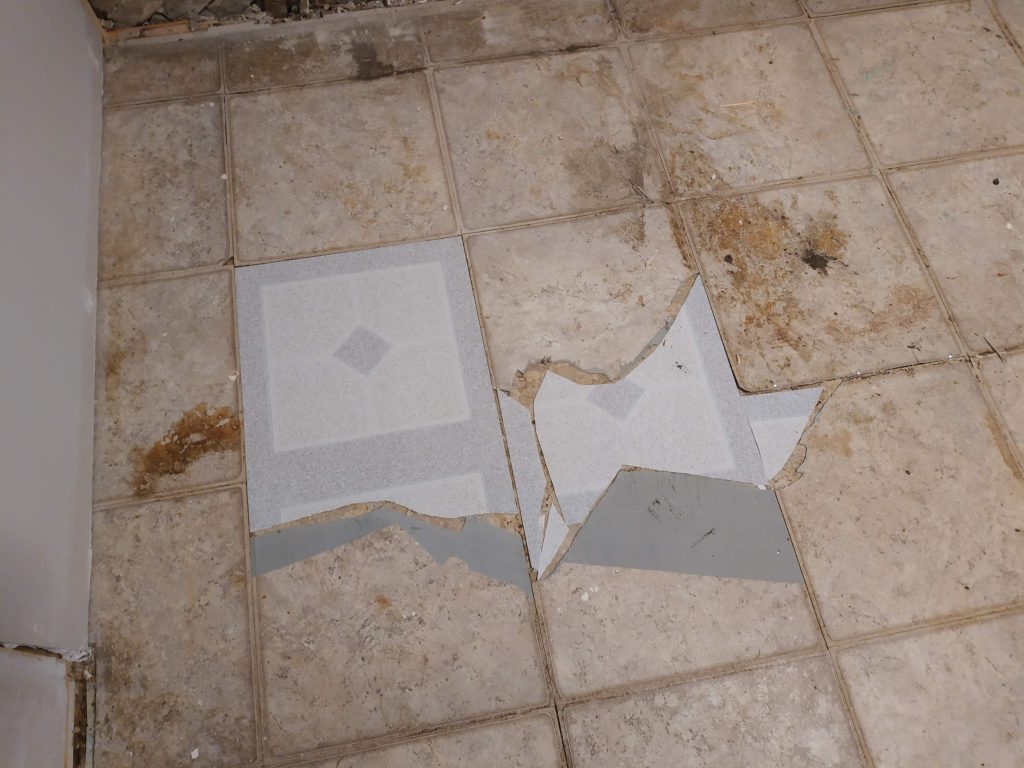
The pretty flooring on the left is particularly old, and while we didn’t get it tested, there’s a chance it could be asbestos tile. If left undisturbed, it’s quite safe, so rather than rip up everything and install new subfloor, we will level out whatever is under the old flooring, and go from there.
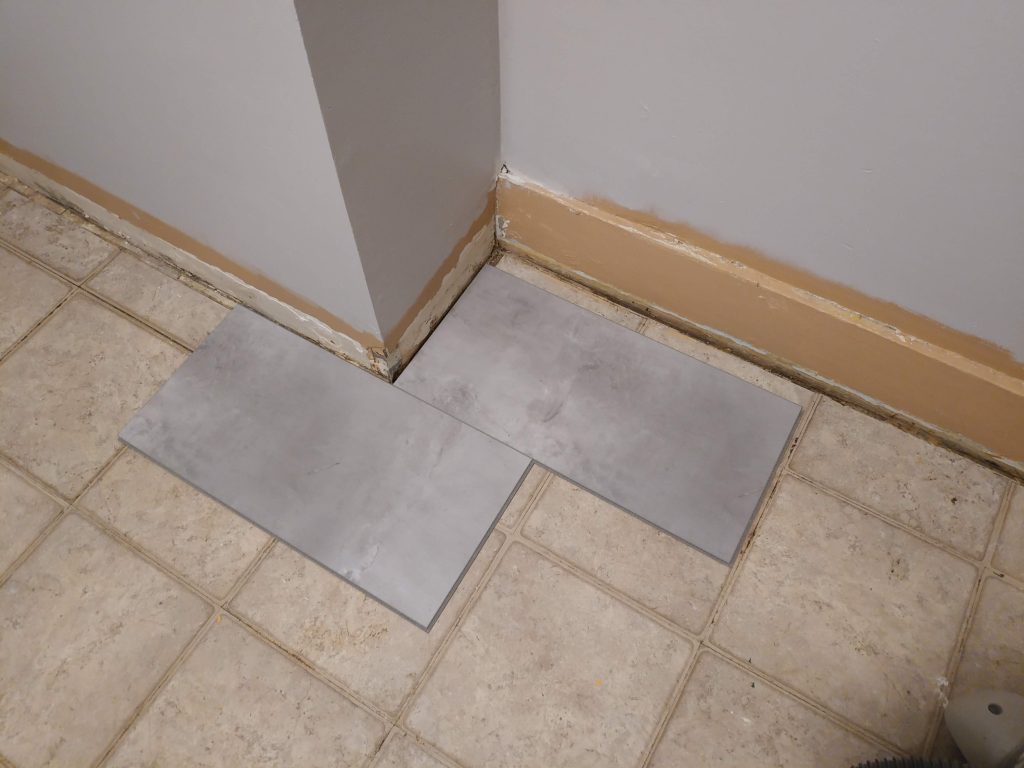
But, we do have to make up this ~5mm or so. Since the tiles under the sheet vinyl are regular squares, and they are usually nominal thickness, we picked up a few and got to leveling.
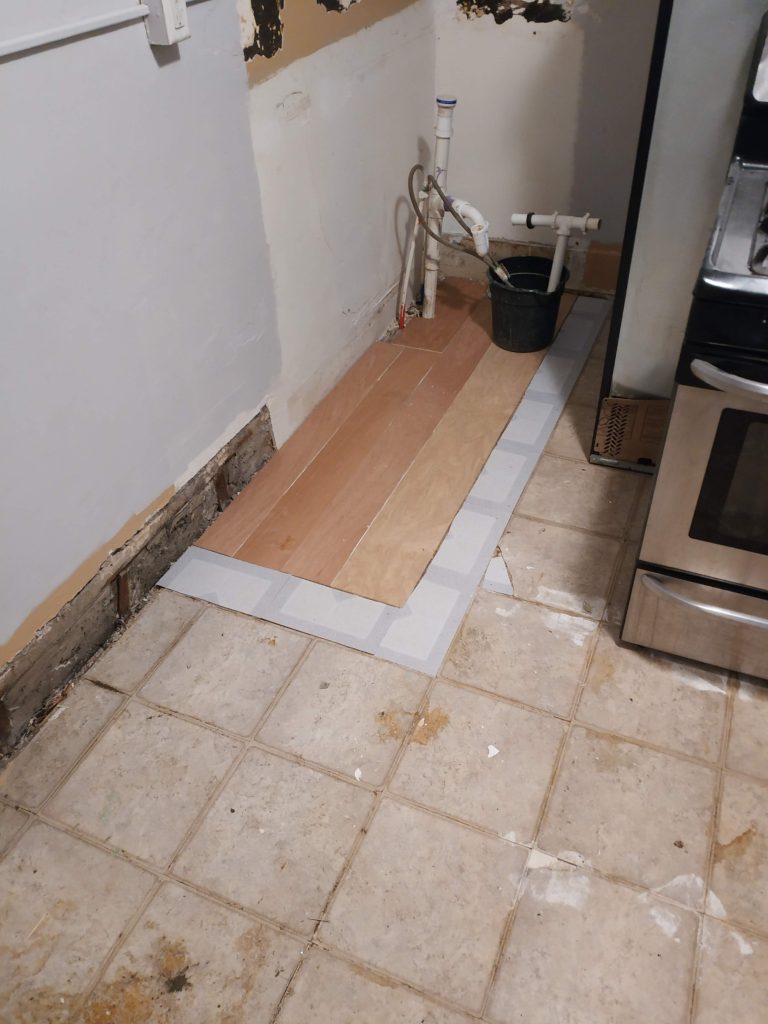
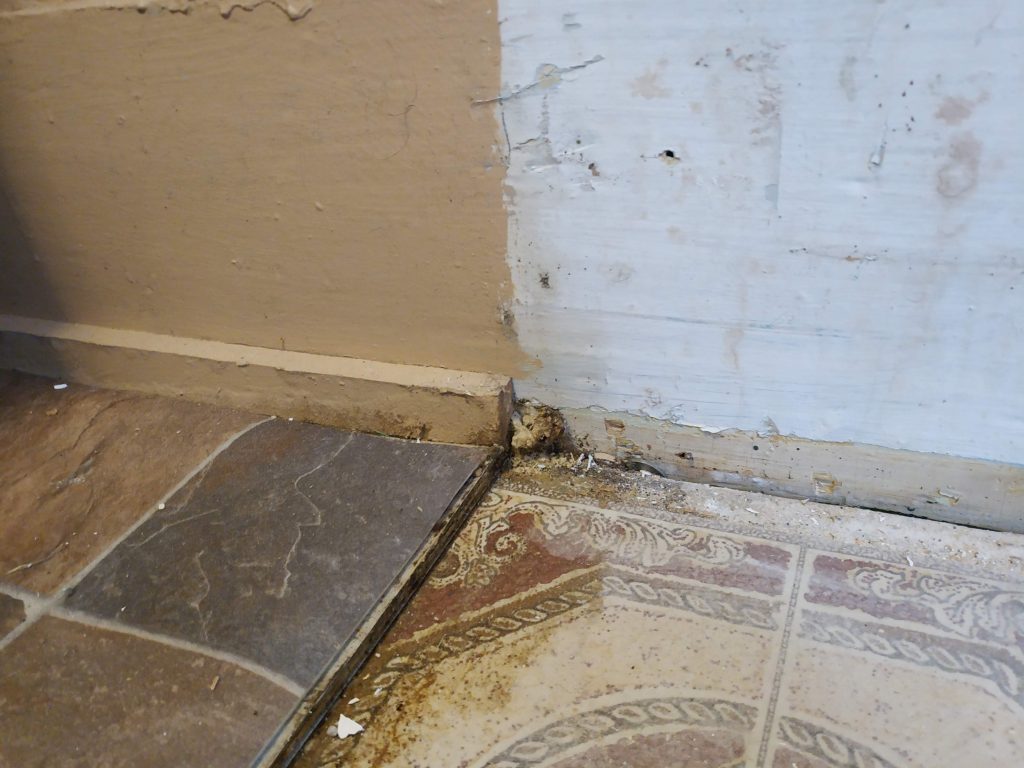
The deepest portion could be filled with underlayment, which is about 5mm (1/8″) thick. The rest got a series of cheap peel-and-stick tiles to fill out the appropriate depth, 3 sheets in this case.
There were also areas where tiles were curled or broken. Some gaps under our new flooring, maybe the size of a nickel, would be OK. But bigger areas got filled in with new tile “shims” the same way.
Some might recommend using leveling compound to finish off the process, but I’m not quite that picky. Plus the floor was about an inch lower in the middle than the outside, so it was just too much to fill in. Smooth will be fine. Though, leveling compound will help with air gaps under the floating floor, which would cause some vertical movement.
Layout
We select which direction we want the tiles to go, and also see if there is a way to avoid as many cuts as possible. The more full-width boards get used, the less waste there is.
This corner setup will let us go the full length of the left wall without cuts, but the shorter right wall will just need a few bits. There will be enough meat for the doorway off camera; about 6 inches of tile depth. I don’t want to end up with a tiny sliver to add here, since it will get a lot of traffic.
The other side of the room behind me will get a full length tile, but it will end up about 1 inch away from the wall…
This, though, is not a huge deal to me, since it will be covered up by cabinets, and the exposed areas where appliances go will have baseboard and toe moulding to fill in this space.
Tiles get laid out left to right, so that the tile to the right can overlap the tile to the left and interlock. So, a full piece goes in the “top left” corner. I’ll then cut half a tile to go under that, and use the extra piece on the other side of the room.
There is a lot more finicky stuff on the right side of the room, getting around the chimney, inside a fixed cabinet, and the door threshold. We’ll cover that in a little bit.
Now that my well laid plan is planned, its time to, well, lay it!
First tiles
I carefully swept and vacuumed the floor and all corners, and also swept as I laid, to make sure tiles sit flat. Mopping is recommended if the floor is particularly dirty. Normally I would lay a chalk line down to make sure the tiles go in straight, but since there are already nice squares on the floor, I skipped it.
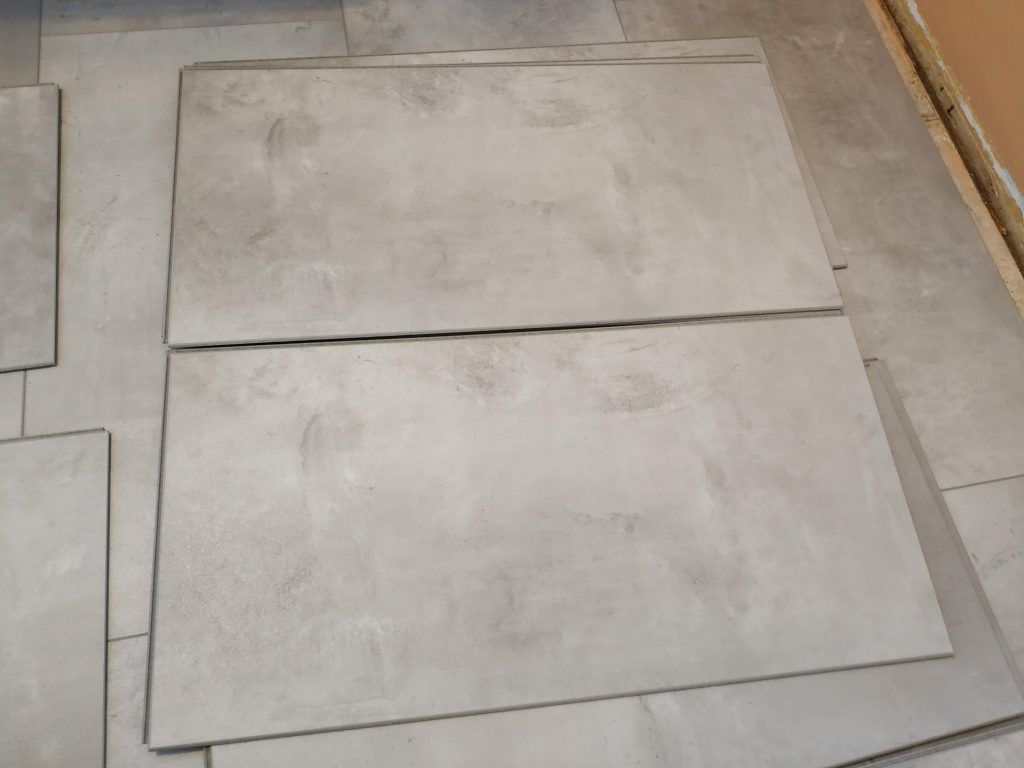
I followed the instructions on the box for connecting the tiles, and leaving sufficient gaps around the edges for expansion and contraction.
These first rows have to be laid very straight, so after laying a course or two, adjust as needed. Two rows of tiles is light enough to shift a bit, but more than that gets pretty heavy.
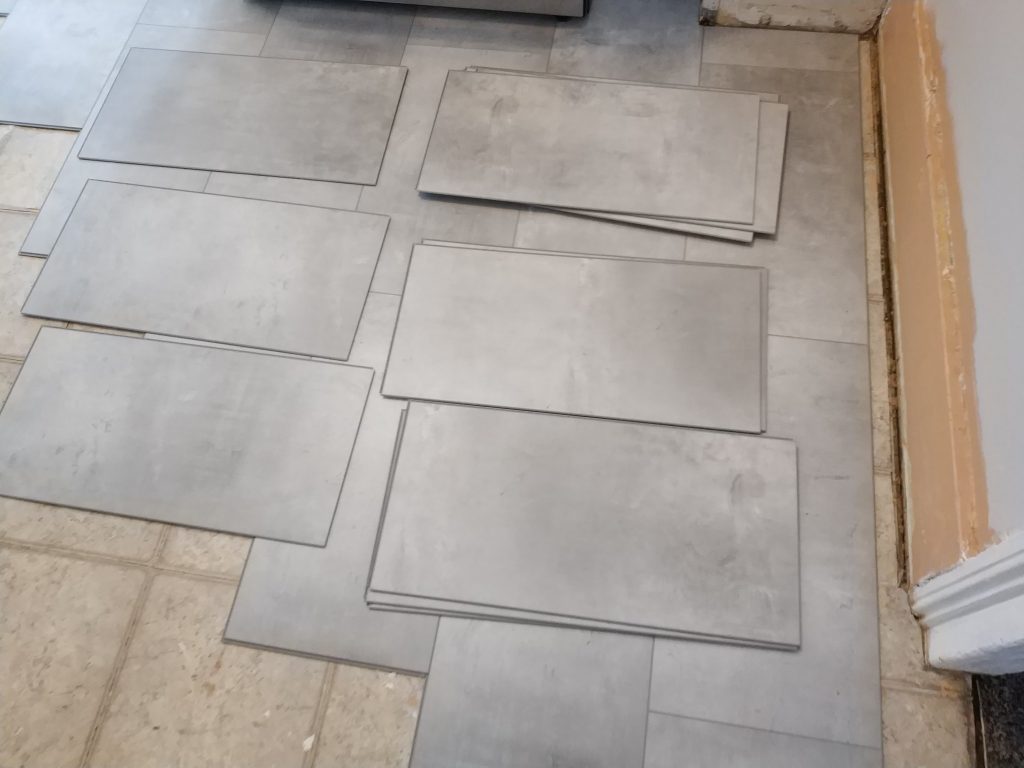
Full size tiles go fast! I laid as many as I could at one time, cascading down to the “left” to save cuts until the end.
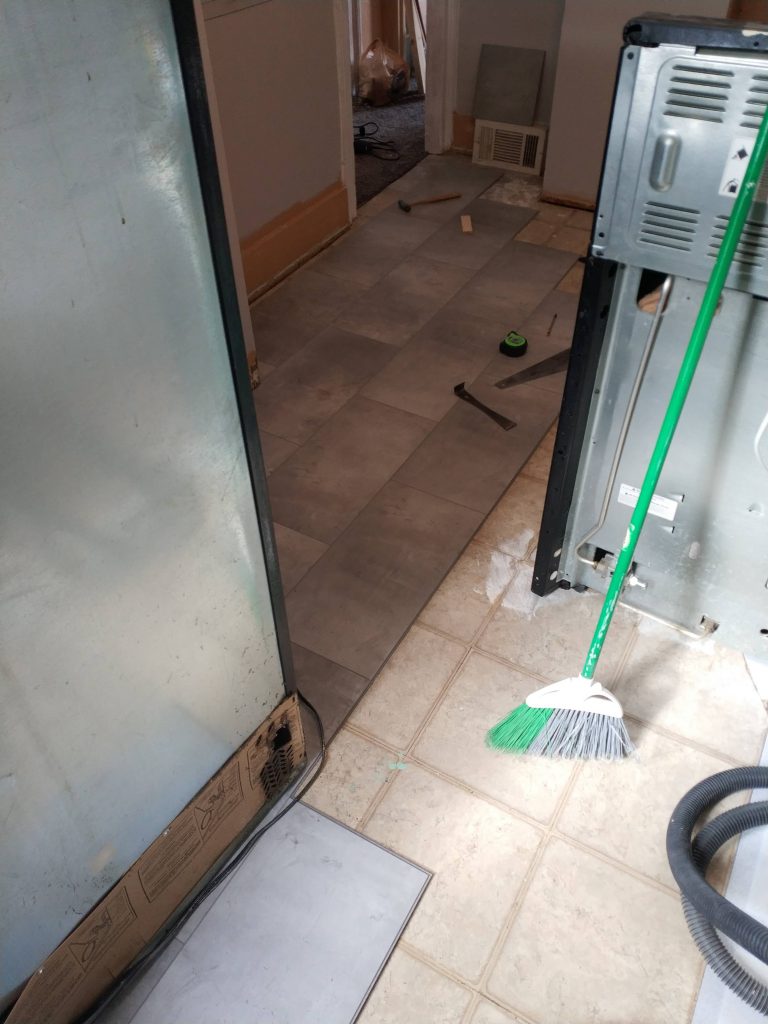
We didn’t have room to take out the appliances, so they went on the partially finished floor as I laid. The floor tiles can be easily cut with a matte knife (xact-o knife (box cutter (whatever you call that thing))). I did cut several in half for the “left” side of the room.
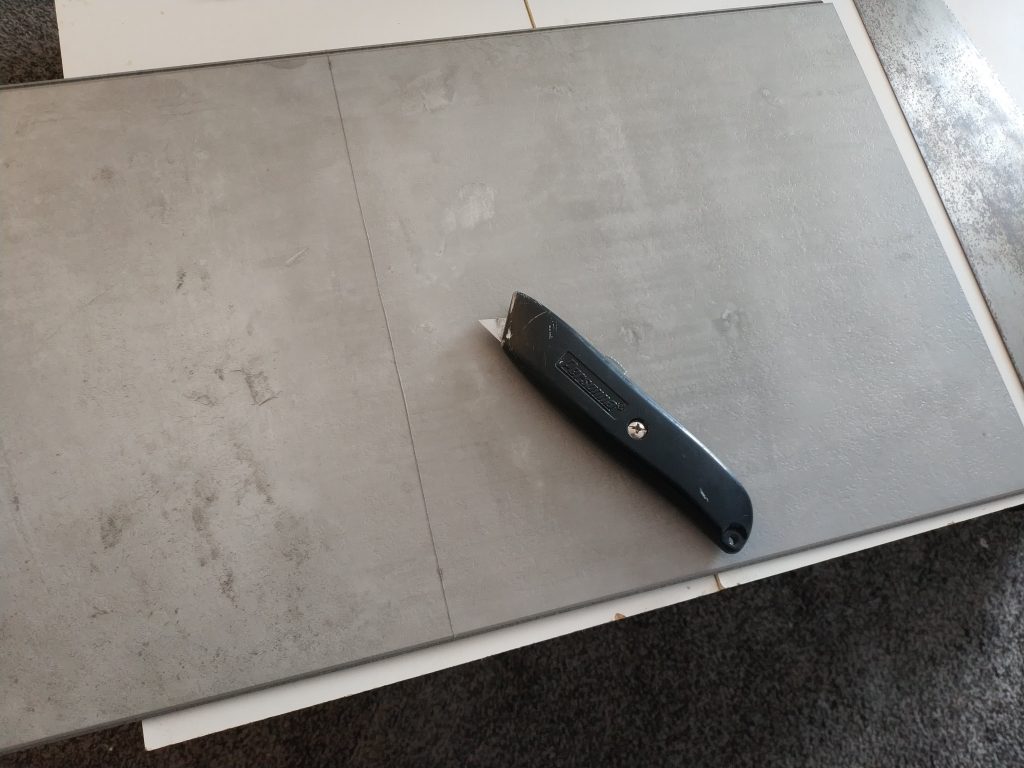
I measured 11 13/16″ over from the side (these aren’t exactly 24″ across), confirmed the measurement from the other side, and made a square line across. Then, I followed this with the knife three or four times, and then snapped the cut over the edge of my work table.
The right side of the tile goes into the room, and the left side goes in my “pieces I will try to use again later” pile.
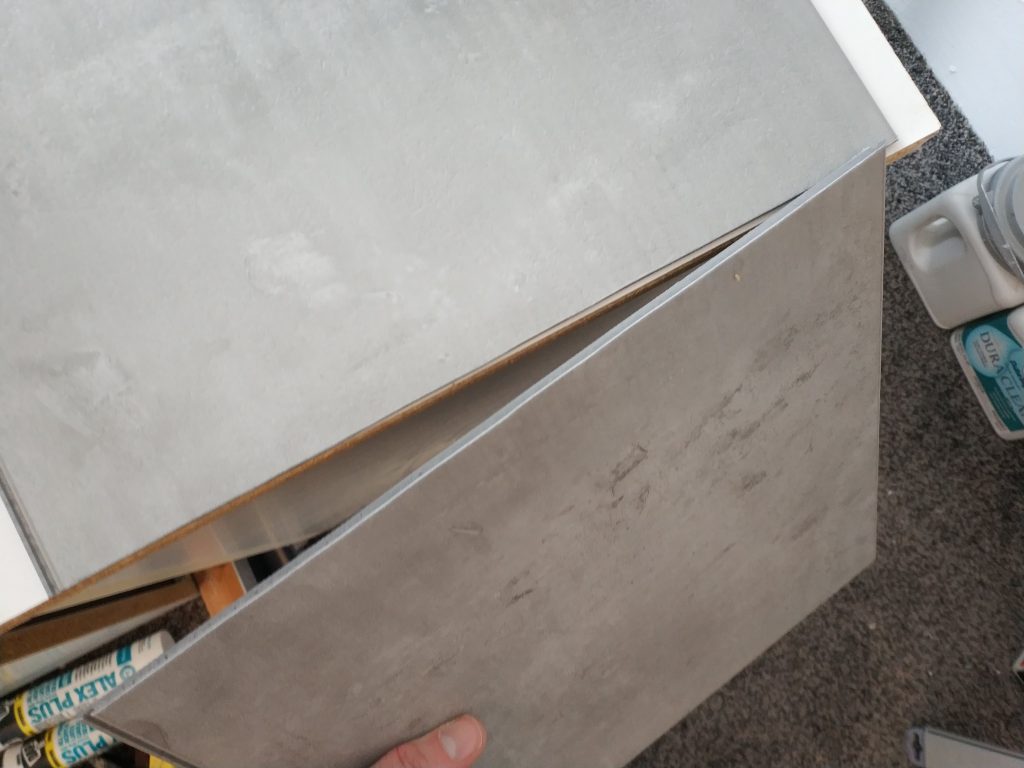
The tiles interlock very well on the long axis, but in order to get the short sides together, we have to apply a bit of force.
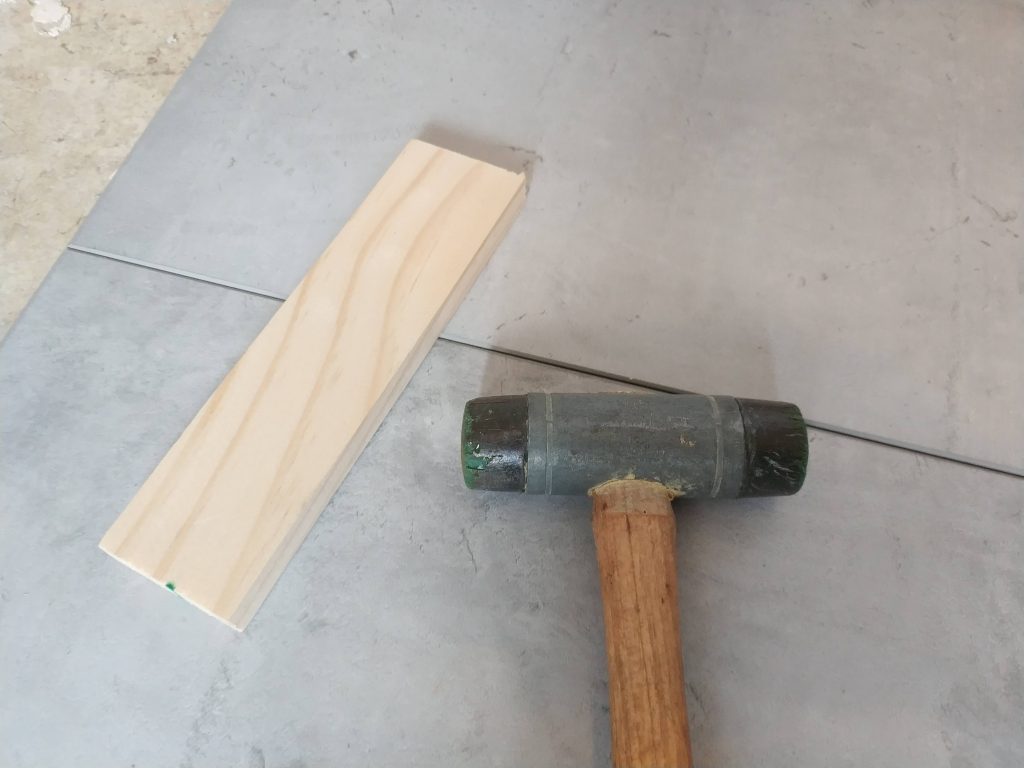
A smooth faced mallet would work just fine on it’s own, but I used a block to protect the tiles. Pounding too hard in one spot can crack the corners off. Ask how I know.
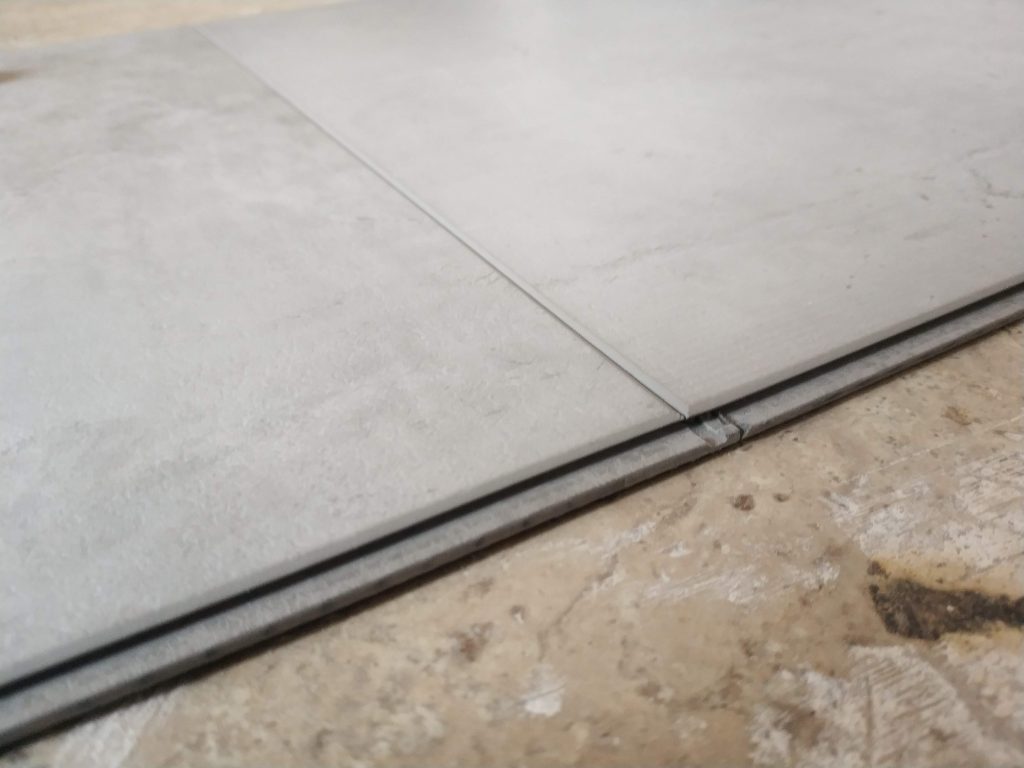
Once tiles are pounded together like this, it is VERY DODGY to try and separate them. The interlocking portion is only strong enough to be used once, or maybe twice, so make sure you align the tiles well. Otherwise you may destroy the tabs, or deform them so they don’t seal again.
Tile Patterns
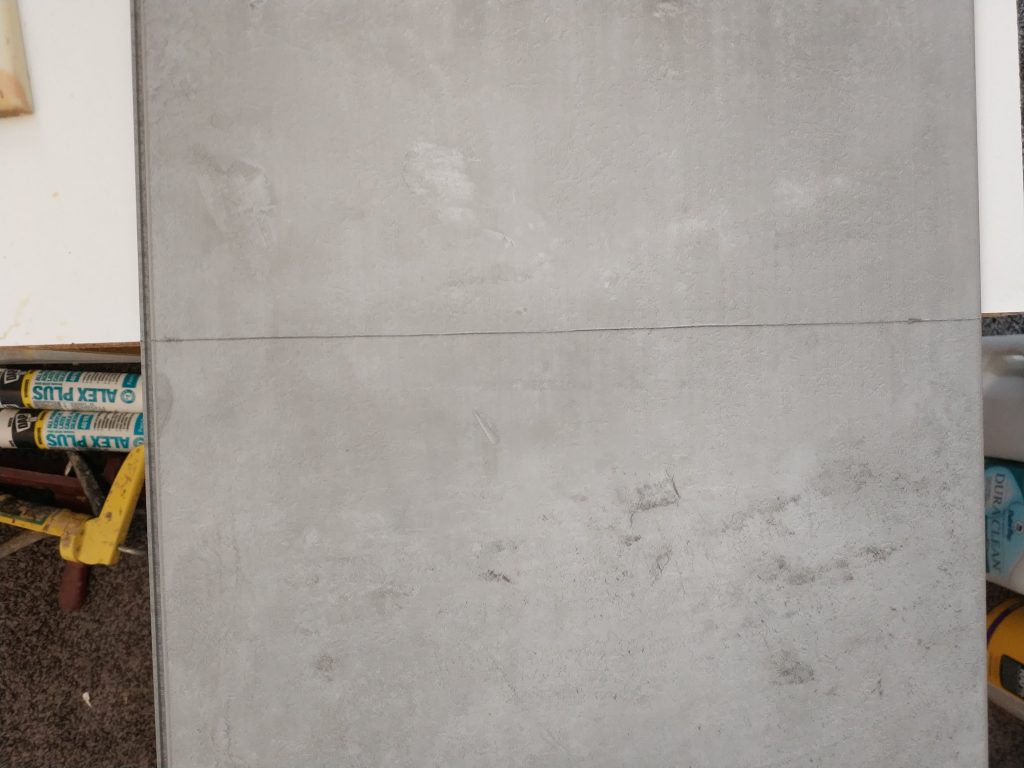
The tiles are printed with a repeating pattern, so although they all look unique, there are unique features that show up again and again. I decided to open as many boxes as I needed and sort the tiles, since I had pulled out two identical ones in a row in one box.
In a single box, you might get 4 or 5 of one pattern, so if I just pulled them out of the box and laid them down, I would end up with some obvious repetition. Pick from separate piles, and pay attention to all adjacent tiles to avoid lining up patterns accidentally.
Did you notice my error?
I made a big mistake by saving all of my cuts until the end.
Remember how I said you need to lay from the “top left” down?
Well, I didn’t start in the top left. I started on about the 3rd course. Which was my first full course, but not the first course I needed to lay down.
What I really should have said was to “lay the top-most row, left to right”. That’s because you can’t easily lay above a row you laid down.
So somehow, I need to sneak the pieces into the kitchen doorway, underneath the undercuts I made. This is gonna be tricky, but not entirely impossible.