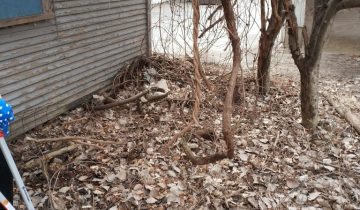
Once we finally got the basement cleared out, we were able to make a full assessment of the structure of the house. We needed access to the entire basement to do that. We looked at all of the rim joists, the floor joists, any extra supporting beams, and the foundation itself.
Overall, the structure looks fine. Someone in the past had shored up the first floor joists with some steel I-beams and house jacks, which we are definitely leaving in place.
The foundation looks okay also, but there are points of water intrusion we want to look at.
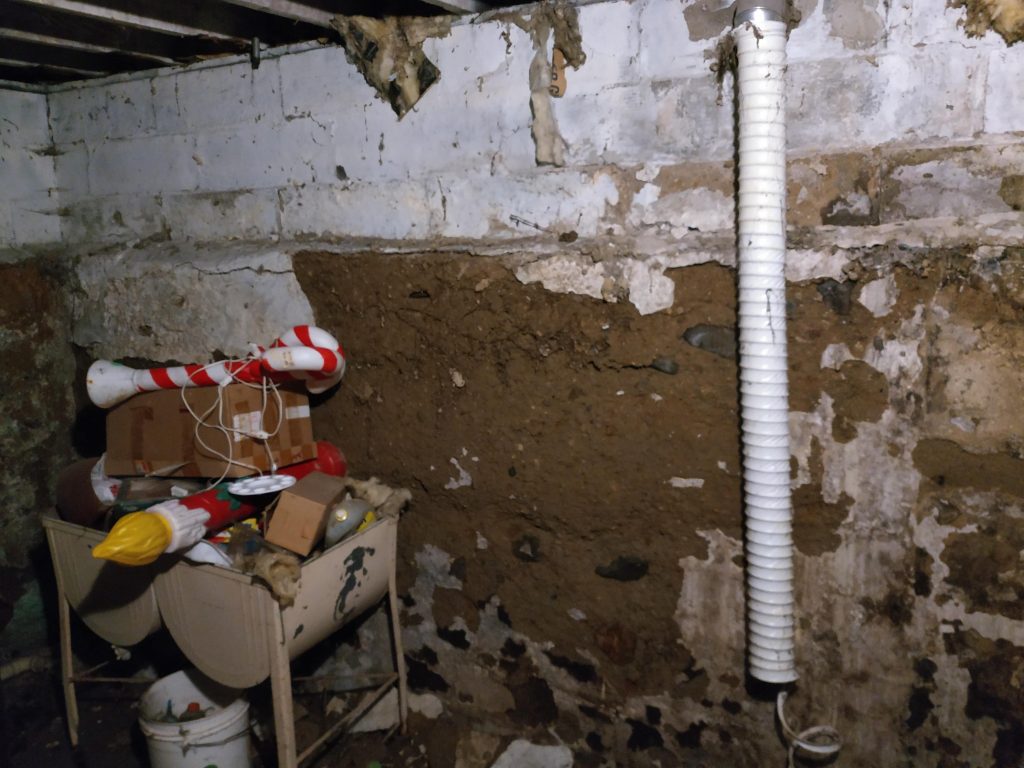
The upper portion of the foundation is made of three layers of concrete block, which has a nice granite look on the outside. These are fine. But, the poured foundation below that point is starting to wash away a bit.
It’s not at a critical point yet, since the concrete wall is 8 to 10 inches thick, but definitely something to attend to.
Those large rocks that you see in the wall, by the way, are there just to make up space in the poured foundation. You can save a fair bit of concrete by adding the stones you find while digging the basement. A sort of gigantic aggregate. A rubble stone foundation would look very different; like a stone wall.
Remove water
With a damp basement, we should first remove the sources of water that are getting in.
In our case, the previous owner was literally working against us.
Along with the hundreds of gallons of water bottles we found in our final dumpster day, we also found two huge totes full of standing water.
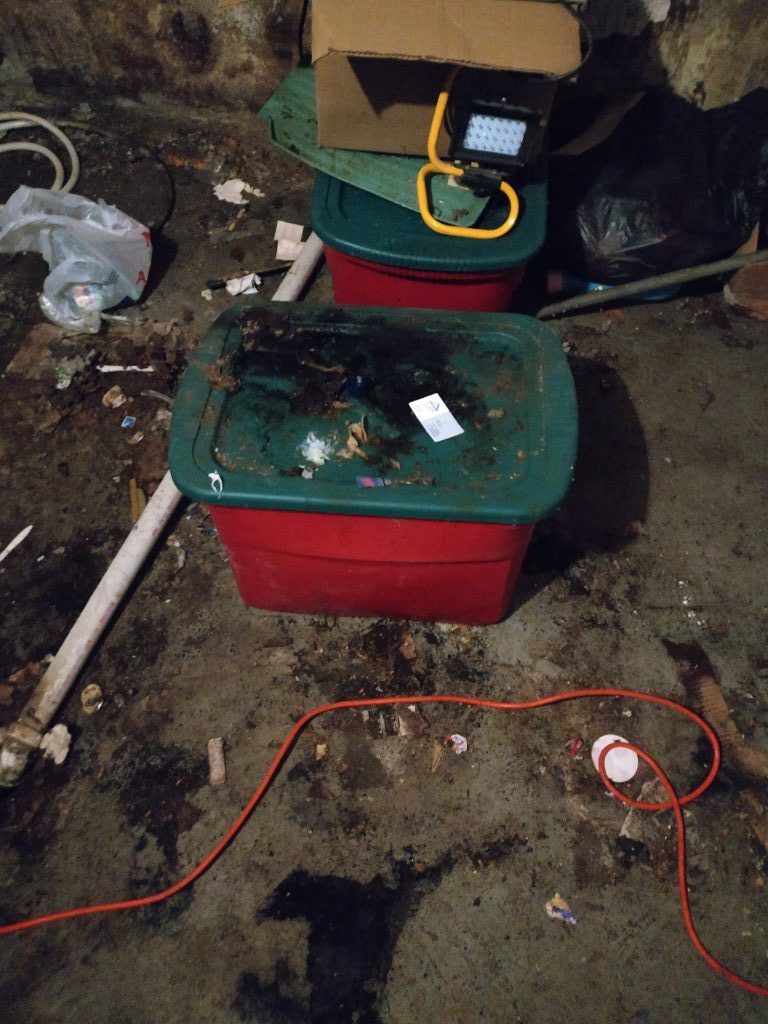
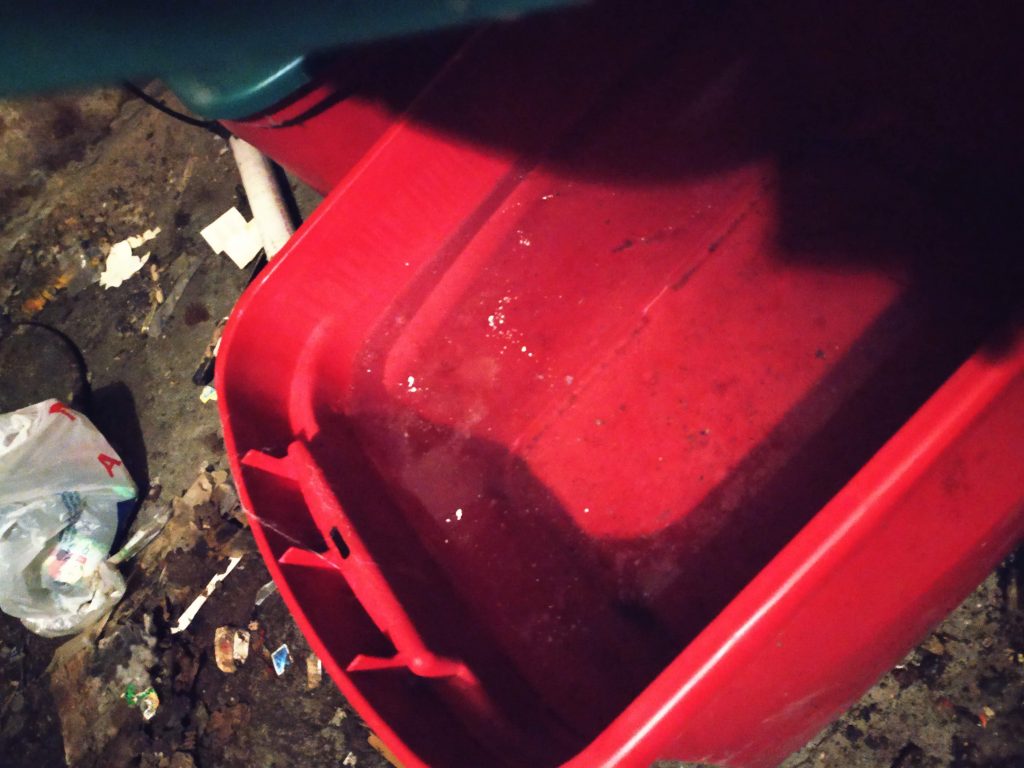
These were just going to keep evaporating and making the basement damp, so we dumped them down the drain. They also attract mold and mosquitoes, so all the better that they are gone.
To remove latent dampness from the air, we brought our old dehumidifier from home.
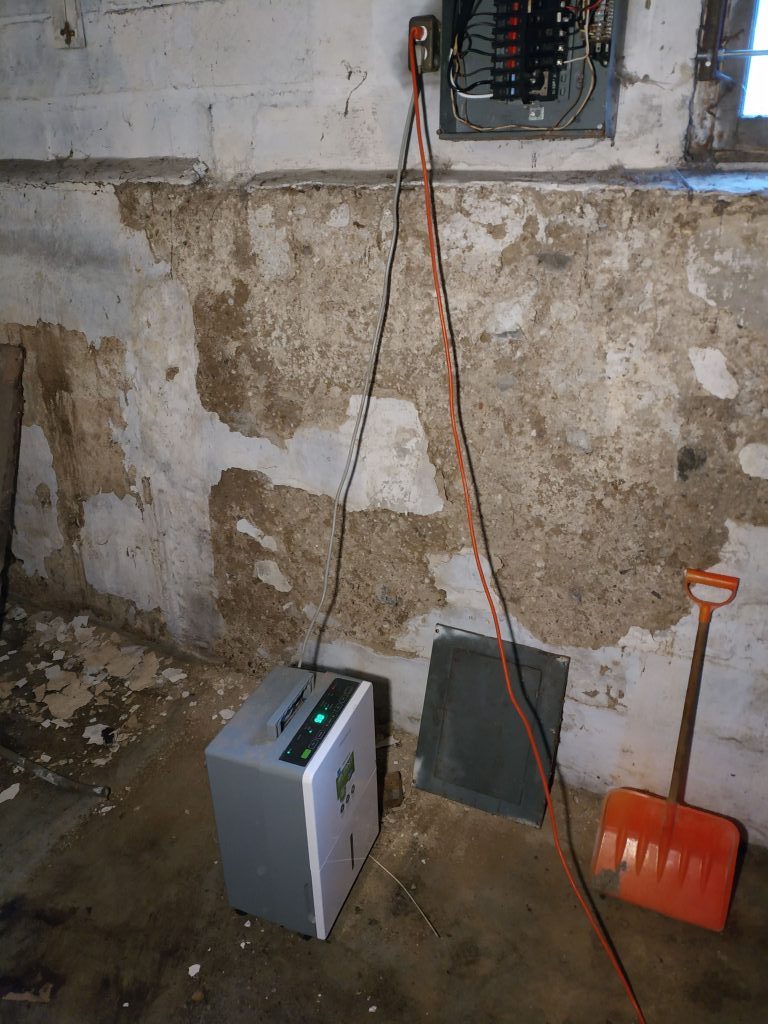
We needed the electricity on in order for this to work. I jacked into the panel plug we fixed up earlier and let ‘er rip.
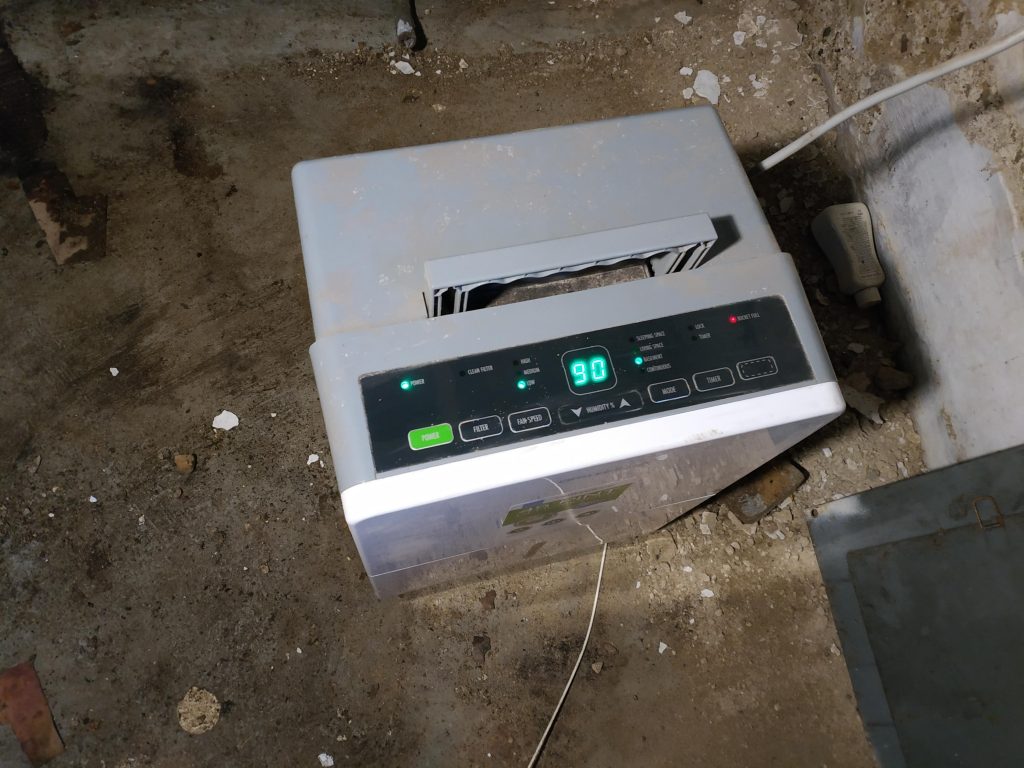
The gauge on the dehumidifier only goes up to 90. And it was pegged at 90 for a few days.
I eventually got tired of emptying the bucket over and over, and set up a hose to dump the water directly into the floor drain.
Prevent water ingress
The rear gutters mostly get the water all the way away from the house, since the overhangs on the hoard are long. So, even though the gutters are currently in less-than-fair shape, they are dripping far away from the foundation.
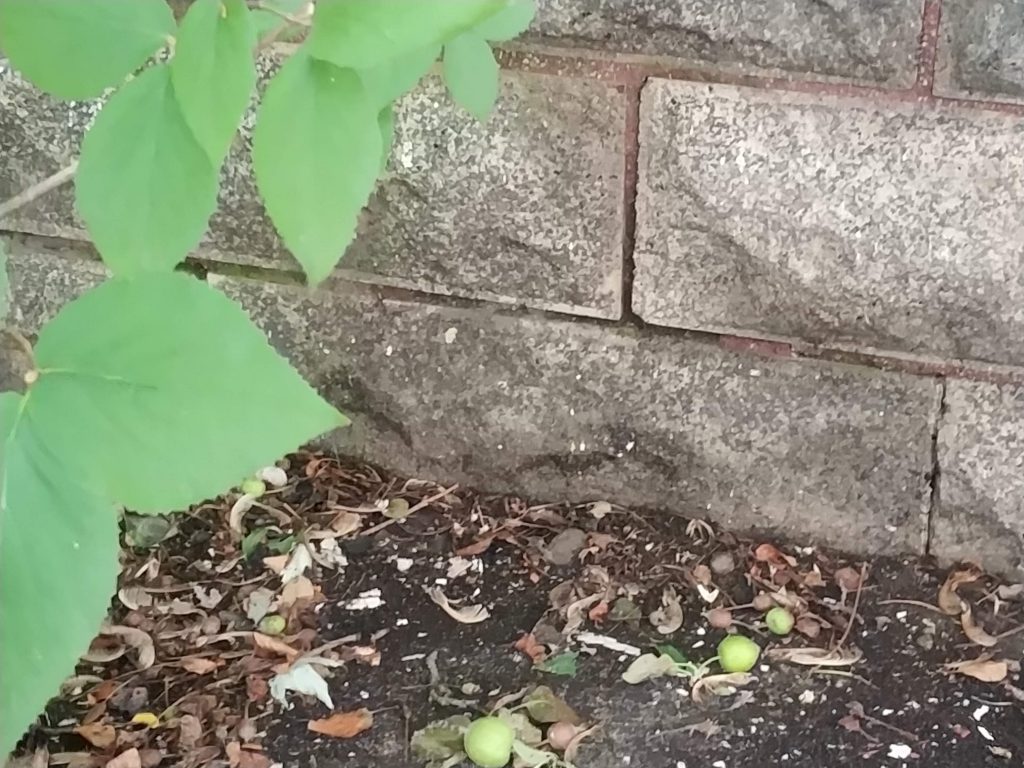
There is, though, one bit of roof by the apple tree that does not have a large overhang. And the downspout is right by where we saw water ingress.
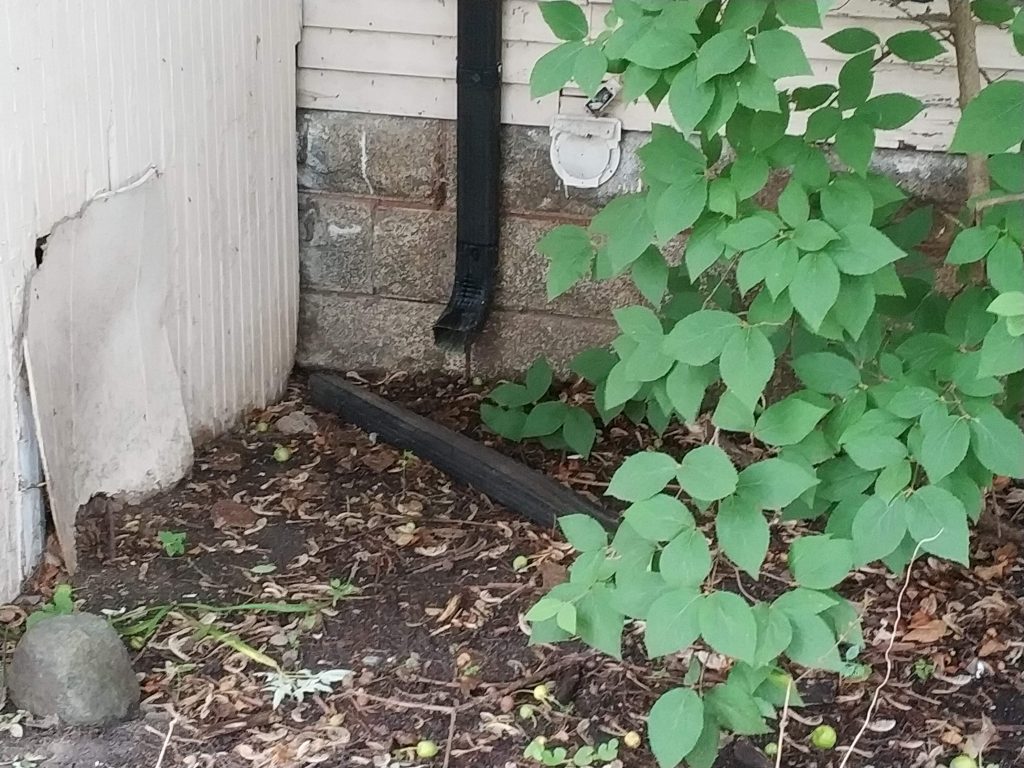
The downspout extension seems to have gotten disconnected over time, so even though the water from the roof was going into the downspout, it was only focusing it’s erosive power on one spot by the house.
I reattached this and put a sheet metal screw in it.
But, not before it got one last swing on me.
Some of the mortar in the block foundation, which is supposed to be reddish, is missing wherever you see black in the photo above. Those places will have to get tuckpointed at some point in time when I’m not caught up in some other emergency.
Results?
The dehumidifier in the basement is now showing a balmy 55% humidity, which is dry enough for most any livable space. The damp smell in the basement has been replaced with a much less smelly dry smell. It also feels like the walls are MUCH less likely to get any mold growing on them.
I think I’ll leave the dehumidifier in there in perpetuity, at least until winter.
At which point, we should have a nice toasty furnace to keep the house dry…