When we last left our hero, we were in desperate need of 2x4s.
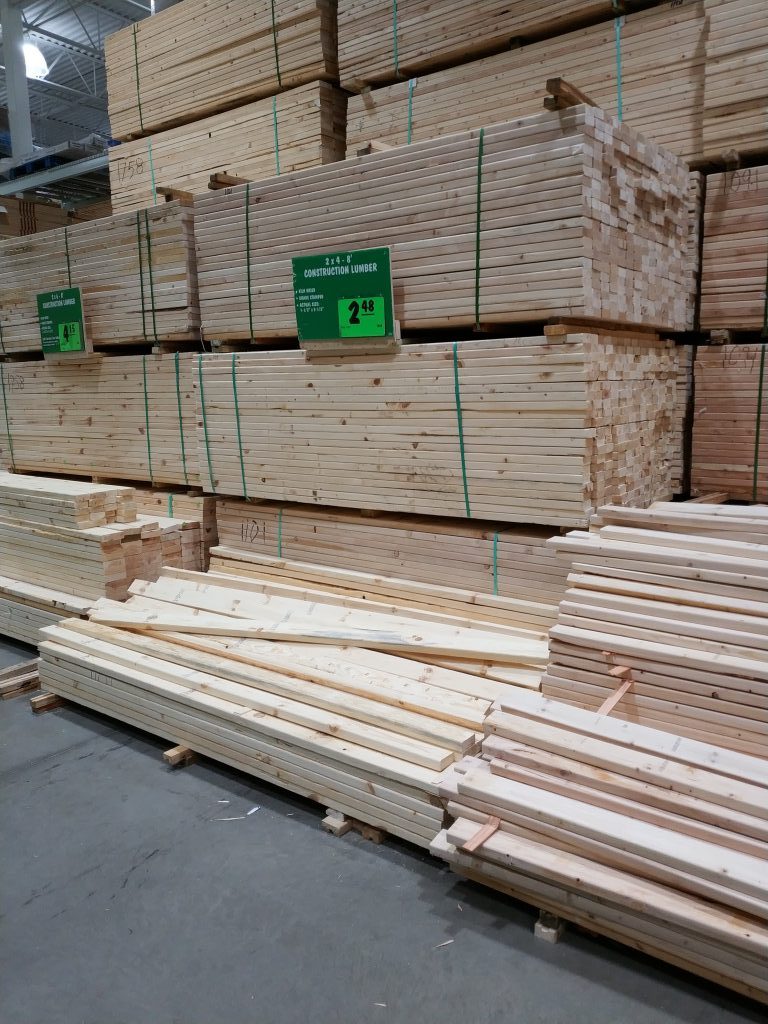
This is why I’m a fan of team green. And not only that, the 16′ looked way better as well!
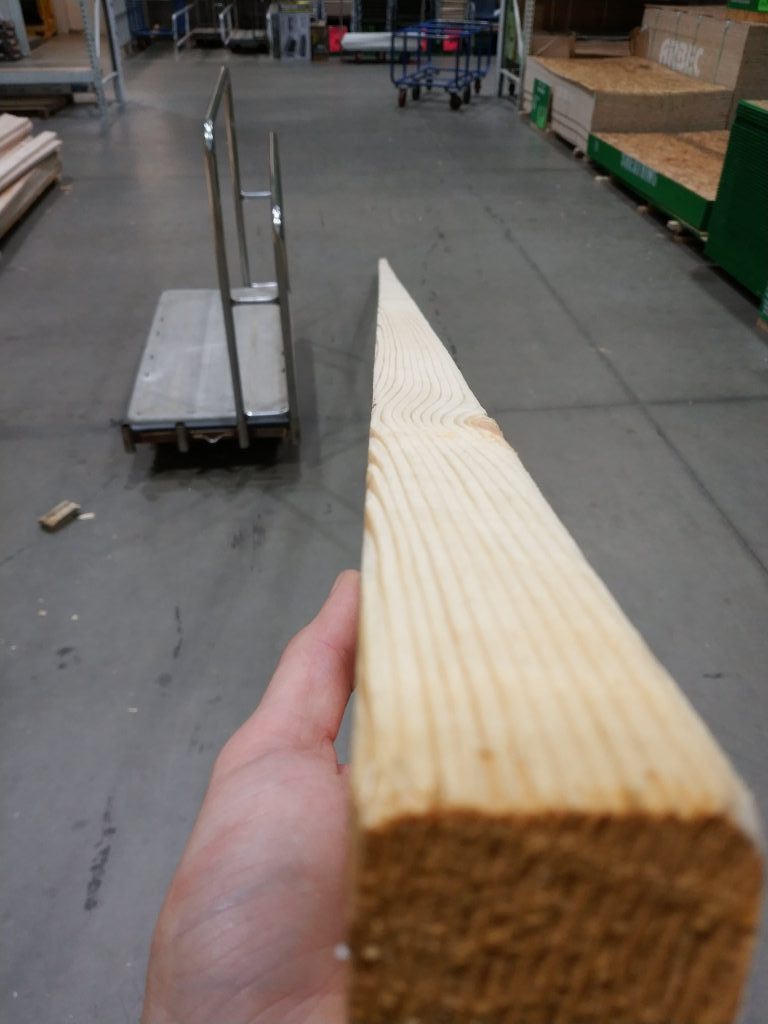
I loaded up with the pieces I needed per my plan, and got them back to the ranch.
Starting To Frame
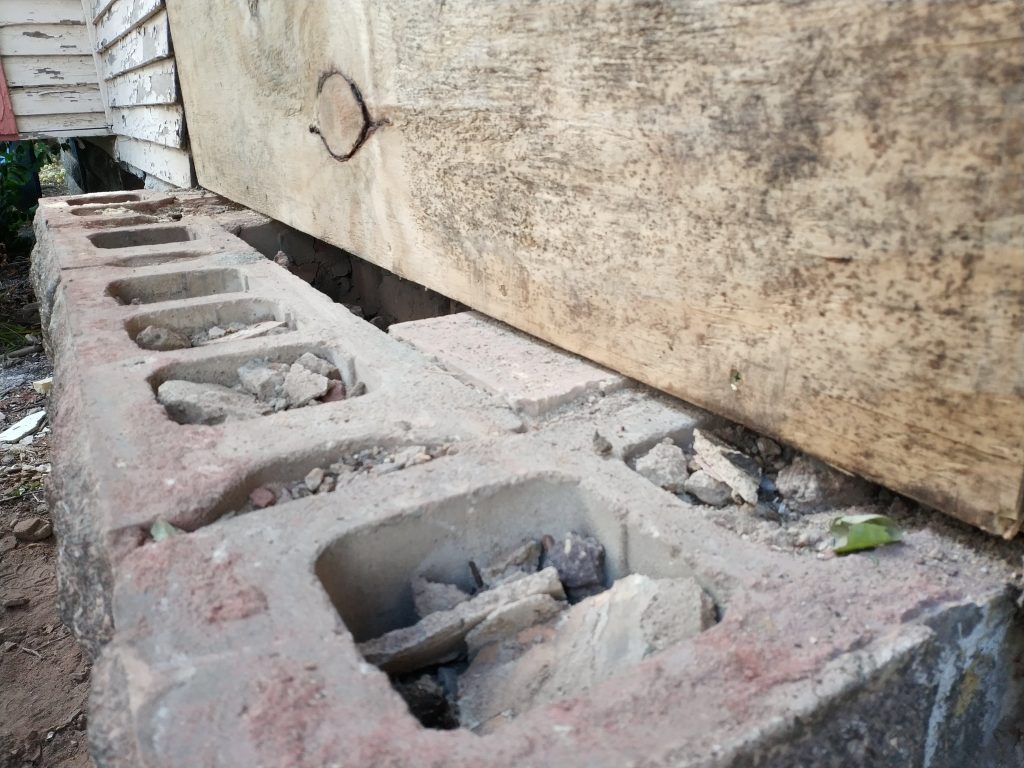
The first things I wanted to do were give myself a set boundary to fill in the wall. The left and right sides are already set with existing studs. That means I need a sill at the bottom, and a top plate at the top. All of this wood will again be protected from the environment and well above grade, so there’s no reason to use treated wood.
I like to stand on the ground most of the time, so I did the sill first.
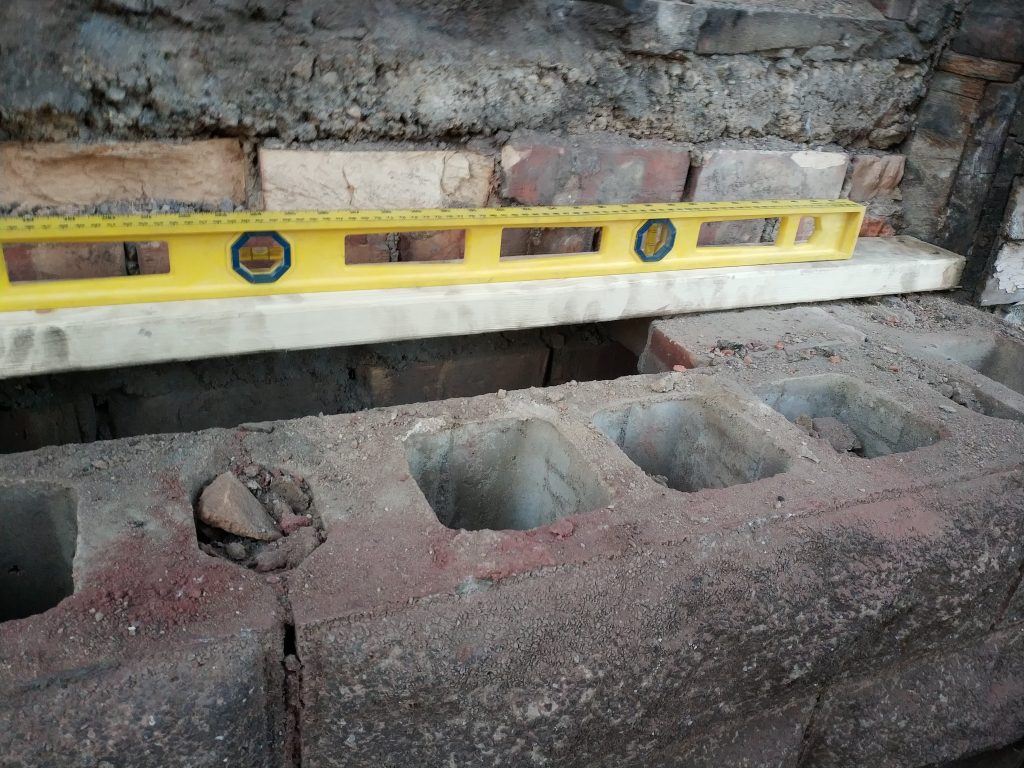
Every good house starts with a good foundation, so I want to be particularly careful about getting this piece square to the rest of the frame, level, and secure. I cut it at a snug fit, and secure it with two screws on each side, diagonally driven into the rest of the sill. This is not particularly structural, but it will have to hold up the brick facade, so we definitely don’t want it to separate.
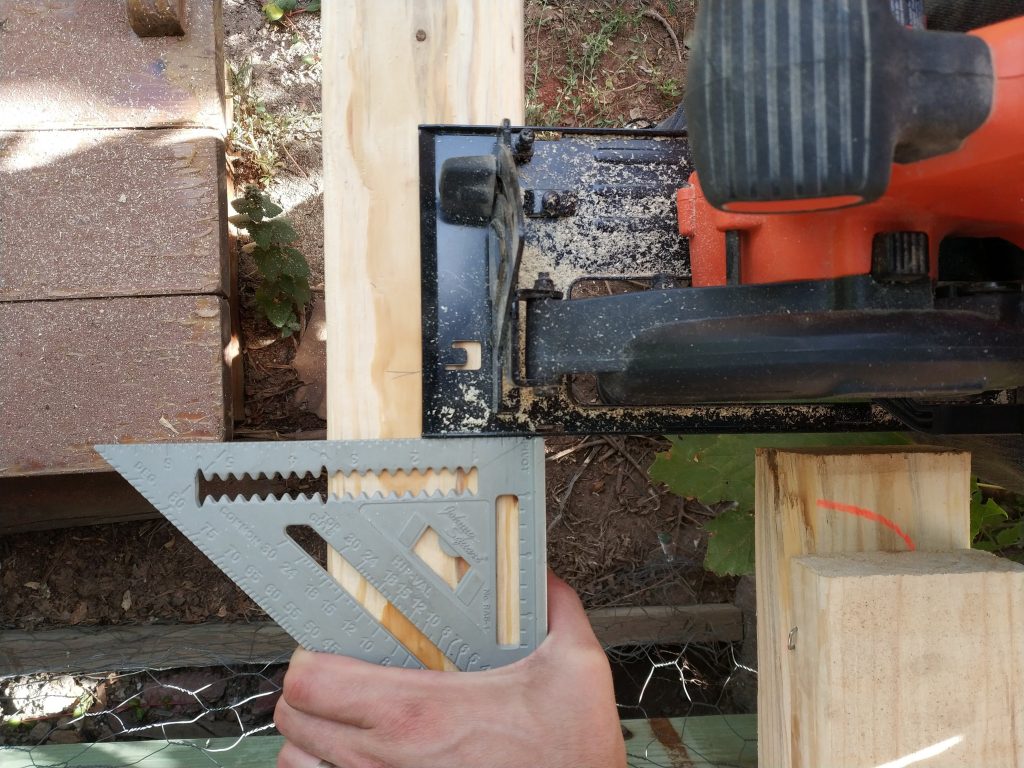
The roof of the house is at a certain angle, and I’m not completely positive what that angle is. Luckily, I don’t need a super accurate measurement, so I gave it a quick eyeball.
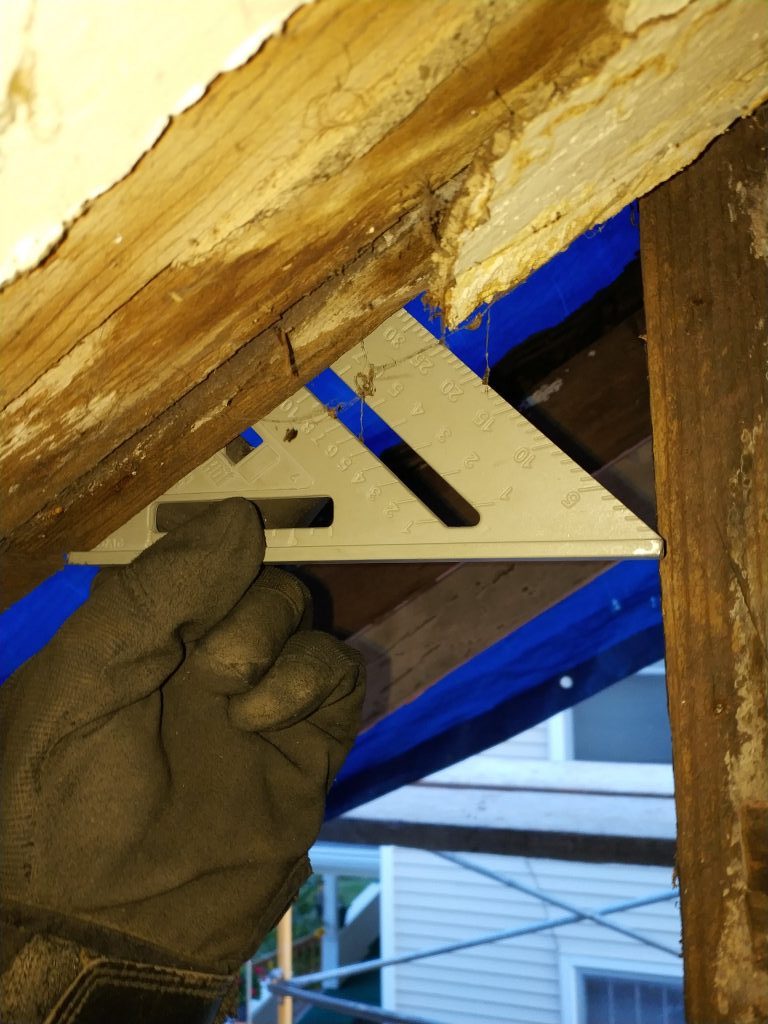
I hold the bottom of this speed square level with the ground (I didn’t have my shortest level) and check out the markings on the long side to get my angle. This shows about 32 degrees. This makes the roof about a 7/12.
If I had been thinking about it more clearly, I would have laid what is the bottom of the square in this picture against the stud to the right, since that is the compliment of the angle I want.
Oh well. A guess worked well enough.
Wait, go back. What’s 7/12?
A roof pitch in the US is measured by how many inches it goes up (the rise) for every 12 inches it goes across (the run). A 7/12 or “7 in 12” rises 7 inches every time it proceeds horizontally by 12 inches. This is right in the middle of the most common roof pitches, which are between 4/12 and 9/12.
OSHA qualifies any pitch over 4/12 as “steep”, and any roof over 12/12 as “extremely steep”.
Cool.
Anyhow, I was able to use this 32 degree measurement to cut the ends of my top plate. It’s an okay fit, not great, but not terrible. The only thing I need to watch out for is to ensure that the surface of that top plate is 3/4 of an inch below the surface of the roof sheathing. That will let me eventually put 3/4 inch roof sheathing over it, and then shingle over it.
Eventually.
The Rest of The Framing
Now that I have all of the boundaries of my work area set, we can make exact measurements for the studs that will fill the center. The horizontal measurement between my studs will not cause studs exactly 16 inches on center, but I still want to evenly space all of the studs.
Not only to satisfy the OCD, but also because I might want to hang something centered over the fireplace, and having a stud right there is a big help.
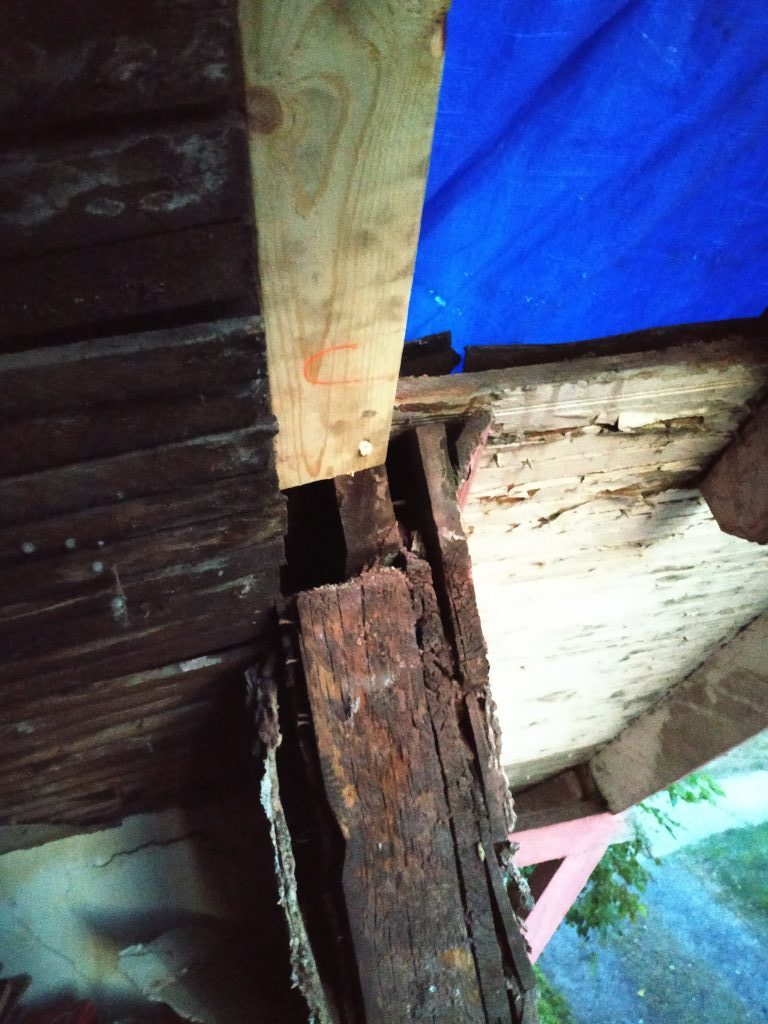
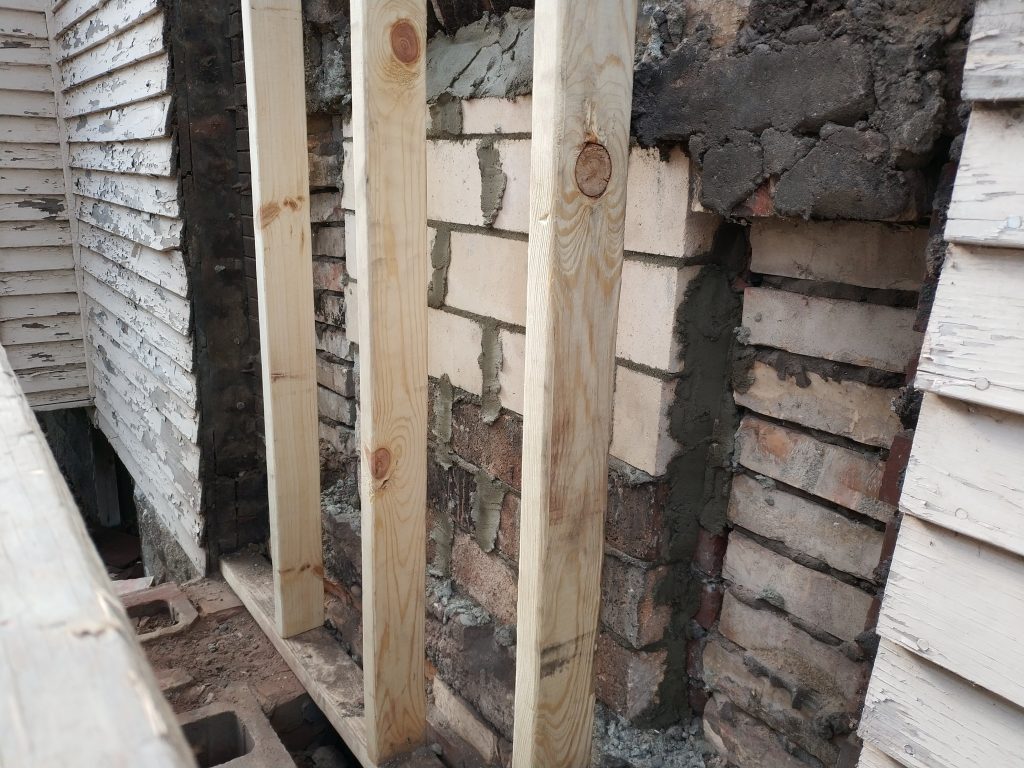
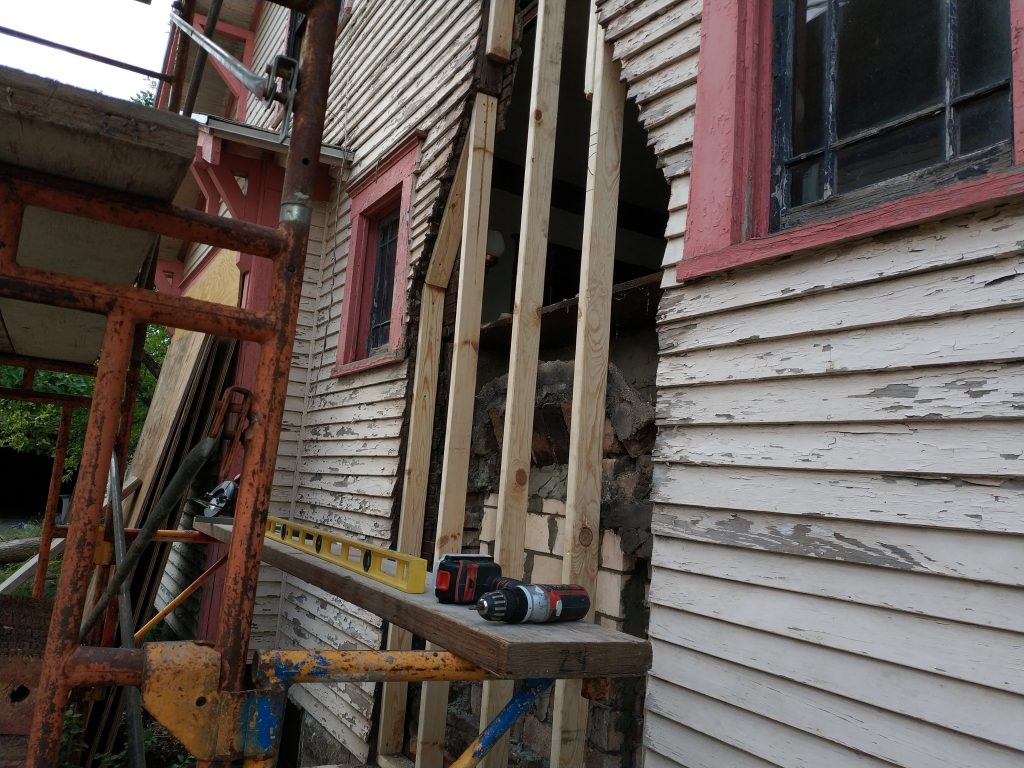
So, now we mark and install the center stud.
One could certainly measure the distance between the sill and the top plate, and then transfer that number onto the 16 foot piece at the appropriate angle, then test the fit. But, since I can fit the stud into place before it’s trimmed, up against the side of the top plate, it’s more accurate to hold the stud where it will go and mark it with a pencil where it intersects. Then I don’t need to deal with remembering any numbers or making sure the tape stays straight, and getting the angle correct. The top plate will be my pencil guide.
As soon as I tried to install this freshly cut stud, I found that the plaster above the fireplace, which was bowing towards the outside, was preventing the stud from entering plumb. So it had to go.
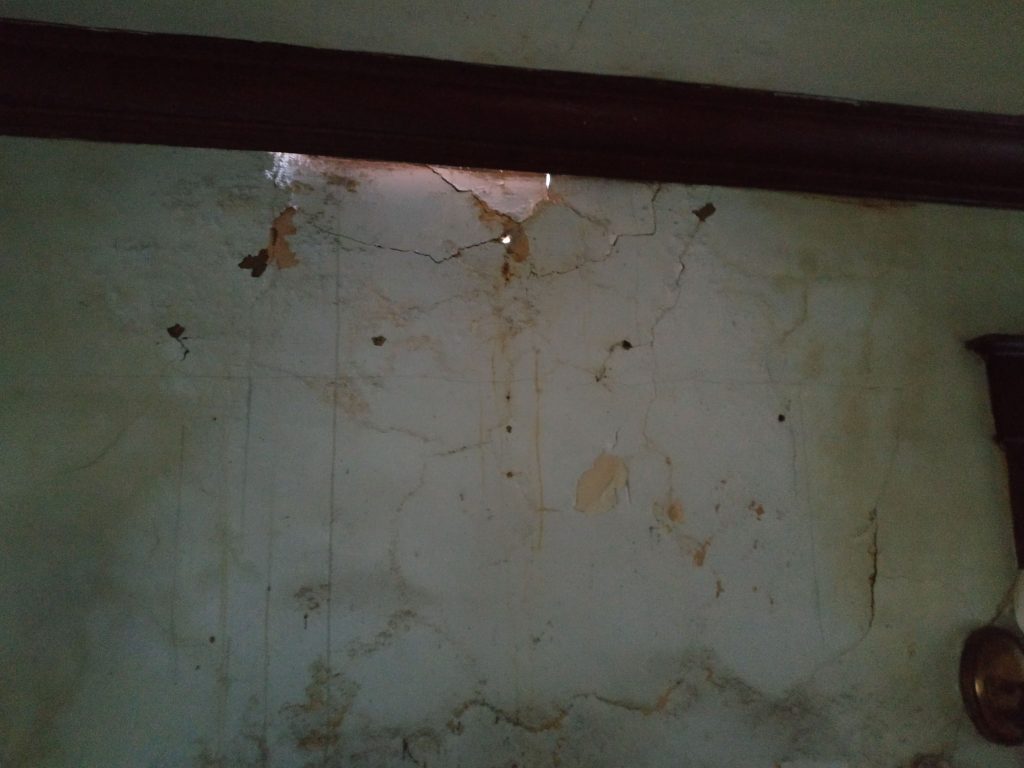
This plaster really needed to go anyway; since the chimney was allowing water in, it had all but disintegrated.
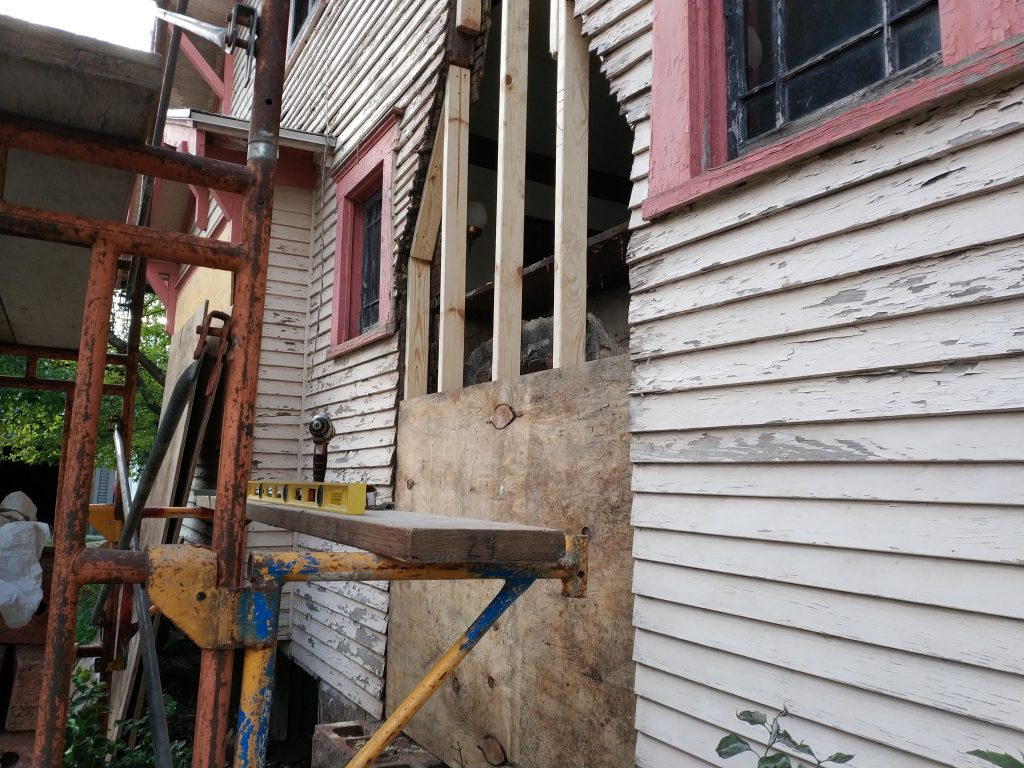
With the center stud in place, I added the next studs out, which will sit just inside the narrow portion of the chimney. These didn’t need to be trimmed, since the dimension was almost exactly 8 feet.
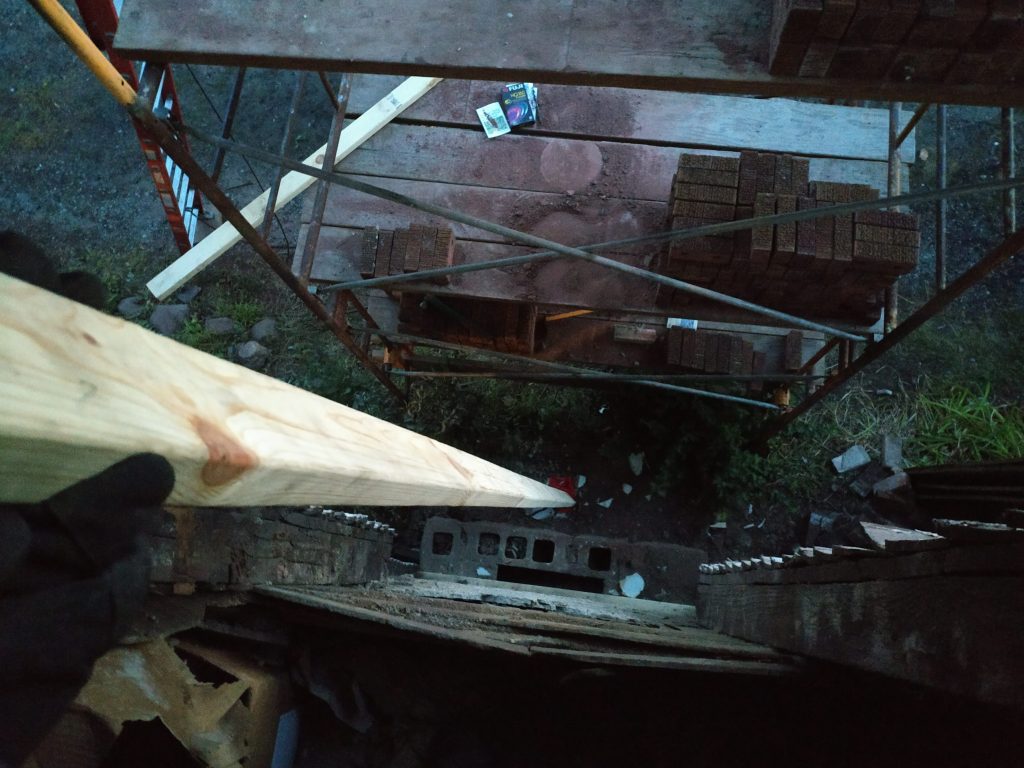
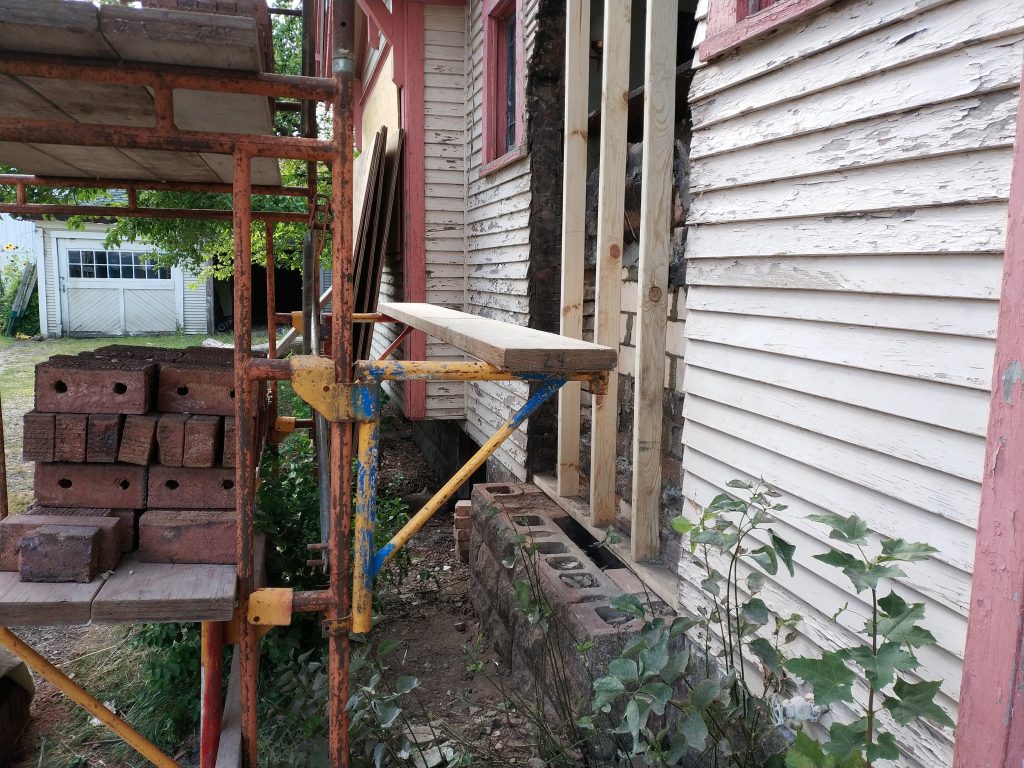
I next needed to get the 2x4s that go above those 2x4s installed, which can happen from the inside. But since I can’t reach the entire chimney from the upstairs closet, I leveraged the mason’s outrigging.
The Parts of The Second Floor
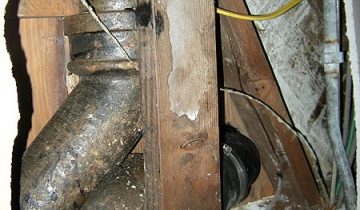
Since I’m up here, I’ll walk you through the very basic construction of the first floor ceiling.
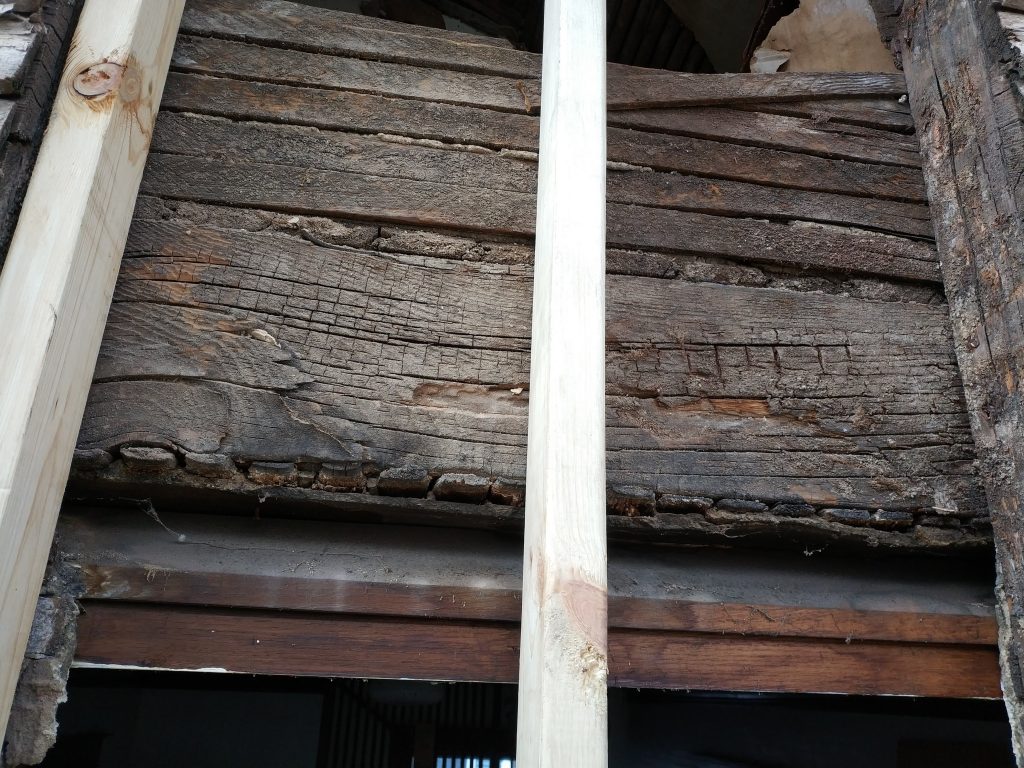
The two lowest pieces of wood are the crown molding of the first floor. Above that, we see plaster and lath that makes up the ceiling of the first floor. Next, there is a 2×8 joist which carries the weight of the second floor over to the outside wall and the center of the house. Then, we see the ends of the tongue and groove floor boards of the second floor, and then finally some more lath and plaster for the outside wall of the closet.
Variations in home construction will almost always include the same parts, and the biggest changes between full framed, combination framed, timber framed, and baloon framed houses is the joinery involved where the pieces intersect.
The Square Cut
Another essential educational moment! What’s the best way to keep your circular saw straight when cross cutting a piece of lumber? Hold your speed square against the leading edge, and run the side of your saw up against it.
No reason to mark it’s location, just eye up the saw blade with your length mark, and keep the square firmly in place to guide the sole of the saw.
Now that the center is all filled out, I just need to add studs around the edges so that the sheathing I’ll add will have somewhere to rest at the appropriate depth. And through the magic of editing (and of not taking pictures of the process), tada!
The Sheathing
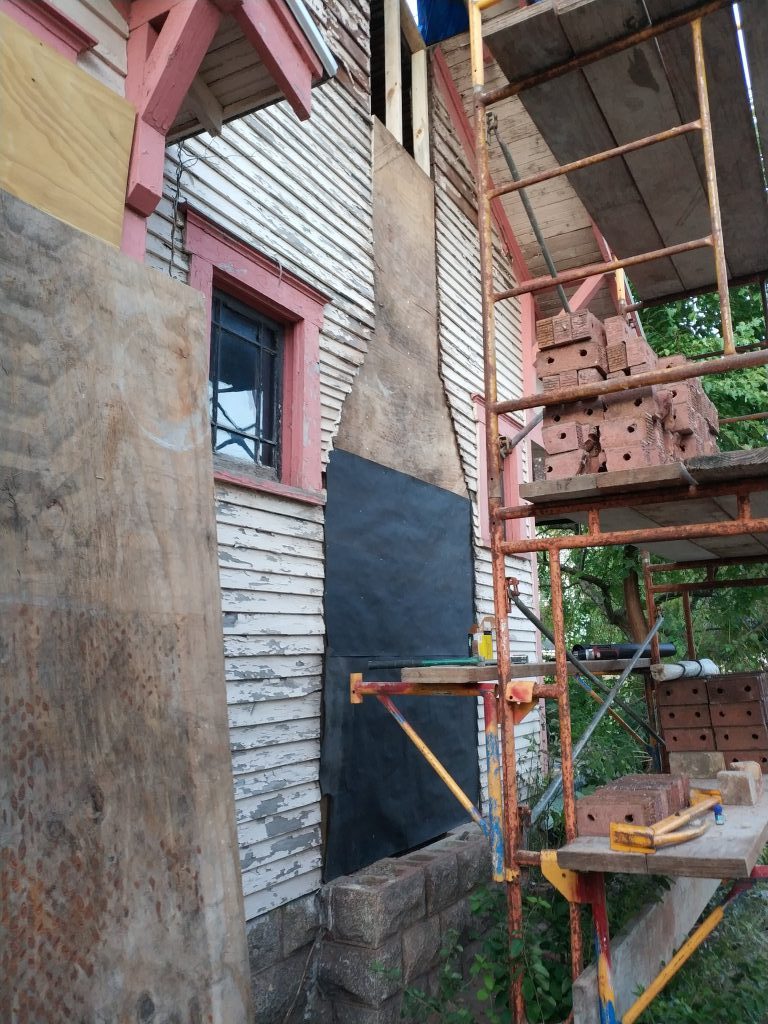
Our mason had a few extra 3/4 inch exterior sheathing sheets, which you can see in the background above. They were used for… I’m not really sure what, but they are still viable as sheathing for this project. A few quick cuts, and a few quick screws, and it flies onto the house.
Even though this should be protected from the elements, I still wanted to keep the edge off of the concrete, so nothing could wick into the wood. I laid some screws under the edge as I positioned the piece to make that gap.
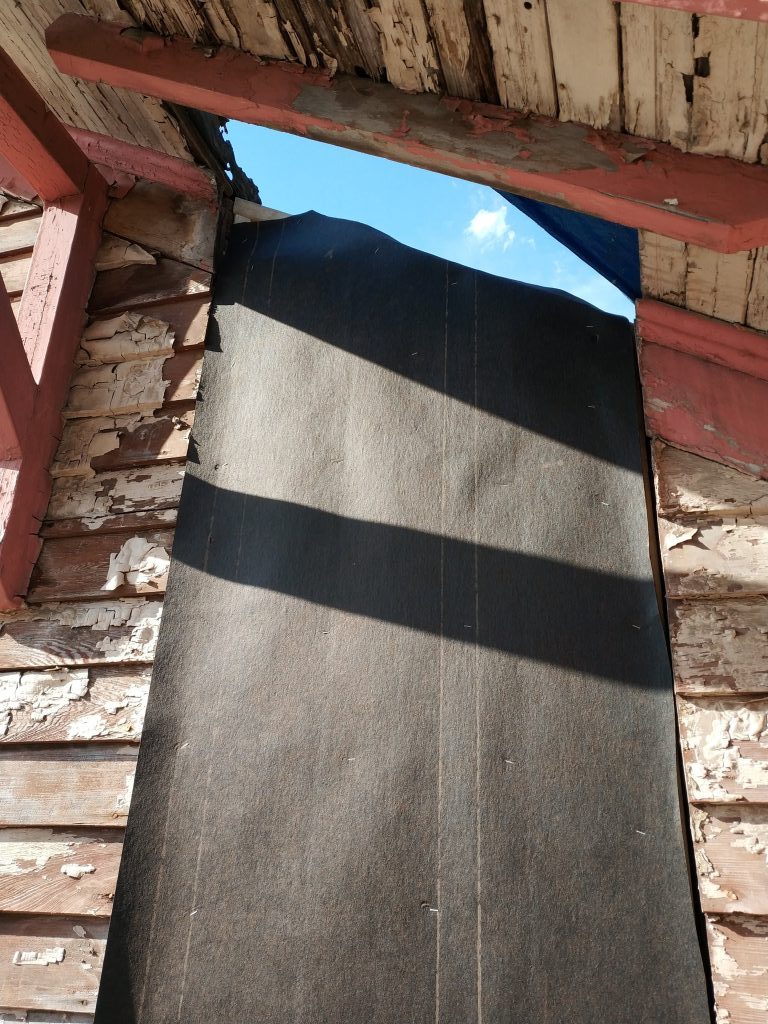
And, this will unfortunately be the last time we can see daylight through the hole inside the house.
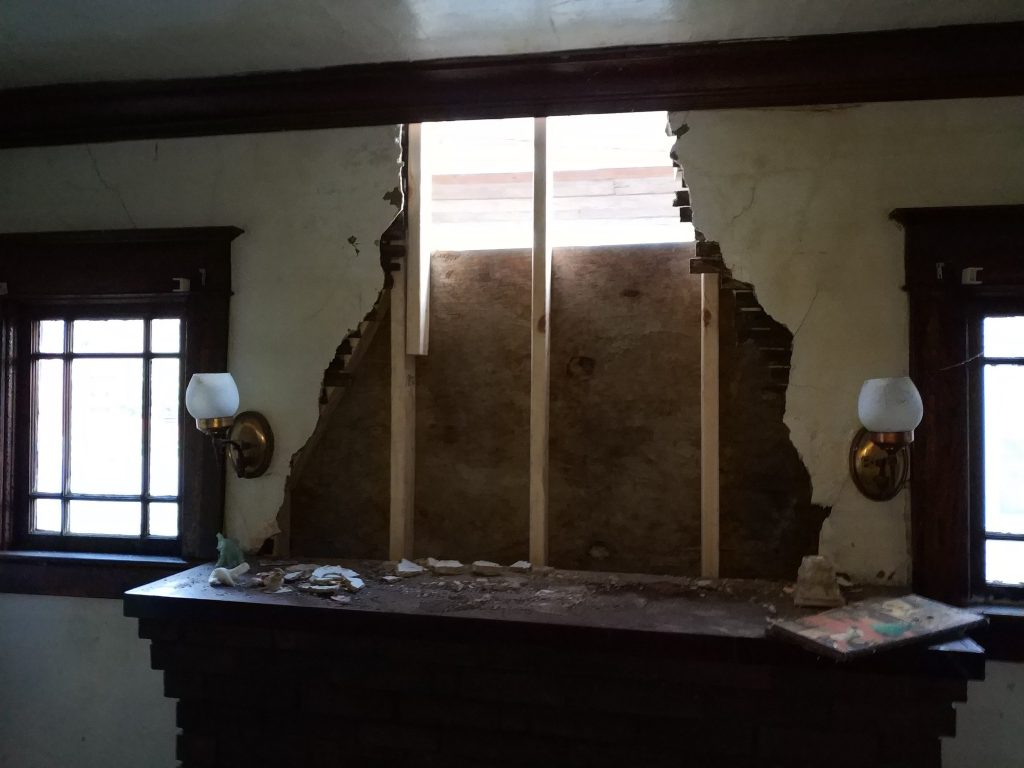
You can see how that very centered stud is going to be nice to have. As long as we’re in here, let’s have another peek at the fireplace, hmm?
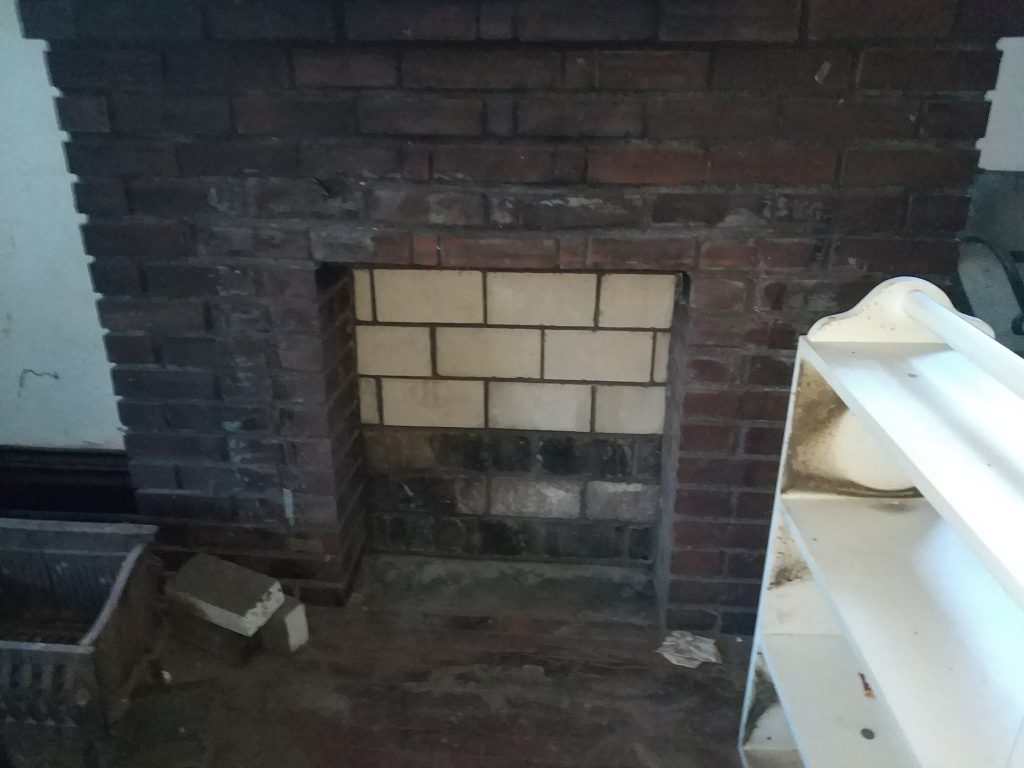
This is a very shallow firebox now, only about 6 inches or so. It may be deep enough for a gas insert, or maybe a box of cheese-its.
The Felt
Just having sheathing on the outside of your house is cool and all, but there are still gaps that could allow air infiltration that you want to keep tight. This will keep your house warmer in the winter and cooler in the summer. Additionally, you want to be sure that any water is directed away from the wood if anything should get in.
This is why housewrap is used when you build a new house. It acts not only as a wind barrier, but also as a vapor barrier, allowing insulation to be added without risk of it getting moldy in the walls.
But, when this house was built, house wrap wasn’t a thing. Builders just put rosin paper over the sheathing to keep the drafts down. And since the house is designed to breathe just a bit, we don’t want to add a vapor barrier, since that could trap moisture inside the wall and generate mold. So, I went with roofing felt, aka tar paper.
Not just for all those reasons, but also because I happened to have some from another project.
Your biggest helper in adding felt is a hammer stapler!
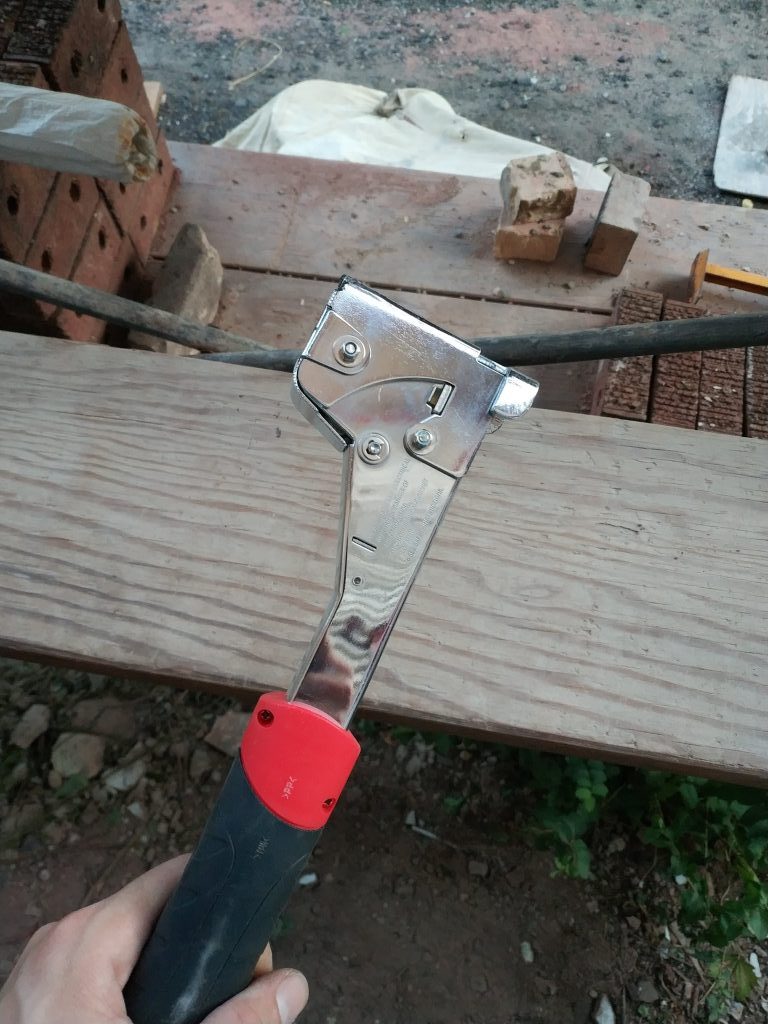
This is a staple gun with no gun action. You just need to swing it onto a surface, and it will plant a staple.
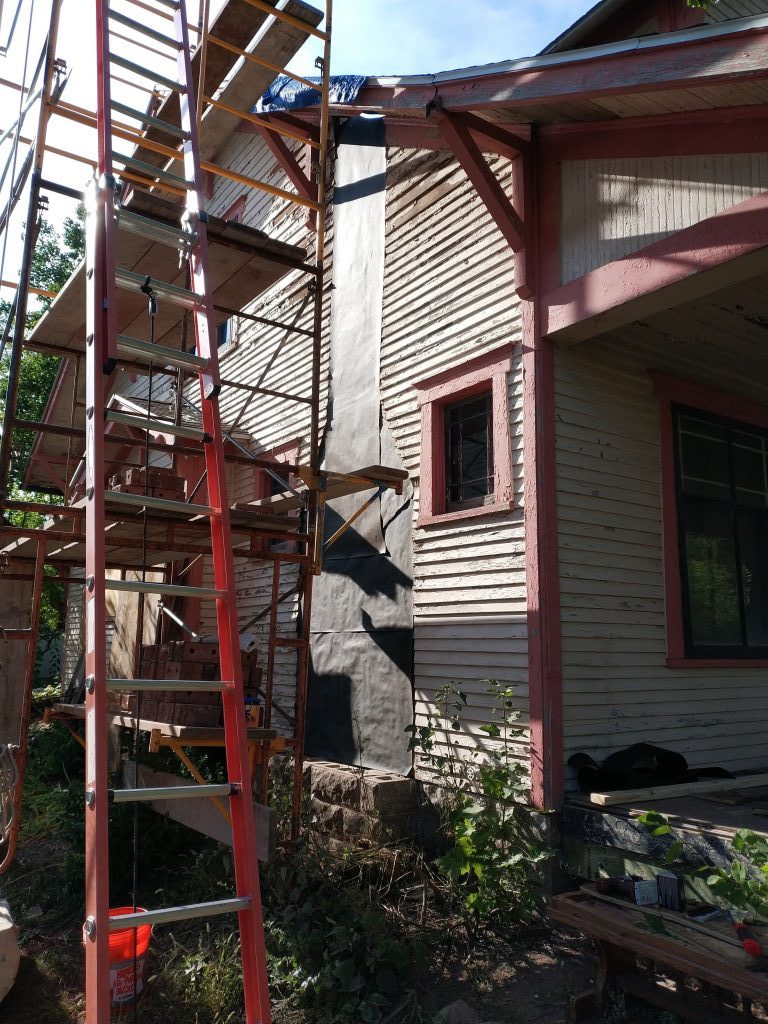
I start attaching the felt from the bottom up, so that the upper pieces overlap the bottom ones. This again is to help keep water off.
The outriggers came in very useful here, even though I have a great fear of falling, somehow I got up there and got all of the pieces in place.
Shush. The center portion was almost exactly the width of the felt roll, so I cut a piece that ran vertically here.
And, two days and about $30 later, we’re all ready for bricks!
Now the easy part. We just wait for the mason to come back and finish up!