We had determined that power was coming into our power panel after we called the utility to engage the meter. Which is great! After a parlay with my supervising electrician, who really liked the condition of the wiring, he said it was fine to start turning on circuits and seeing what worked and what didn’t.
Equally helpful was the information that mice chew on wires that are laying horizontally. Unlike me in the morning, mice prefer to sit and eat. A horizontal run on top of a structure would only occur in the attic. Not the walls, which are vertical, and not the basement, where wires are suspended above our heads. Pretty much everything in the basement and the first floor should be A-OK, according to him. Plus, some second floor circuits are run in surface-mount tracks. Mice definitely can’t fit in there. (Or can they?)
Anyway, that’s what I set out to do. I’m sure that you can tell by the title of this page, we hit a snag or two.
The Panel Plug
But first, we start with the simplest circuit, and one that should be present on any new install. The panel plug.
Within about 6 feet of the breaker box, there should be a local grounded plug on its own dedicated breaker that can be used by the electrician for power and lighting when they are working on other circuits. In the hoard, this is literally right next to the breaker box, about 2 inches away.
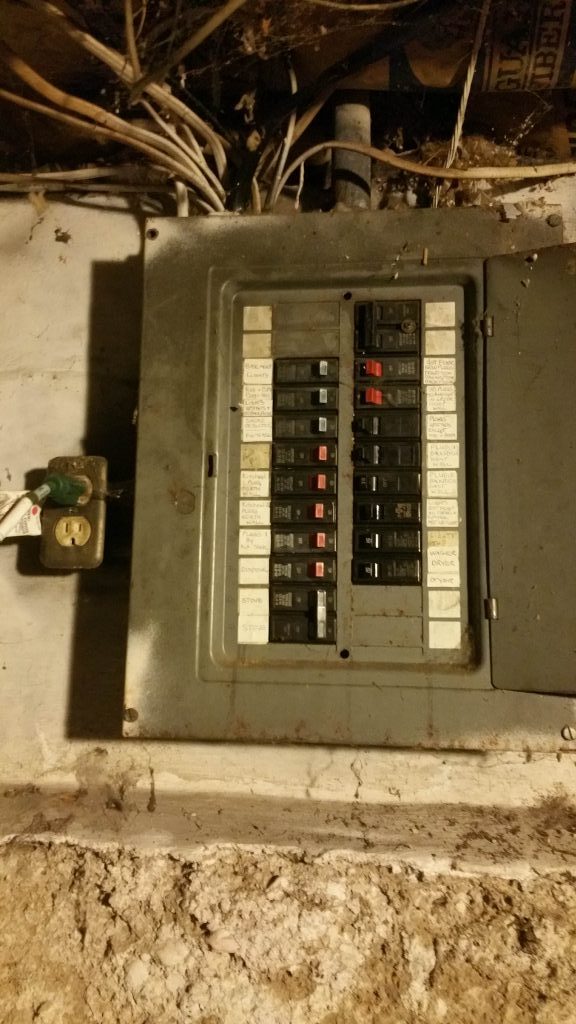
This plug is on the fourth breaker on the left, titled ‘panel plug’. And since its a very short and very simple circuit, and also because I have a light I would like to plug in, I started here.
I used my receptacle tester, which is a little plug you can stick into the wall with lights that tells you if the wiring is mixed up, in the panel plug, and crossed my fingers. I switched on the main breaker.
No explosions.
I then squinted and flipped the breaker for the panel plug.
No power. None of the lights on the tester lit up.
Non-Contact Testing
I wanted to be sure that power was making it ALL the way to the plug. This will help tell me if there is a problem in the hot wiring, which is supplying power towards the receptacle. I pull out the chicken stick and, sure enough, it lit up telling me that there were indeed electrons waiting to come out of the plug.
Hm.
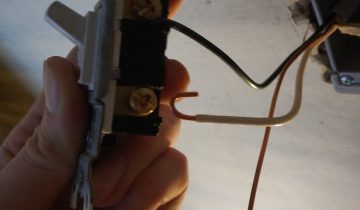
How about the plug itself? I mean, it’s not ancient, but its also not brand new. I pull the plug out of its box and check the wiring. This particular one, not unlike modern outlets, has two ways of hooking it up. You can push bare wires in through the back of the plug, or you can fiddle around with screws on the side.
In my haste to disconnect it, well, it didn’t make it.
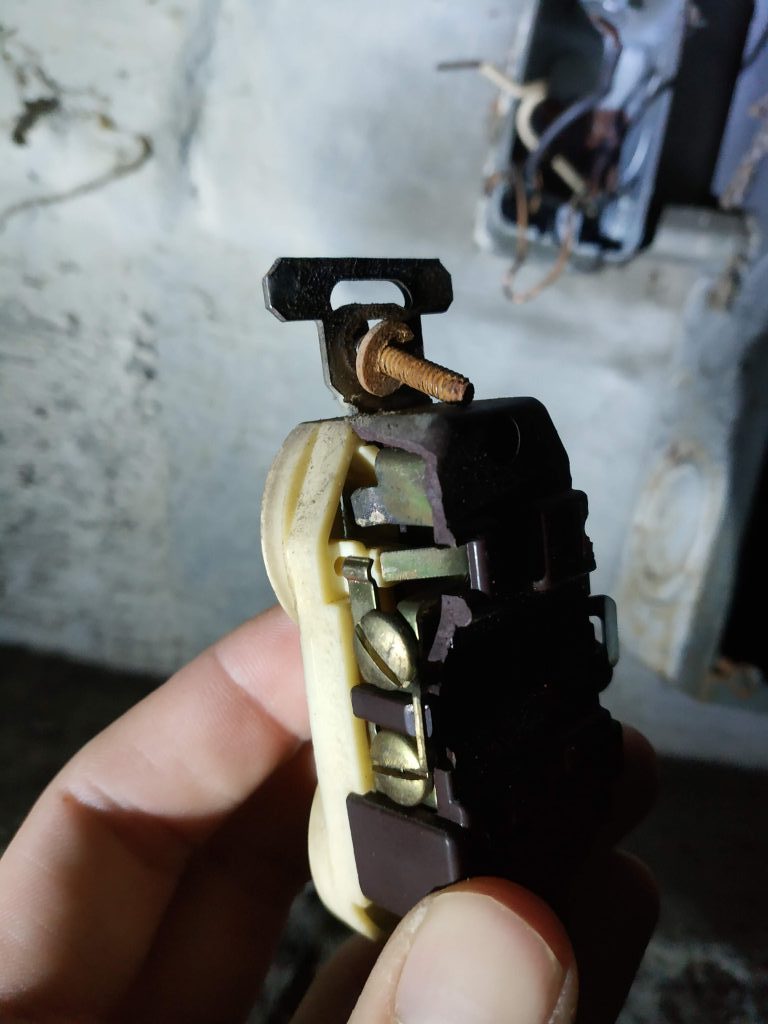
The wires in the back of the outlet make contact with these horizontal tabs inside, and they seemed to be just fine. But, now that I destroyed the plastic back plate, I have to replace this outlet. No way I can use a cracked one.
The wiring in the box was 12 gauge, too big to slip into the back of a 15 amp outlet, so I wired it up to the side screws. The safest order to connect the wires is ground, neutral, hot. The little slit in the outlet is the hot (black wire), and the large slit is the neutral (white wire). The green screw is of course ground.
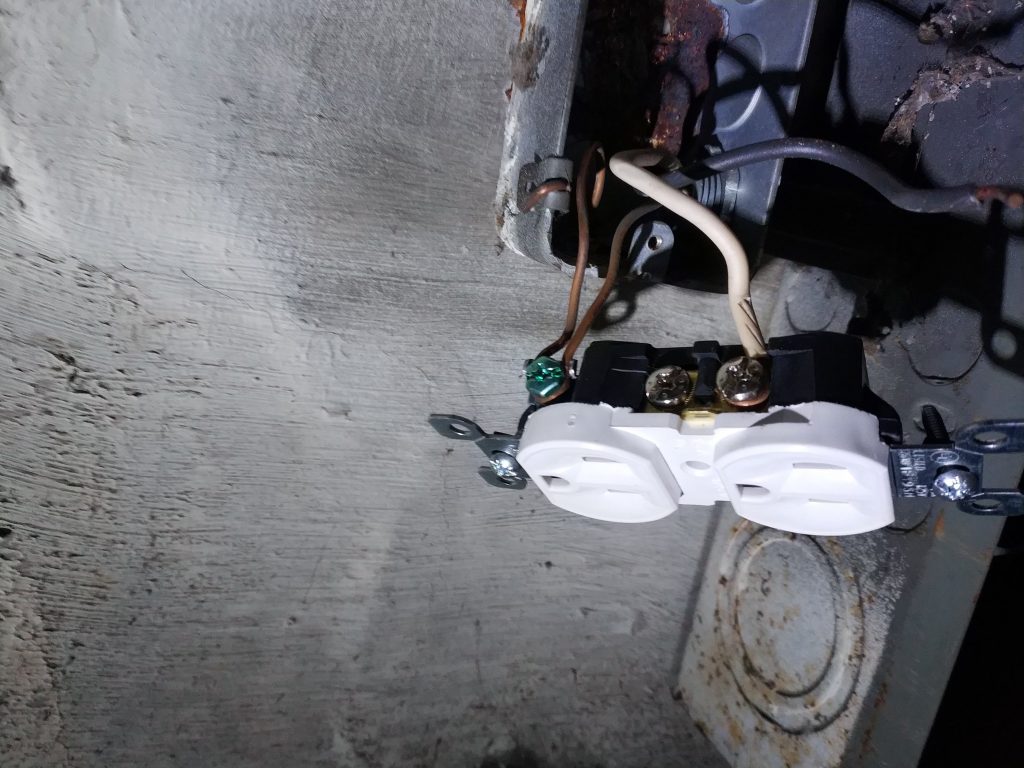
The ground connects also to the box itself, and on to the ground bar in the breaker box.
And?
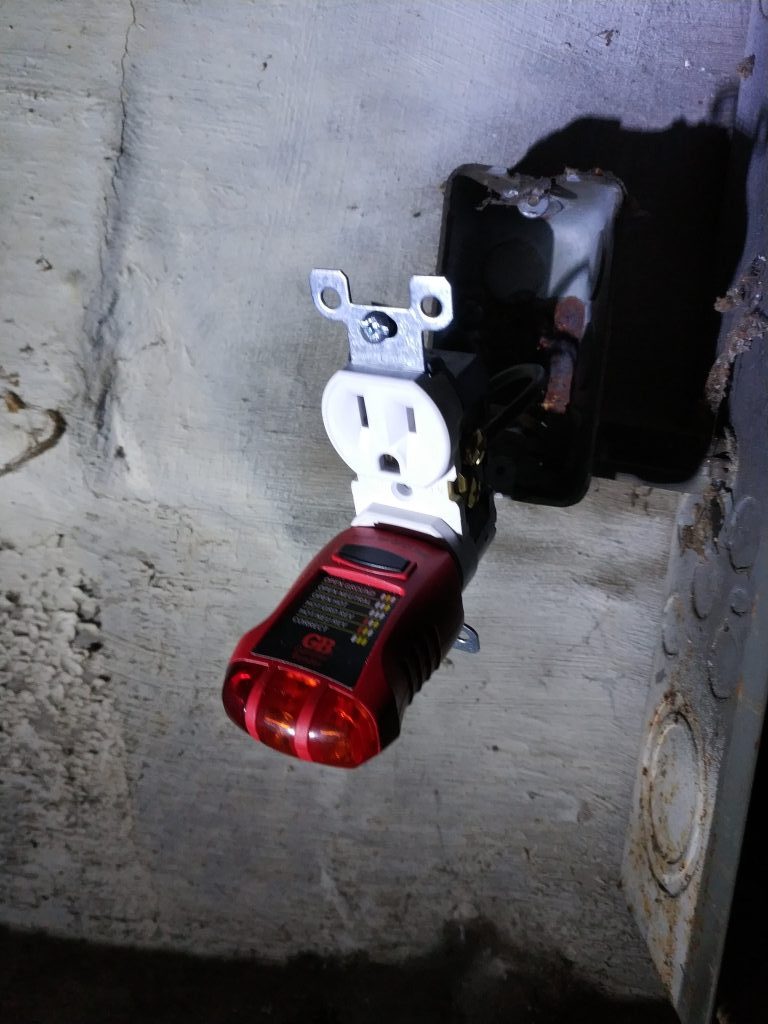
No dice. Still not getting any power. I ruined that plug for nothing!
Continuity To Neutral Bus
Next, I want to see if there is a path out of the outlet back to the breaker box. I can’t use the non-contact voltage detector for this, since there’s no voltage to detect. So, we resort to…
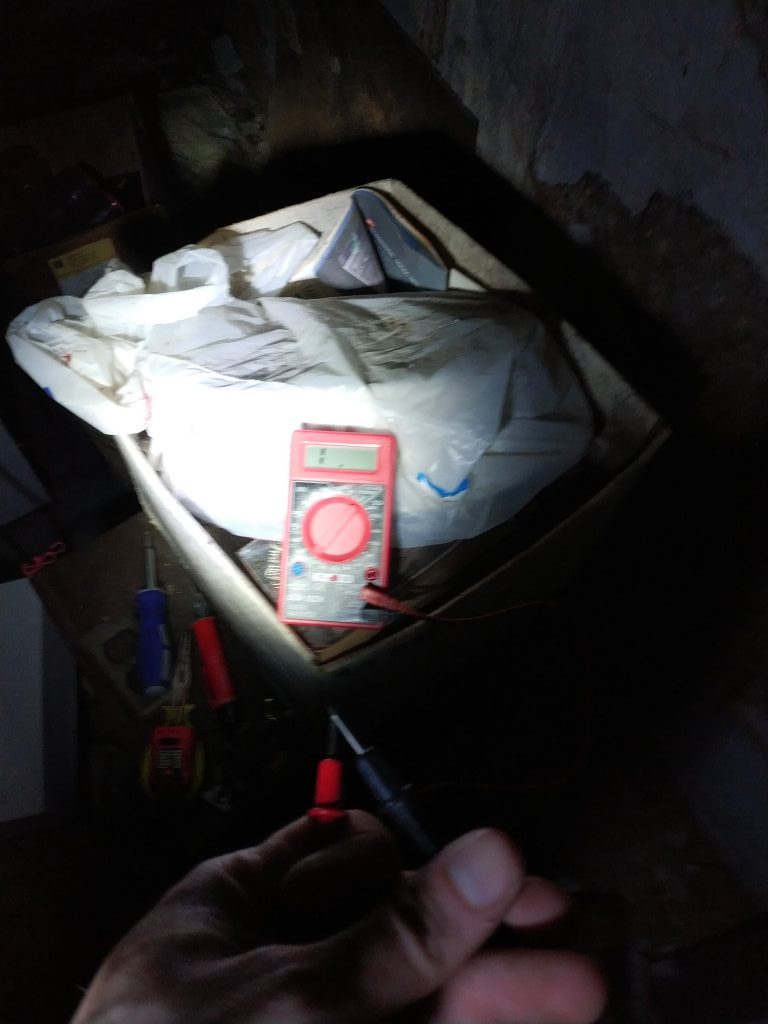
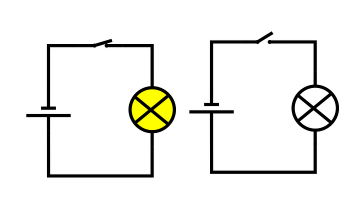
A meter. Specifically, an ohmmeter. Set to any range of ohms, it will tell you the resistance across two points. If there is no circuit, like in the picture above where the leads aren’t touching, you get infinite resistance (indicated by a 1). And if there is no resistance…
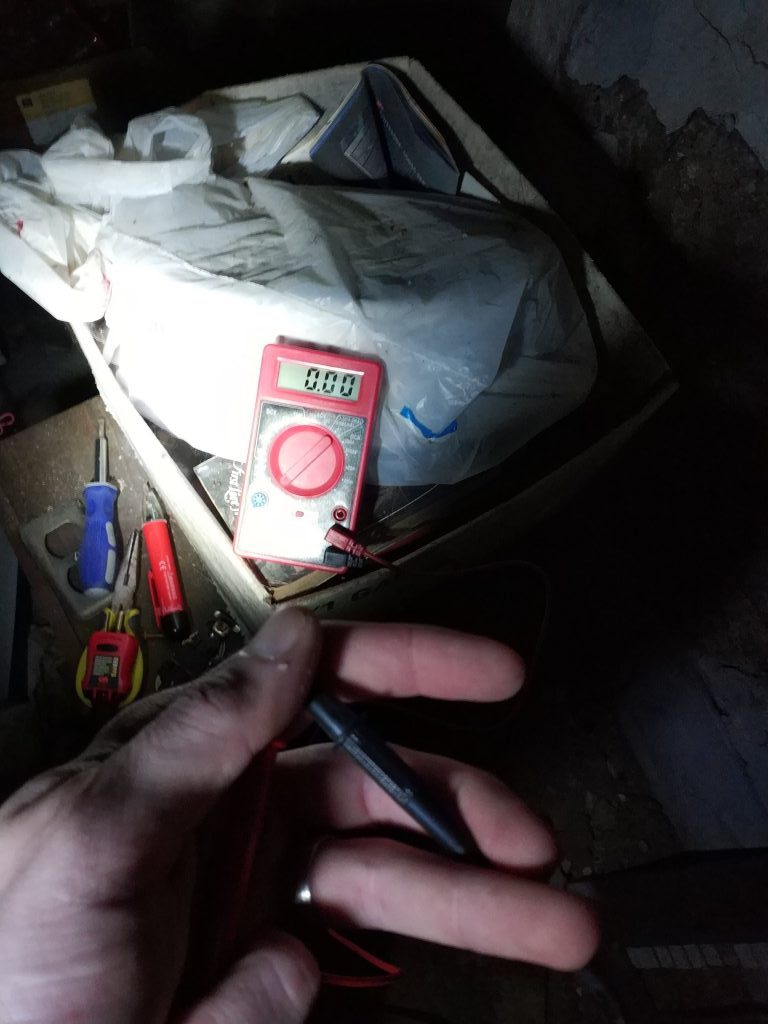
…you get a very low number. Like 0.
With the breaker off for safety, I connected one of the leads (it didn’t matter which) to the neutral side of the outlet. Remember, that’s the big slit. The little guy, that’s the angry one. I then touched the other lead of the meter over to the neutral bar inside of the breaker box. Very handy it was so close, because these leads are about 10 inches long.
Zero ohms! That’s a complete circuit! To be sure, I touched the lead to the large neutral wire coming out of the neutral bus, which is connected to the meter outside. Zero ohms again. That means the connection from the neutral bus to the neutral wire is fine.
Psst! What if the plug is far away?
If you want to ensure continuity but can’t run a meter from the second floor down, you can use what’s called a ‘tone probe’ or ‘circuit tracer’. This device connects to a single wire and sends a tone wave along it, which you can pick up with a receiver somewhere else along the wire. Much the same way a non-contact voltage detector would work, but with a generated signal instead of electrical power.
So, where’s the problem?
Well, we determined that there is power coming into the main breaker, from the main breaker to the sub breaker, and from there on to the plug. We also know that the neutral side of the plug is connected properly to the neutral bus, and the bus to the large neutral wire outside.
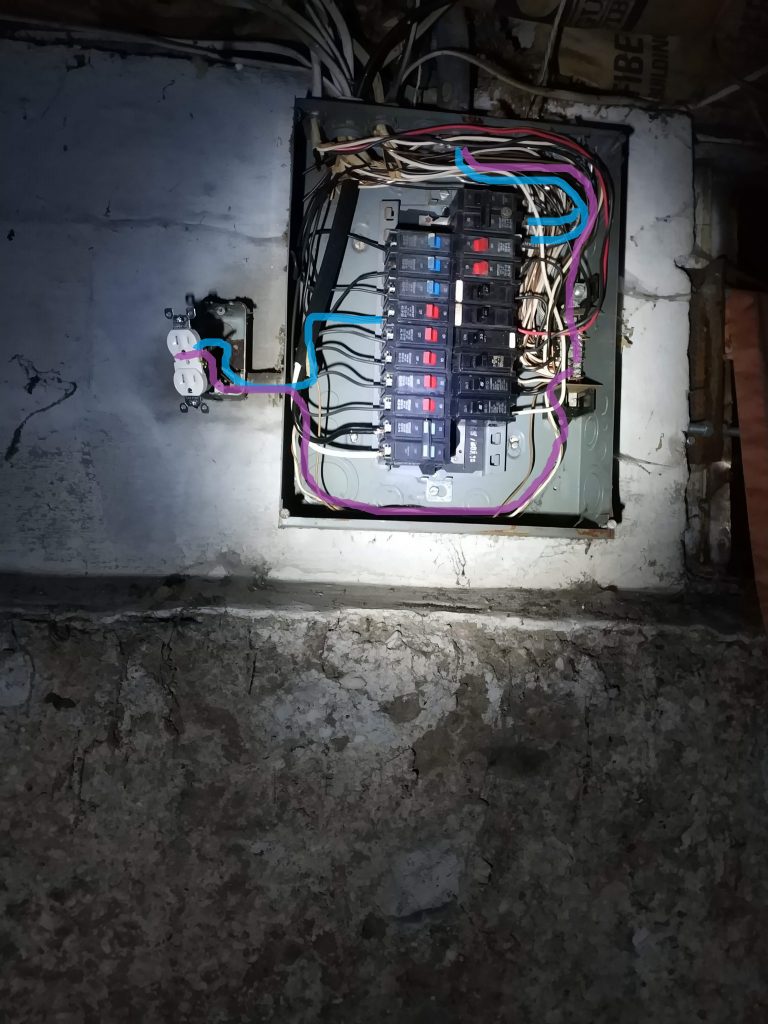
Basically, the problem is outside. In the meter box. Which is live, and I can’t turn it off. I’m not going in there.
Though, I did notice a problem when I went to see if the meter had spun at all from when I checked it.
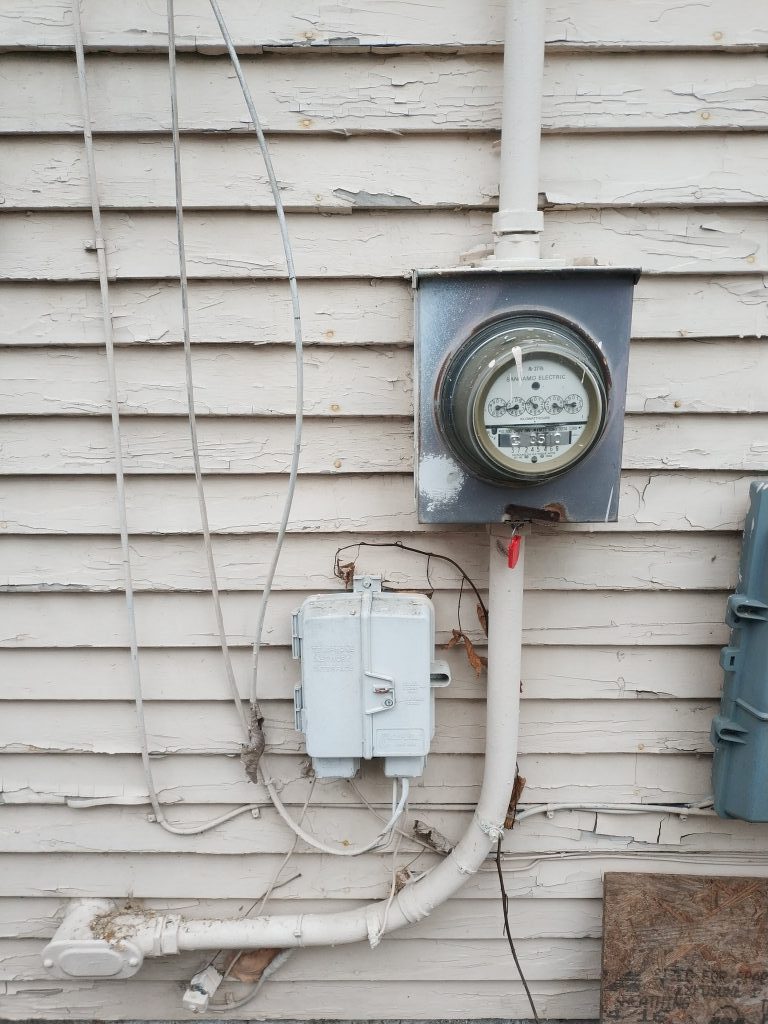
We still have a red tag!
Call The Utility
I called the utility to make sure that they activated our service, and lo and behold, it’s pending an inspection report from the city. That doesn’t explain why I have hot wires hooked up, but it does tell me that the meter is not fully activated. They rolled out a truck later that day to make sure that the pole connection and the meter connection are both sound.
I returned home to see a new GRAY tag on the meter instead of the red one, which is a good sign. I’m pretty sure red tags are only for disconnected service, since every other meter in the neighborhood has a gray one. I know; I’ve checked them all.
And what do we end up with, gentle reader?
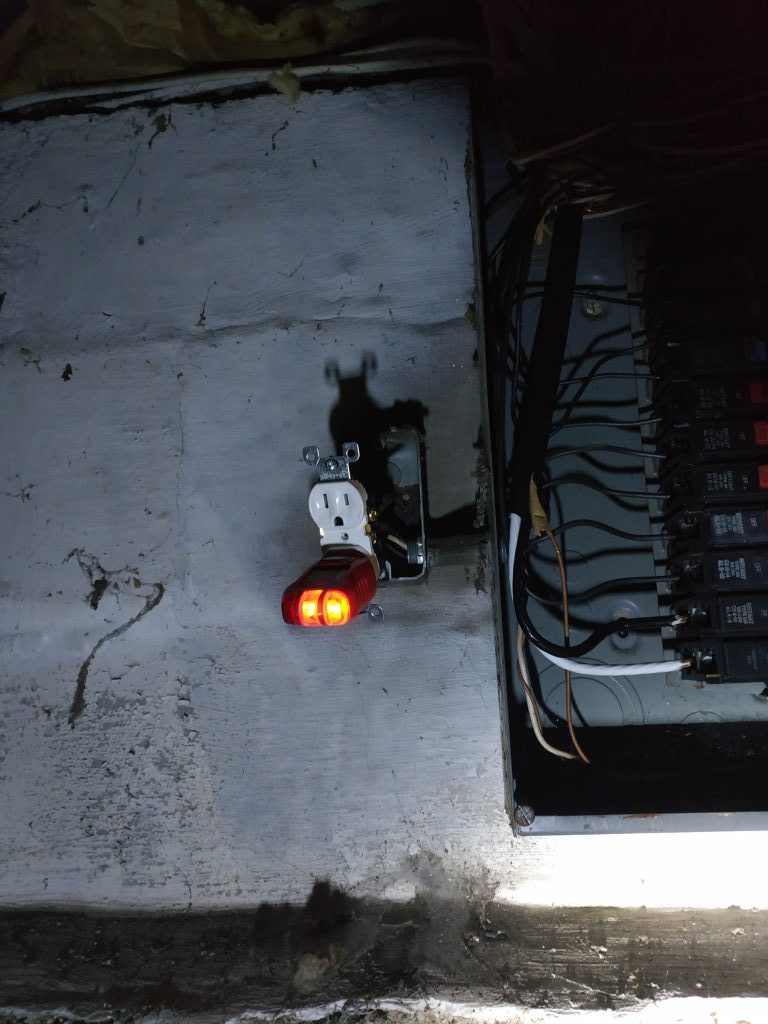
Power!

