It just won’t die! Why?
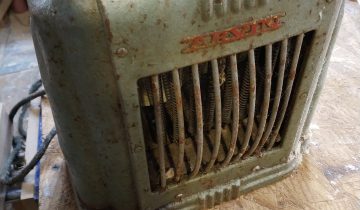
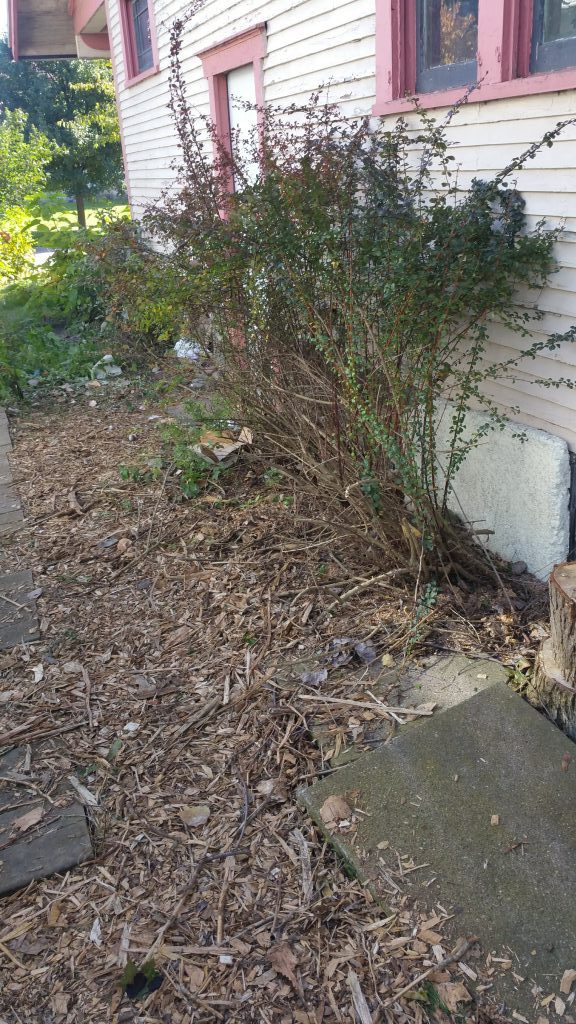
In our last effort to evacuate the poison ivy from our front yard, we cut down as much as we could to the ground in the affected area. This had a… so so effect. The villain returned. You can’t tell from this picture, but the thick core vines of poison ivy have small suckers poking out. These form baby poison ivy leaves, which turn orange and red at the onset of October.
The rocks trying to escape their fate
To a greater extent, the ever annoying thorny bushes (firethorn) surrounding the front of the house which we ALSO cut to the ground were back too. In even greater force, it seems, due to our having thinned out the old branches to make way for the young strong ones.
Incidentally, firethorn is one of the top bushes you can add to your garden to help prevent burglary. Annoying and prickly AF.
But, we are now armed with our new vegetation killing weapon: mulch. That’s right, we’re going to use plants to kill other plants! This technique will mask light and air from the poison ivy, and also keep the ground around it warm. The extra heat, especially in the summer, creates an environment where poison ivy cannot thrive. But, it means the mulch has to stay there for a long time.
Like, years.
First, some yardwork
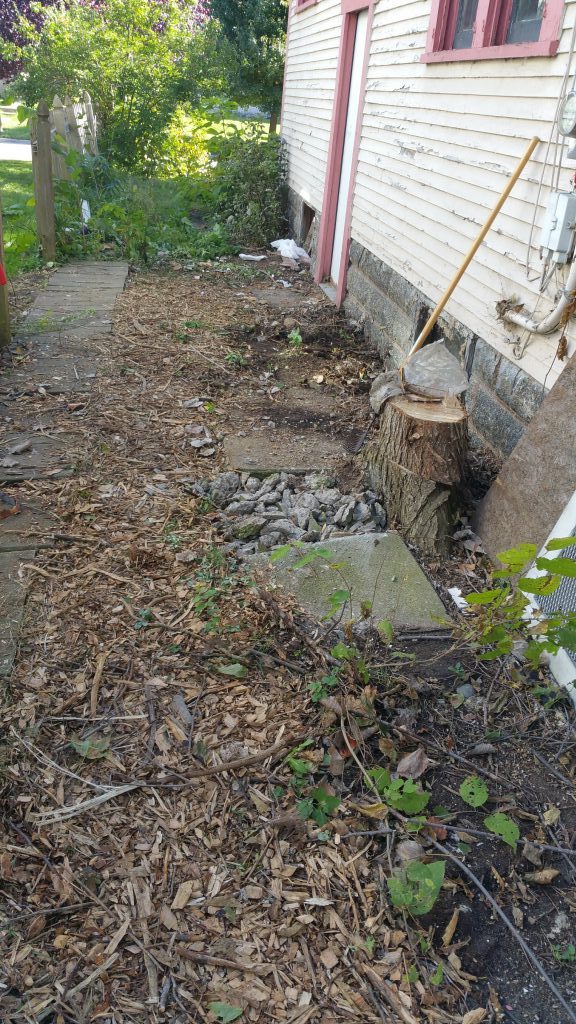
Even though we had enough room to get the freezer out of the basement, there were a few bushes by the side of the house that were just annoying to work around.
These have been a literal thorn in our sides
The heaved concrete walkway, caused by the tree that was too close to the house, also needed to be broken down so the root can be ground up. I just used a small engineer’s hammer and a cold chisel for that.
I can’t imagine why we didn’t do this sooner, now there’s plenty of room to get around!
Bingo bango
So long trip hazard…
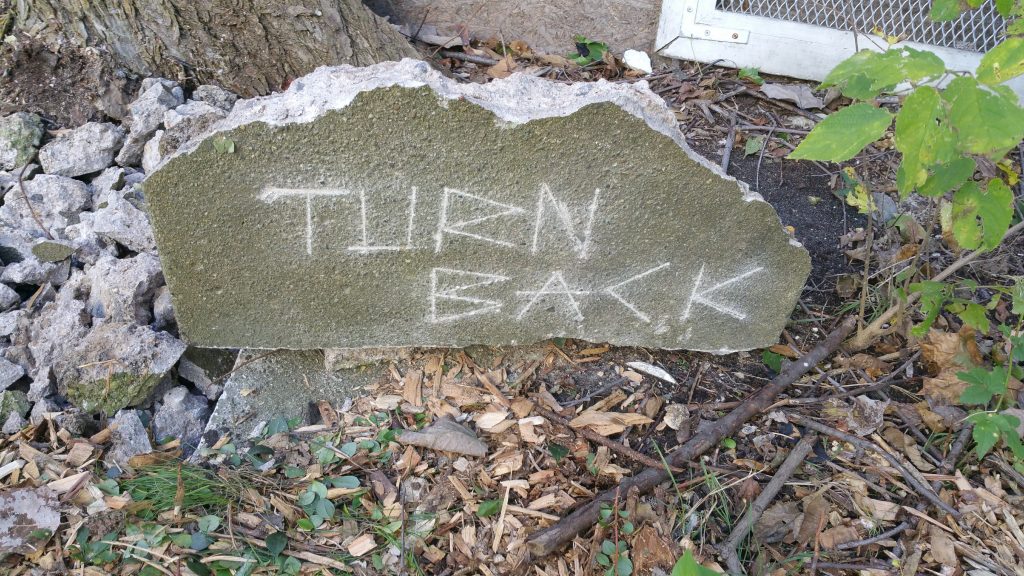
…hello free Halloween decoration!
Now that the side of the house is free, we mulched the rest of the way to the front path, and the main event can begin.
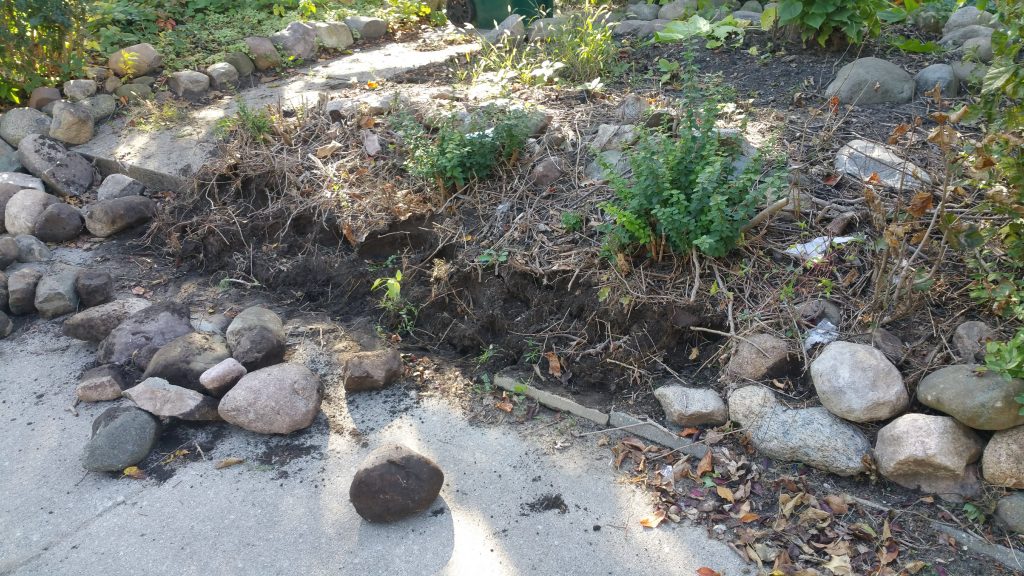
Preparing the area
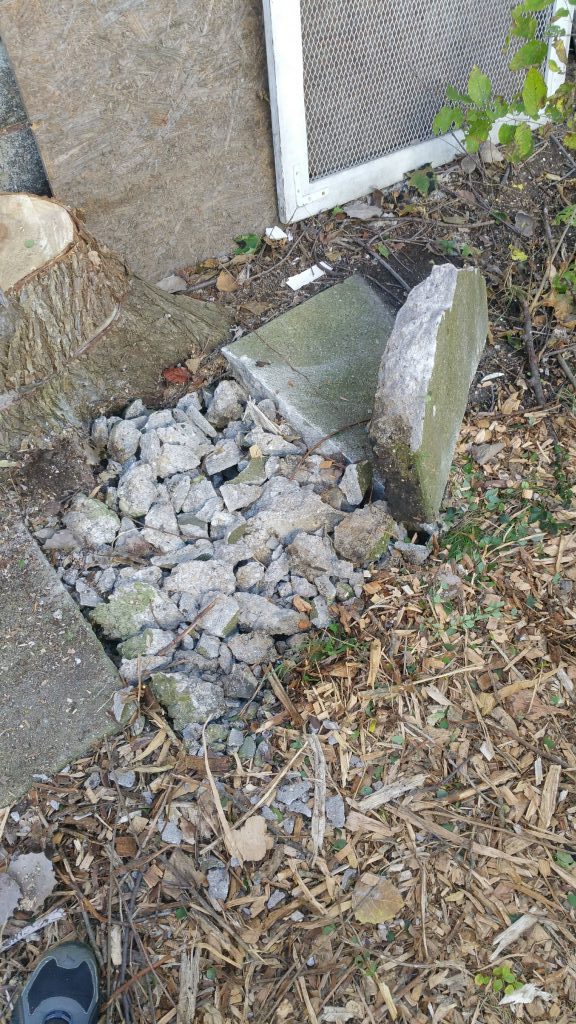
First, the rocks around the sidewalk, and the flat concrete blocks holding them up, were removed and saved. They’ll make good planter borders later. There were a lot more rocks than were initially visible; they were probably there for some decades getting covered with more and more organic material from the bushes, which turned to leaf mold and eventually dirt.
Once these were suitably cleared, a wire fence was erected to contain the mulch. We’re not talking about piddly inches of coverage. We need feet.
Finally, some cardboard was added to the top as a stronger light barrier.
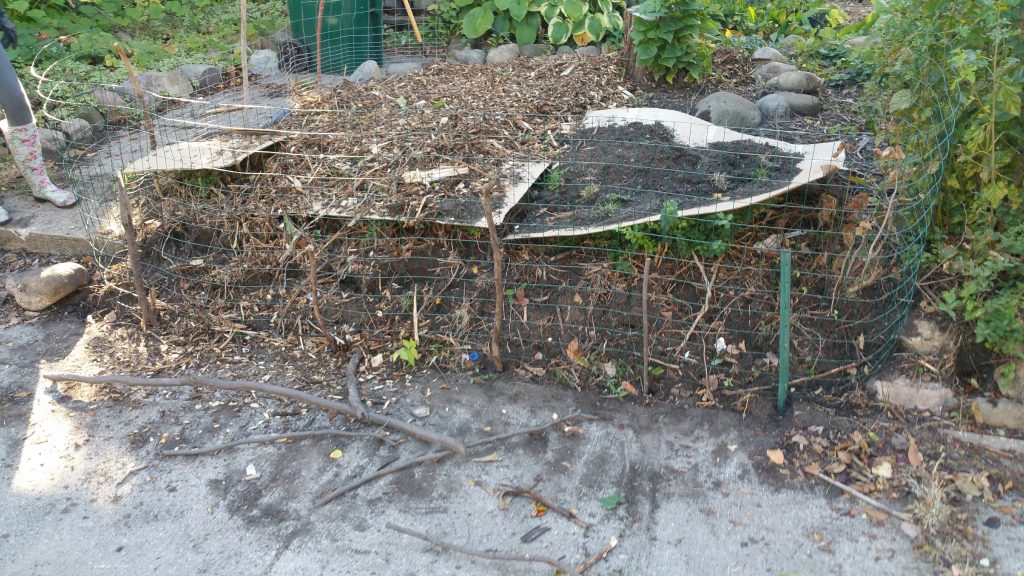
Those sticks she was saving were good for something after all!
Apply the mulch
Now, we shovel.
And shovel.
When you’re done with that, shovel some more.
Doesn’t look like quite enough…
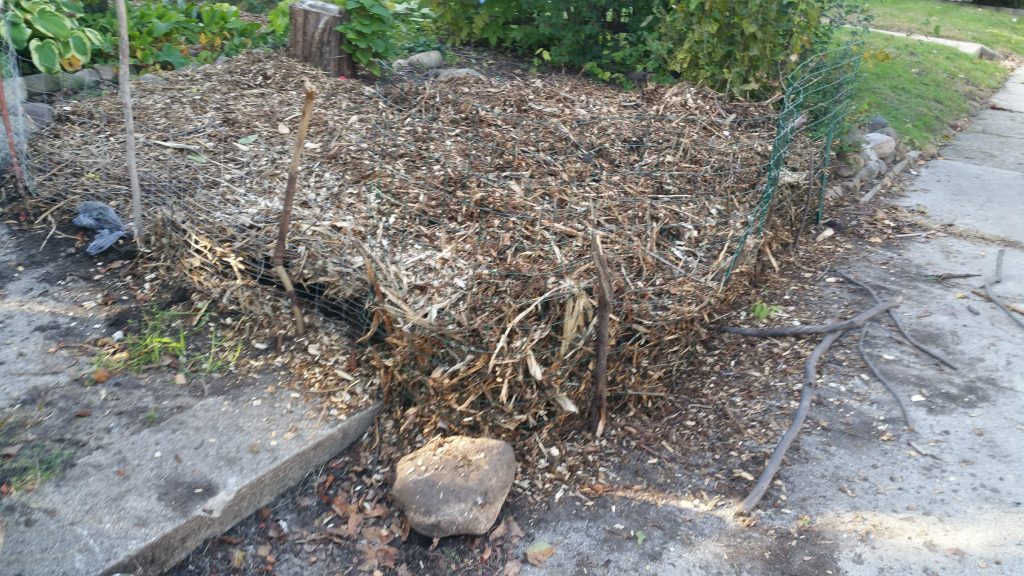
This picture shows about 25 wheelbarrows full of mulch spread over the affected area, bringing us up to about 6-8 inches. By that measure, we’ll probably need 100 barrows to get all the way up to the necessary 24 inches.
Basically, we’ll need the entire stack in the parking pad to move to the front yard.
Tell me, why didn’t we have him just chip directly into this area again?
Lessons learned I guess.
Just a lovely mulched bed at this point
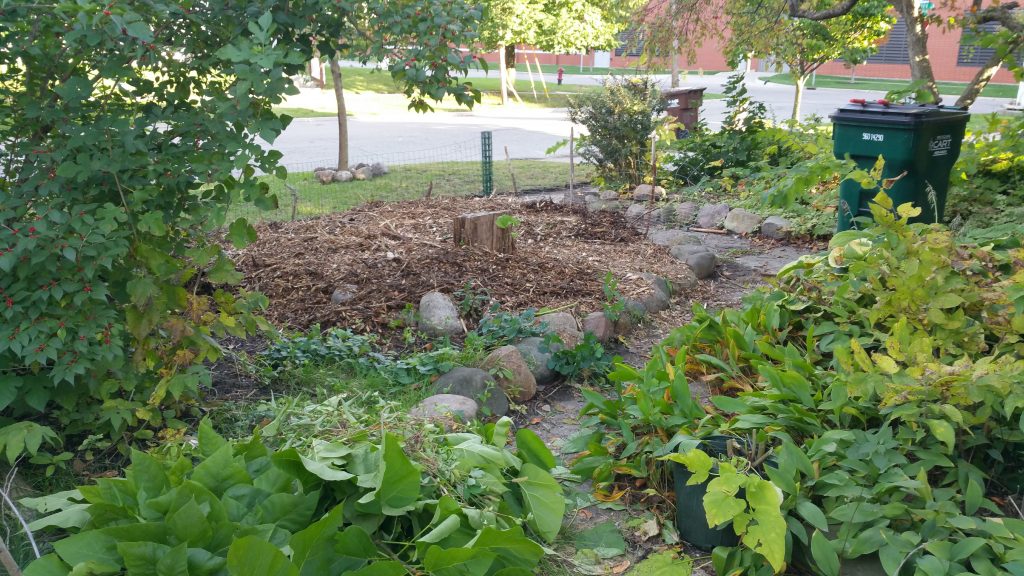
If we were preparing this to be a garden bed, we would be done by now. Looking out from the side yard, it looks like even less!
We ended the day about here, after bringing up around 35 wheelbarrows full of as much mulch as we dared per trip. We had to take turns on the heating pad.
Did we make a dent?
Between this round of poison ivy mitigation, the path through the backyard, mulching projects in our own backyard, and at our rental house, I feel that we have gone through approximately half of our much stash.
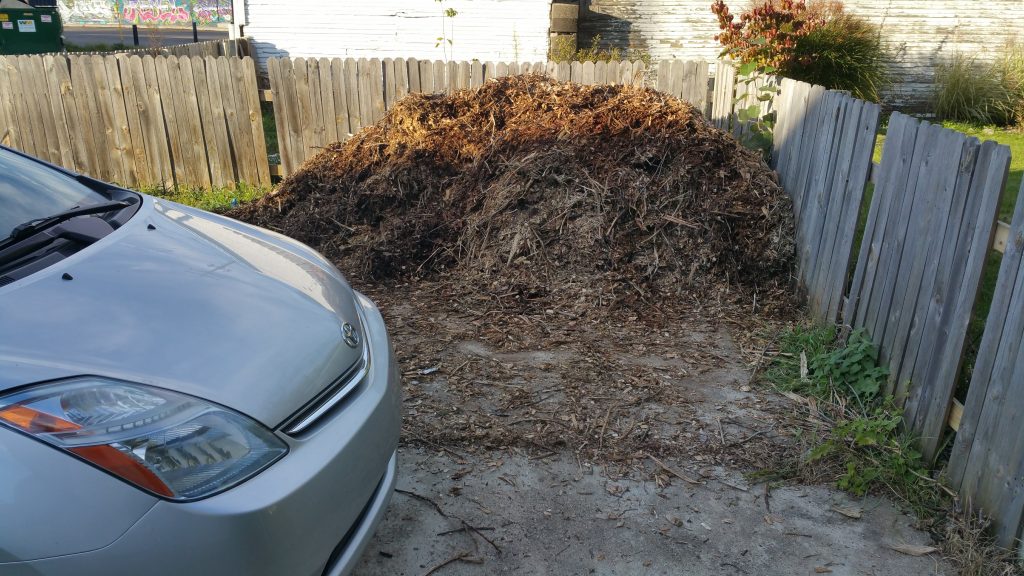
No, the car does not have a name.
Will we finish the pile off before winter? The fact that I’m posting this in November means the outlook is not good!